Residential lighting controls: Boost efficiency and curb appeal
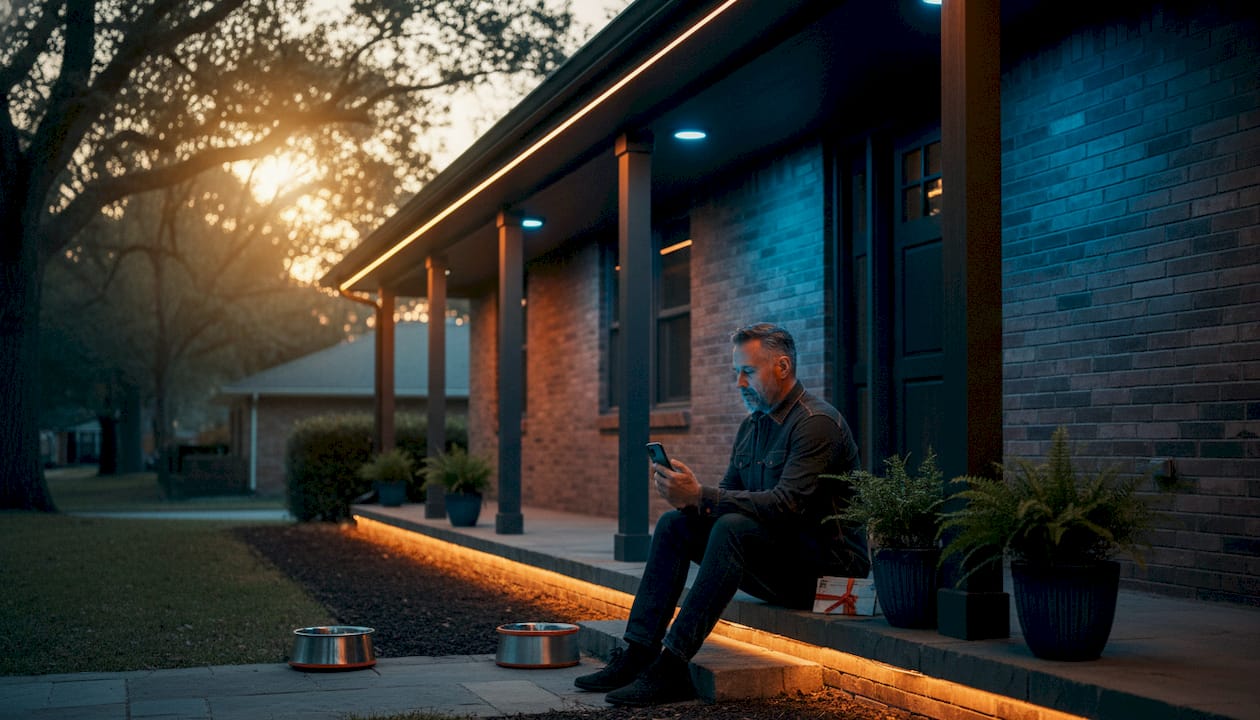
Most homeowners think of lighting control systems as a fancy convenience upgrade, something for tech enthusiasts who want to dim their living room with a voice command. That assumption misses the real picture entirely. A well-designed residential lighting control system is one of the most practical tools available for cutting energy waste and elevating the look of your home’s exterior. For homeowners across South DFW, from Mansfield and Burleson to Cedar Hill and Crowley, getting this right means lower utility bills and an outdoor space that genuinely stands out.
Table of Contents
- What is a residential lighting control system?
- How lighting controls improve energy efficiency
- Types of lighting controls for South DFW homes
- Designing systems for aesthetics and functionality
- The real value of lighting control: More than just smart gadgets
- Ready to transform your home’s lighting?
- Frequently asked questions
Key Takeaways
| Point | Details |
|---|---|
| More than smart switches | Lighting control systems integrate sensors and automation to save energy and upgrade outdoor spaces. |
| Three layers of savings | Combining sensors, dimming, and daylight controls maximizes efficiency and convenience. |
| Fit the system to your goals | Choose controls that match your home’s layout and aesthetic wishes for best results. |
| Avoid common pitfalls | Relying only on timers or overriding smart modes reduces both energy savings and design impact. |
What is a residential lighting control system?
Let’s be clear about what we’re actually talking about. A residential lighting control system is not just a dimmer switch or a smart bulb you can turn off from your phone. It’s a coordinated setup of components working together to manage how, when, and where your lights operate.
Whole-home or multi-zone control is built from four core building blocks:
- Interfaces: The ways you interact with the system. This includes traditional wall switches, smartphone apps, voice assistants, and automated sensors that don’t require any human input at all.
- Controllers or hubs: The brain of the operation. These devices receive input from interfaces and translate commands into actions across your lighting network.
- Communication paths: How your devices talk to each other. Some systems use wired runs (more reliable, better for permanent installs), while others use wireless protocols like Zigbee, Z-Wave, or Wi-Fi.
- End devices: The actual hardware that produces or controls light. Dimmers, relay switches, smart fixtures, and sensors all fall into this category.
“Residential lighting control systems can be implemented as whole-home or multi-zone control using an organized set of interfaces, controllers/hubs, communication paths, and hardware (dimmers/switches/sensors) to coordinate scheduled and sensor-driven behavior.”
The difference between a basic “on-off” setup and a true lighting control system comes down to automation and scheduling. A traditional switch requires a person to flip it. A lighting control system can respond to time of day, motion in a space, the amount of natural light outside, or a preset scene you’ve programmed in advance. You can have your front entry lights come on at dusk automatically, your pathway lights dim to 40% after midnight, and your garage lights shut off two minutes after no motion is detected, all without touching a single switch.
For outdoor spaces specifically, understanding lighting controllers explained helps clarify which setup makes sense for your property’s layout and goals.
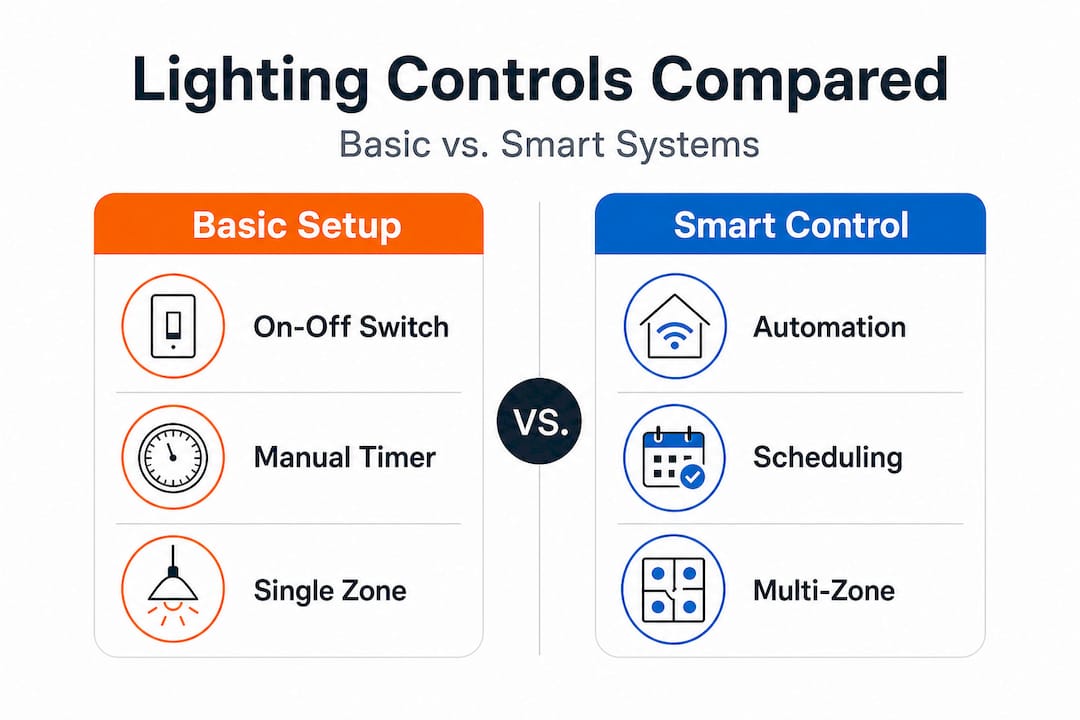
Multi-zone setups let you treat different areas of your home independently. Your backyard entertaining area can run on a different schedule and scene than your front porch or driveway lighting. That level of control is what separates a professionally designed system from a collection of standalone smart bulbs.
| Component | Basic setup | Full control system |
|---|---|---|
| Interfaces | Wall switch only | App, voice, switch, sensor |
| Automation | Manual only | Scheduled and sensor-driven |
| Zones | Single | Multiple, independently controlled |
| Energy feedback | None | Usage data via hub |
How lighting controls improve energy efficiency
Understanding the system is just the beginning. Let’s look at the ways lighting controls go beyond convenience to produce real energy savings.
The DOE identifies three strategies that consistently reduce lighting energy waste:
- Automatic shutoff: Lights that turn off when no one is present. Occupancy sensors detect motion and keep lights on only while a space is in use. Vacancy sensors require a manual turn-on but shut off automatically, giving you more control over when a light activates.
- Dimming: Reducing light output when full brightness isn’t needed. A fixture running at 60% brightness uses significantly less energy than one running at 100%, and the difference is rarely noticeable in everyday use outdoors.
- Daylight-based control: Using photosensors to measure available natural light and adjusting electric lighting output accordingly. This prevents lights from running at full power at dusk when there’s still ambient light, or from staying on after sunrise.
Statistic: Combining all three strategies in a single system can reduce lighting energy use by 50% to 75% compared to uncontrolled systems, according to the Department of Energy.
The practical problem with standalone mechanical timers is that they don’t adapt. If you set your outdoor lights to come on at 7:00 p.m. in January, they’ll still come on at 7:00 p.m. in June, even though it’s still daylight at that hour in North Texas. That means wasted energy every single evening during the spring and summer months. Sensors and smart scheduling solve this by responding to actual conditions rather than fixed clock settings.
Pro Tip: Pair an occupancy sensor on your garage lights with a 5-minute delay setting. The lights stay on long enough to be useful after you walk through, but they won’t burn all night if you forget to flip the switch.
Combining strategies multiplies results. A fixture controlled only by a timer saves some energy. Add a dimmer and you save more. Add a photosensor that prevents the light from coming on during twilight, and you’ve now stacked three layers of efficiency. This is exactly why home lighting automation and energy savings go hand in hand when the system is designed correctly from the start.
| Control method | Energy waste reduced | Adapts to conditions | Requires user action |
|---|---|---|---|
| Manual switch | None | No | Yes, always |
| Mechanical timer | Low | No | Set once |
| Occupancy sensor | High | Yes | No |
| Photosensor + dimmer | Very high | Yes | Rarely |
| Combined system | Maximum | Yes | Minimal |
For homeowners exploring specific products and approaches, best LED lighting controls for the DFW region covers options that hold up against Texas heat and humidity.
Types of lighting controls for South DFW homes
Energy efficiency depends on the strategies you use and the specific types of controls installed. Here’s what South DFW homeowners should know.
Occupancy and vacancy sensors are the most straightforward energy savers. They use passive infrared (PIR) technology, ultrasonic detection, or a combination of both to sense movement. Outdoors, they work well for driveways, side gates, back patios, and garage areas where lights are only needed when someone is actually present.
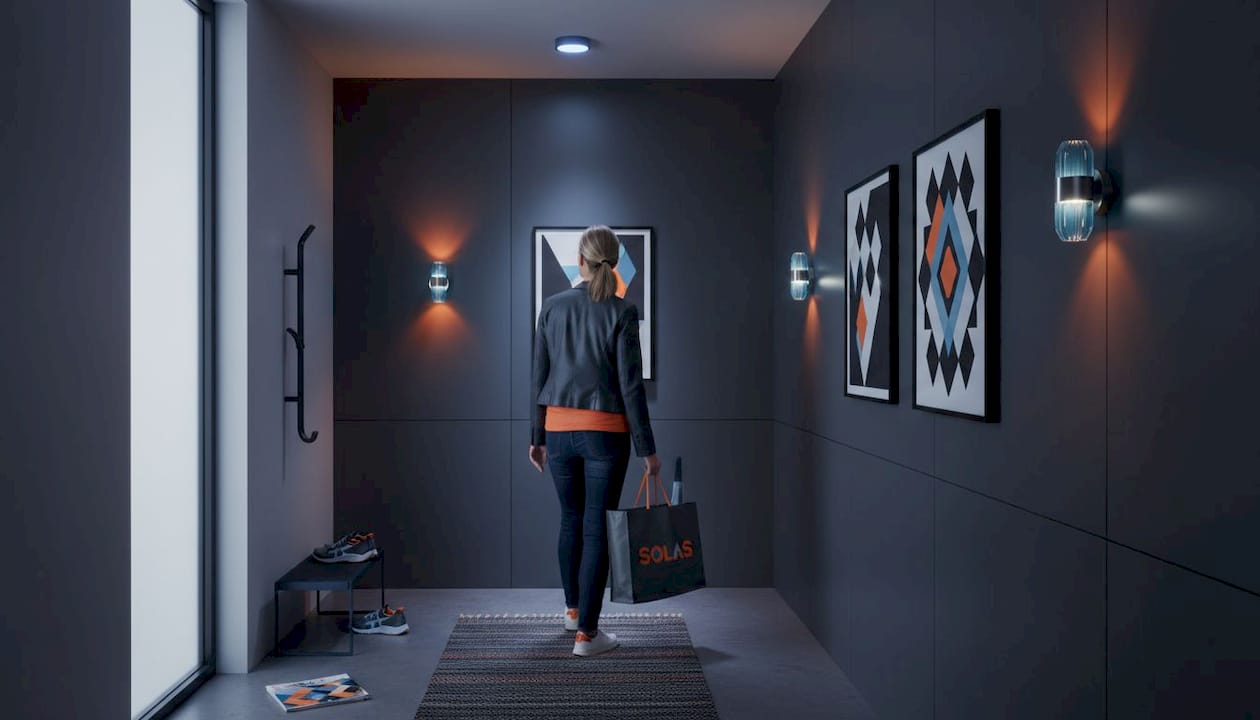
Photosensors and daylight sensors go a step further. Daylight-responsive control uses a sensor to measure incoming natural light and then dims or switches electric lighting to maintain a target light level. The control can range from a simple on/off response to continuous dimming that tracks the sun’s angle throughout the day. For South DFW homeowners, this is especially useful during the long Texas summer evenings when dusk doesn’t arrive until 8:30 p.m. or later.
Timers and scheduling work best as part of a layered approach. The DOE cautions that programmable timers are not effective as a standalone outdoor control method and perform best when combined with sensing and logic-based controls. Think of timers as a baseline structure, with sensors acting as the real-time override.
App, voice, and manual overrides give you the flexibility to step outside the automation when you need to. Hosting a backyard party? Override the motion sensor and set the patio lights to a specific brightness and color for the evening. These overrides should be easy to use and easy to cancel, so your system returns to its energy-saving defaults without any hassle.
Specialty outdoor controls are where aesthetics come into the picture. Color-changing systems, zone-based setups, and scene programming let you create specific looks for different occasions. Lighting zone control lets you coordinate different areas of your property independently, while networked lighting control connects those zones into a unified system you manage from one place.
For homeowners interested in holiday and seasonal displays, a dynamic color-changing lighting guide walks through how permanent systems can handle everything from Fourth of July red, white, and blue to Thanksgiving amber without climbing a ladder or running extension cords.
- Occupancy sensors: best for garages, gates, side yards
- Photosensors: best for front porch, driveway, and entry lights
- Timers: best as a backup layer, not as the only control
- App overrides: essential for entertaining and seasonal flexibility
- Color-zone controls: ideal for curb appeal and holiday programming
Pro Tip: Install your photosensor on the north-facing side of your home if possible. South and west-facing placements can pick up direct afternoon sunlight and misread the ambient light level, causing your lights to flicker on and off during the late afternoon.
Designing systems for aesthetics and functionality
Now that you know the types of controls available, let’s translate those features into a system that is both beautiful and practical for your property.
Matching your aesthetic goals to the right control capabilities starts with knowing what you want your outdoor space to look and feel like. Here’s a practical design approach for South DFW homes:
- Identify your zones. Walk your property and note where you want light, when you need it, and what purpose it serves. Entry lighting, pathway lighting, landscape accent lighting, and entertainment area lighting each have different requirements.
- Match control types to zones. High-traffic areas like driveways benefit from occupancy sensors. Always-on aesthetic zones like front facade lighting benefit from photosensors and dimming. Entertainment spaces need flexible app or manual override capability.
- Set energy-saving defaults first. Program your baseline automation for efficiency. Occupancy sensors get their delay timing set. Photosensors get their threshold calibrated. Schedules get their on/off windows defined. Do this before you start layering in scenes and color programs.
- Add scene presets for specific occasions. Once your baseline is solid, program two or three scene presets: a standard evening look, an entertaining mode with brighter levels and specific colors, and a security mode that keeps key lights active at low brightness overnight.
- Test and adjust. Spend a few evenings walking through your property to verify coverage and timing. Sensor dead zones, fixture angles, and dimming levels often need small tweaks after initial installation.
The DOE notes an important warning here: smart controls do not automatically guarantee energy savings. If you repeatedly override the automation, disable sensors because they feel inconvenient, or program scenes that keep lights running at full brightness all night, you’ve added cost without gaining efficiency.
This is why app-controlled lighting works best when the defaults are set up correctly from day one. The app should feel like a tool for quick adjustments, not the primary way you operate your lights every single night. If you’re reaching for your phone every evening to turn things on and off manually, the automation isn’t set up to match your habits.
For remote management options across multiple properties or when you’re traveling, controlling outdoor LED lights remotely covers how to maintain full oversight without being home.
Pro Tip: Build your scene presets around real events in your life, like Friday night entertaining, game day, and quiet weeknight mode. When scenes match your actual schedule, you use them consistently and you stop overriding the system on a whim.
The real value of lighting control: More than just smart gadgets
Here’s an honest take from what we see in the field: the homeowners who get the most value from lighting control systems are not the ones with the most devices installed. They’re the ones who designed their system around how they actually live.
We’ve seen installations where every possible sensor, hub, and integration was included, and the homeowner rarely uses any of it because the setup is too complicated to manage day to day. The lights end up running on a basic manual schedule, no different from a $15 plug-in timer from the hardware store. The technology is there, but it’s not delivering.
The most effective approach is simpler than most people expect. Choose the right control type for each zone. Set your automation defaults to handle 90% of your lighting needs without any input from you. Then use your app or voice control for the remaining 10%, the special occasions, the seasonal color shifts, and the adjustments that genuinely benefit from manual control.
In DFW specifically, this means accounting for the dramatic seasonal variation in daylight hours. Summer evenings are long. Winter evenings are short. A system designed with photosensors and smart scheduling adjusts to that automatically. You don’t have to remember to change your timer settings twice a year.
We also want to address the curb appeal side directly. Outdoor lighting control is one of the most visible upgrades you can make to your home’s exterior. A well-lit facade, highlighted landscaping, and color-programmable accent lights do more for a home’s first impression than almost any other exterior investment. When smart outdoor lighting is designed with both efficiency and aesthetics in mind, you get a system that pays for itself over time while making your home look exceptional year-round.
The bottom line: resist the temptation to chase features. Focus on getting the foundation right, the right controls in the right places, with defaults that match your lifestyle. That’s the approach we recommend to every homeowner across Burleson, Midlothian, Grand Prairie, and the surrounding communities we serve.
Ready to transform your home’s lighting?
If this guide has clarified what residential lighting control can actually do for your home, the next step is seeing it applied to your specific property. A professionally designed system takes all the strategies we’ve covered and builds them into an installation that matches your home’s layout, your aesthetic goals, and your energy management priorities.
At DFW LED Pro, we specialize in permanent LED lights and advanced outdoor lighting control systems across the Dallas-Fort Worth metroplex. Whether you’re looking to light your front facade with color-programmable LEDs, upgrade your backyard with a JellyFish Patio Lighting setup, or build a fully zoned outdoor control system, we’ll design a solution that fits your home and your budget. Contact us today to schedule a free consultation with our local team.
Frequently asked questions
What makes a lighting control system “residential” versus “commercial”?
Residential systems prioritize comfort, ease of use, and visual appeal, while commercial systems focus on scalability, complex zoning, and strict energy code compliance. The technology overlaps, but the design priorities and user experience are quite different.
Can I use a lighting control system only for outdoor lights?
Yes, outdoor-only setups are very popular and fully supported. These systems can include photosensors, occupancy sensors, color-changing controls, and multi-zone coordination without touching any interior lighting.
How much energy can I realistically save with lighting controls?
Homeowners with well-designed systems that combine occupancy sensors, dimming, and daylight sensors can expect energy savings in the range of 25% to 75% on lighting costs, depending on how much automation replaces manual control.
Will smart controls still work if I lose Wi-Fi or internet?
Most professionally installed smart lighting systems retain local control through wall switches or direct device connections, so your lights continue to function normally even during an internet outage.
What’s the difference between a timer and a photosensor for lighting?
A timer switches lights at preset clock times regardless of actual light conditions, while a photosensor measures daylight and adjusts electric lighting output to match real-world conditions automatically. Photosensors adapt; timers do not.