How to add smart controls to your outdoor lighting
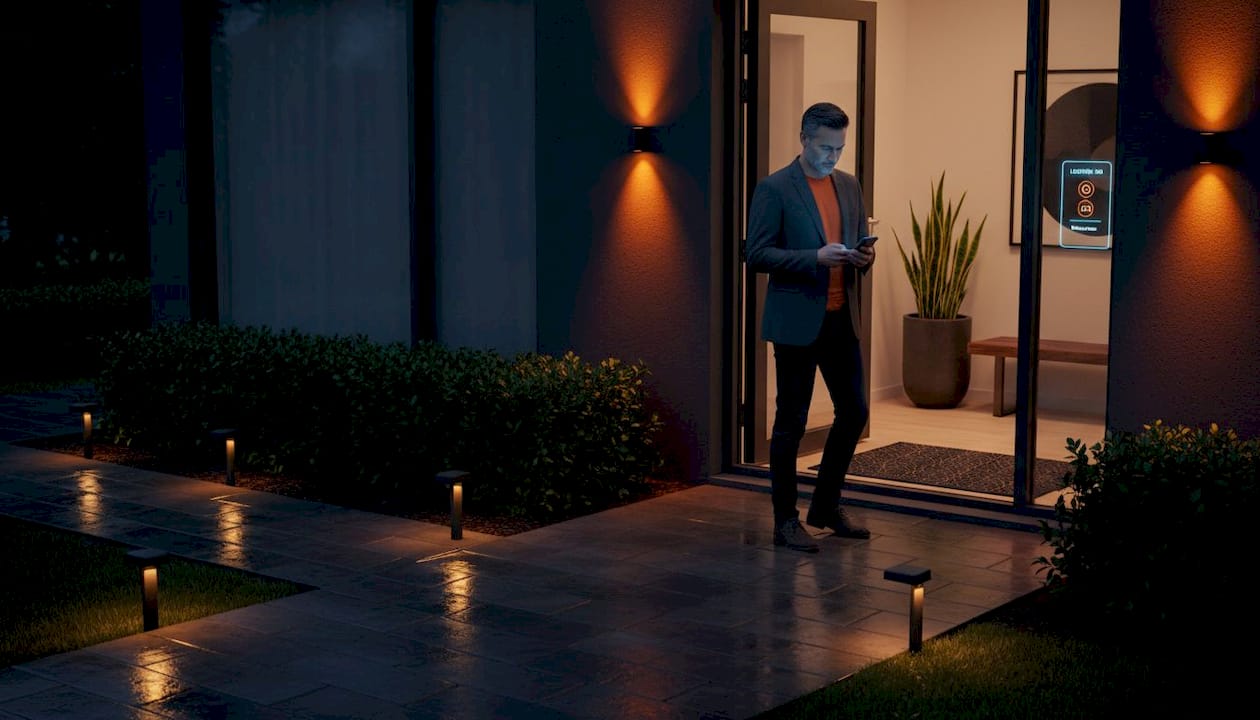
If you’ve ever driven away from your Mansfield or Arlington home wondering whether you left the porch lights on all day, you already understand the frustration. Manual outdoor lighting wastes energy, requires constant attention, and offers zero flexibility when your schedule changes. Learning how to add smart controls to lighting solves all three of those problems at once. Smart lighting enables remote control, automation, and customization through apps and voice assistants, turning a passive system into one that works around your life. This guide walks you through every step, from assessing your current setup to building automations that run themselves.
Table of Contents
- How to add smart controls to lighting: assess your current setup first
- Choose the right smart control technology for your outdoor lights
- Step-by-step installation and setup process for smart outdoor lighting controls
- Incorporate advanced sensors and multi-zone control for ideal automation
- Troubleshooting common issues and best practices for durable smart outdoor lighting
- Why simple, well-planned smart lighting automation beats complex setups for most homeowners
- Upgrade your Dallas-Fort Worth outdoor lighting with expert smart control installation
- Frequently asked questions
Key Takeaways
| Point | Details |
|---|---|
| Identify your lighting type | Knowing whether your outdoor lighting is line-voltage, low-voltage, or plug-in guides smart control choices. |
| Choose compatible smart controls | Select smart bulbs, switches, or controllers that fit your wiring and fixture type for best results. |
| Use sensors and automations | Incorporate twilight and motion sensors plus schedules to save energy and automate lighting optimally. |
| Simple setups work best | Focusing on key triggers and scenes avoids complexity and maximizes benefits for most homeowners. |
| Consider professional installation | Experts can handle wiring, zoning, and integration to ensure safe and effective smart lighting upgrades. |
How to add smart controls to lighting: assess your current setup first
Before you buy a single device, you need to know what you’re working with. Outdoor lighting in DFW homes typically falls into three categories, and each one points to a different smart control path.
The three main outdoor lighting types:
- Line-voltage fixtures (120V): Standard porch lights, floodlights, and wall-mounted fixtures wired directly into your home’s electrical system. These work with smart bulbs or smart wall switches.
- Low-voltage landscape lighting (12V): Path lights, uplights, and step lights powered by a transformer. These need a smart transformer or a dedicated low-voltage controller.
- Plug-in fixtures: String lights, plug-in spotlights, and decorative fixtures. These are the simplest to upgrade with a smart outdoor outlet or plug-in switch.
Knowing which type you have also tells you whether you need to check for a neutral wire in your junction box, what hub or controller to buy, and whether a professional electrician needs to be involved.
| Lighting type | Smart control option | Complexity | Approx. cost to upgrade |
|---|---|---|---|
| Line-voltage (120V) | Smart bulb or smart switch | Low to moderate | $15 to $80 per fixture/switch |
| Low-voltage (12V) landscape | Smart transformer or zone controller | Moderate | $80 to $250 for the transformer |
| Plug-in fixtures | Smart outdoor outlet or plug | Very low | $20 to $50 |
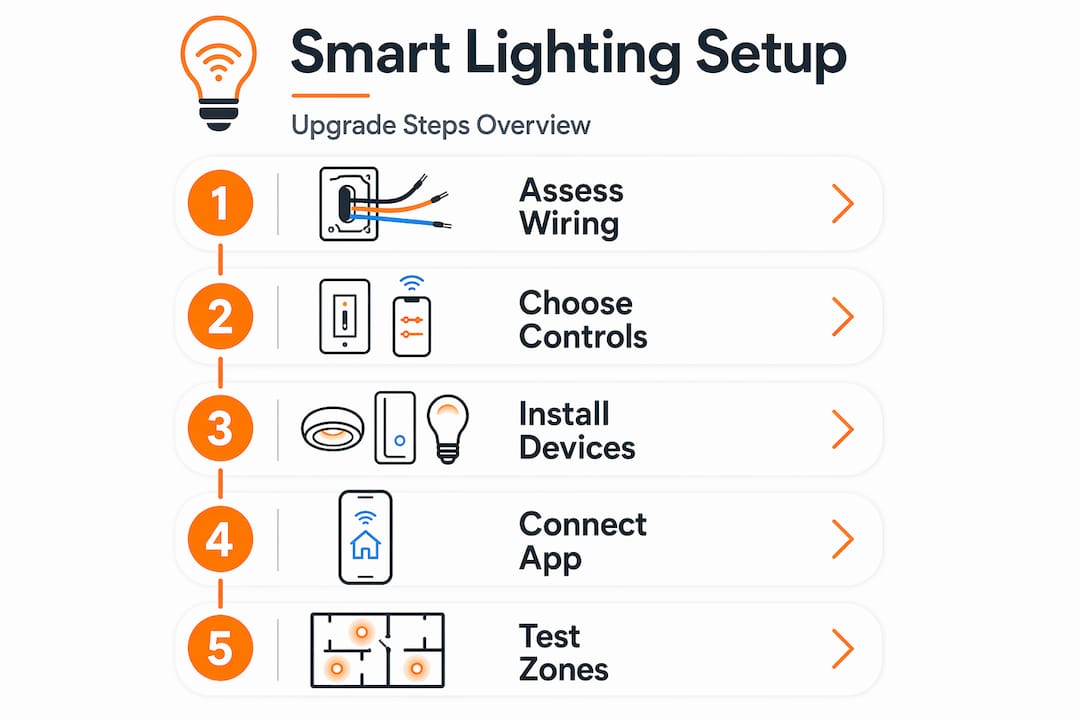
Pro Tip: Before buying anything, map your lighting architecture zone by zone. Knowing if you need smart bulbs, switches, twilight sensors, or multi-zone controllers before you shop saves you return trips and wasted money. Also review your residential lighting basics if you’re unsure about voltage and circuit types.
Choose the right smart control technology for your outdoor lights
With your setup mapped out, the next decision is which type of smart control technology fits your situation. There are three main categories, and each has real trade-offs worth knowing.
Smart bulbs are the easiest retrofit. Replace the existing bulb, download the app, and you’re done. The catch: the wall switch must stay on at all times. If someone flips it off, the bulb loses power and drops off your network. For outdoor fixtures with dedicated switches rarely touched by guests, this works well.
Smart switches give you whole-circuit control and keep your wall switch functional. They replace the existing switch in the electrical box and control every bulb on that circuit. The key compatibility issue is the neutral wire. Wiring compatibility, including neutral wire availability, is essential when choosing smart switches, especially in older DFW homes built before the 1990s. If your box lacks a neutral wire, look for “no-neutral” compatible switches or use smart bulbs instead.
Add-on controllers and sensors sit between your existing wiring and your fixtures without replacing either. Smart transformers for low-voltage landscape lighting and in-line controllers for plug-in setups fall here. These are often the best option for app-controlled outdoor lighting when you don’t want to rewire anything.
| Technology | Best for | Hub required | Wall switch needed |
|---|---|---|---|
| Smart bulbs | Line-voltage enclosed fixtures | Optional (hubless available) | Must stay on |
| Smart switches | Line-voltage multi-bulb circuits | Optional | Replaces existing switch |
| Smart transformers | Low-voltage landscape systems | Usually built-in Wi-Fi | No |
| Smart plug/outlet | Plug-in outdoor fixtures | No | No |
Hub-based systems like those using a Philips Hue Bridge create a Zigbee mesh network, which is more reliable outdoors over long distances. Hubless Wi-Fi devices are simpler to set up but can struggle if your router signal doesn’t reach the far end of your backyard. For larger DFW properties, consider home lighting automation platforms that support multi-zone management from day one.
Smart controls connect to apps, hubs, or voice assistants for remote control and automation, regardless of which category you choose.
Pro Tip: Buy one device and test it before purchasing for your whole yard. Texas heat, humidity, and the occasional hail storm stress outdoor electronics. Confirm the device holds its Wi-Fi connection reliably during a hot DFW summer before committing to a full install.
Step-by-step installation and setup process for smart outdoor lighting controls
Now that you know which technology to buy, here’s how to install and configure your smart outdoor lighting controls from start to finish.
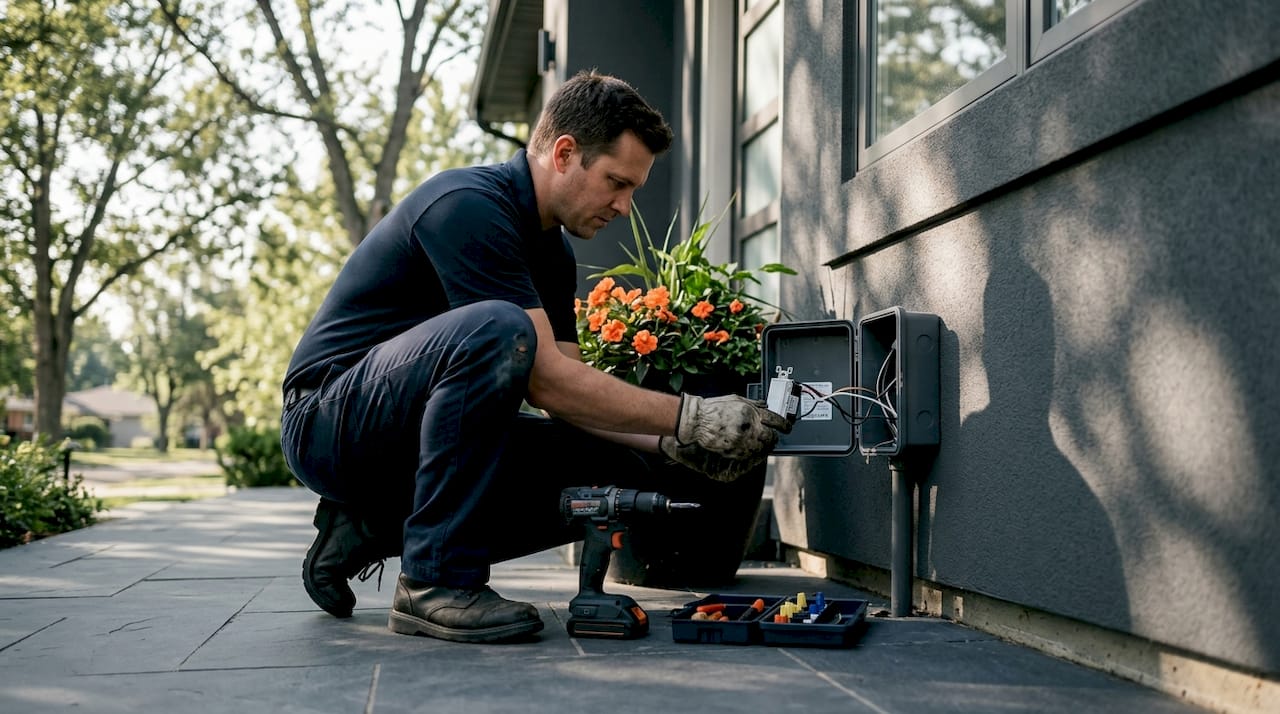
Step 1: Cut the power. Turn off the circuit breaker for the fixture or switch you’re working on. Use a non-contact voltage tester to confirm the power is off before touching any wires.
Step 2: Install your smart device.
- For smart bulbs: Remove the existing bulb and screw in the smart bulb. No wiring required.
- For smart switches: Remove the old switch, identify your line, load, neutral, and ground wires, and connect them to the labeled terminals on the smart switch. Follow the manufacturer’s wiring diagram exactly.
- For smart transformers: Replace or connect your existing low-voltage transformer with the smart unit and run the low-voltage cable to your landscape lights as before.
Step 3: Connect your hub (if applicable). The Philips Hue Bridge connects to your router creating a Zigbee mesh network where each light extends the network’s reach across your property. Plug the hub into your router with the included ethernet cable, then power it on.
Step 4: Pair devices through the app. Open your lighting control app, create an account, and follow the in-app prompts to add each device. Most apps use QR codes on the device packaging or automatic discovery over Wi-Fi.
Step 5: Organize by zone. Group fixtures into rooms or zones inside the app. Name them clearly: “Front Driveway,” “Back Patio,” “Side Gate.” This makes building automations much faster.
Step 6: Build your automations. This is where the real value starts. Smart lighting automations follow an if/then structure with triggers like motion or ambient light, and actions such as turning lights on or turning on a specific scene. Start with two or three rules and expand from there.
Common automation triggers to set up:
- Sunset and sunrise (pulls from your GPS location automatically)
- Motion detection from an outdoor sensor
- A specific time schedule for security lighting overnight
- Geofencing so lights turn on when you arrive home
Step 7: Test everything. Trigger each automation manually in the app. Walk in front of your motion sensor. Check that controlling outdoor LED lights remotely works from outside your home’s Wi-Fi. Confirm voice commands function if you use Alexa or Google Home.
Pro Tip: Set your driveway and entry lights to turn on at 50% brightness at sunset and bump to 100% only when motion is detected. You get the ambiance of low light most of the time without sacrificing security when someone approaches.
Incorporate advanced sensors and multi-zone control for ideal automation
Basic setup gets your lights smart. Sensors and zone control make them genuinely useful every day.
Twilight sensors are one of the most underused features in outdoor lighting. Instead of relying on a fixed schedule that drifts out of sync with actual sunrise and sunset times, twilight sensors measure ambient brightness to automate lighting at dusk and dawn. In DFW, sunrise and sunset shift by more than 90 minutes between winter and summer. A schedule set in January will leave your lights off for 30 minutes after dark by August. A twilight sensor corrects that automatically.
Motion sensors add security and cut energy waste. Pathway lights and backyard uplights don’t need to run all night. Pair a motion sensor with a dim base scene, and the lights brighten fully only when movement triggers them. This approach is especially effective for side yards and back gates that you rarely use.
Multi-zone controllers let you treat different areas of your property independently. Smart transformers can provide multi-zone scheduling for low-voltage landscape lighting with automatic sunrise and sunset adjustments. You might want your front elevation lights on a different schedule and brightness level than your backyard string lights or your garage accent lights. One controller handles all of them separately.
| Feature | Benefit | Best used for |
|---|---|---|
| Twilight sensor | Auto on/off based on real ambient light | All exterior zones |
| Motion sensor | Security + energy savings | Side yards, gates, driveways |
| Multi-zone controller | Independent schedules per area | Landscape with 3+ distinct zones |
| Signal repeater/mesh extender | Eliminates network dead zones | Large or deep lots |
Pro Tip: Place Wi-Fi or Zigbee repeaters no more than 30 feet apart across a large yard. In DFW, properties with long driveways or deep lots often drop connectivity at the rear. An extra smart bulb or plug-in device near the midpoint of your yard acts as a mesh repeater and costs less than $20. See how lighting zone control paired with sensors can also boost curb appeal while cutting your monthly energy use.
Troubleshooting common issues and best practices for durable smart outdoor lighting
Even with the best planning, issues can arise. Here’s how to address the most common ones before they become expensive problems.
Common issues and fixes:
- Device not pairing: Confirm your phone is on 2.4GHz Wi-Fi, not 5GHz. Most smart outdoor devices only support 2.4GHz.
- Automation not triggering: Check that your location permissions are enabled for the app. Sunrise/sunset automations rely on GPS data.
- Signal dropping: Add a smart bulb or in-line smart device midway between your router and the problem fixture to extend the mesh.
- Switch won’t install: Missing neutral wires often block smart switch installations in older homes. Check for the neutral before buying any smart switch.
- Lights stuck on after a power outage: Set your app’s “power outage behavior” to “return to previous state” so lights don’t default to full brightness every time.
Pro Tip: After any major Texas weather event, including ice storms that can knock out power for hours, manually re-test your automations. Power interruptions can reset device clocks or drop devices from the hub, especially on hub-based systems.
Safety note: Always turn off the circuit breaker before working inside any electrical box. Use outdoor-rated (UL-listed for wet locations) devices for any fixture exposed to rain or sprinkler coverage. This is not optional in Texas, where spring storms can be intense.
For deeper guidance on energy savings alongside reliability, review these home lighting troubleshooting tips covering automation errors and efficiency best practices.
Why simple, well-planned smart lighting automation beats complex setups for most homeowners
Here’s something we see constantly in DFW homes we work on: homeowners spend hours building elaborate lighting programs with 12 different scenes, time-based color shifts, and conditional rules stacked three levels deep. Then, six months later, they’ve turned most of it off because managing it became a second job.
The most satisfying smart lighting setups we encounter are the ones with the fewest rules that cover the most situations. A twilight-triggered “on” event, a motion-triggered “bright” event for the driveway, and a midnight “dim” event for security. That’s three automations, and they handle 95% of what any homeowner actually needs outdoors.
Designing smart outdoor lighting with simple scenes as destinations and if/then automations as rules helps homeowners avoid getting lost in settings. We’d add to that: pick your two or three most important triggers and build scenes around those first. You can always add complexity later, but you rarely need to.
The other reality is maintenance. A complex setup with eight zones, four hubs, and 20 individual devices has 20 points of potential failure. After a power surge or a firmware update, you might spend a weekend re-pairing everything. A simpler setup with fewer devices and one hub or controller gets you back online in 20 minutes.
We also see homeowners make the mistake of treating smart lighting as a set-and-forget project from day one. It isn’t, at least not immediately. Spend the first two weeks actively using the app, adjusting brightness levels, and refining triggers. Once those settings feel right, you genuinely can leave them alone for months. The goal is a system that fades into the background while doing exactly what you need. For a solid starting point on building smart lighting automation strategies that hold up over time, keep your initial rule count under five and expand only when a specific need arises.
Upgrade your Dallas-Fort Worth outdoor lighting with expert smart control installation
Installing smart controls yourself is very achievable, but the results depend entirely on how well the system is planned and wired. If you want a setup that works reliably from day one, handles DFW’s extreme weather, and integrates cleanly with your existing fixtures, professional installation makes a real difference.
At DFW LED Pro, we design and install permanent outdoor LED lighting systems with built-in smart control features across the Dallas-Fort Worth metroplex. Our team works with homeowners in Dallas, Fort Worth, Lancaster, and 35+ surrounding communities. We handle zone design, sensor placement, hub configuration, and app setup so you get a fully functioning smart lighting system without the trial and error. Contact us today to schedule a free consultation and see what a properly planned smart outdoor lighting setup looks like on your property.
Frequently asked questions
Can I add smart controls to any type of outdoor light fixture?
Most outdoor fixtures can be retrofitted with smart bulbs, switches, or add-on controllers, but compatibility depends on your lighting type and wiring setup. Mapping your lighting architecture before buying helps you select the right controller for each fixture type.
Do I need a neutral wire to install smart switches outdoors?
Many smart switches require a neutral wire, which may be missing in older home wiring, so it’s important to check your electrical setup before buying. Lutron’s Caséta smart switch requires a neutral wire, and missing neutrals are one of the most common installation blockers in older DFW homes.
What are the benefits of using twilight sensors for outdoor lighting?
Twilight sensors automatically turn lights on and off based on actual ambient brightness rather than a fixed clock schedule, which saves energy by matching real sunrise and sunset times. Twilight sensors conserve energy by switching lights on at dusk and off at dawn without any manual adjustment.
How do I improve wireless smart lighting network range outdoors?
Using a hub-based mesh system and placing smart lights or repeaters at regular intervals across your property extends network reach and eliminates dead zones. Each compatible light in a Zigbee mesh network acts as a repeater, improving signal across large outdoor spaces.