Holiday Lighting Setup Workflow: A Homeowner’s Guide

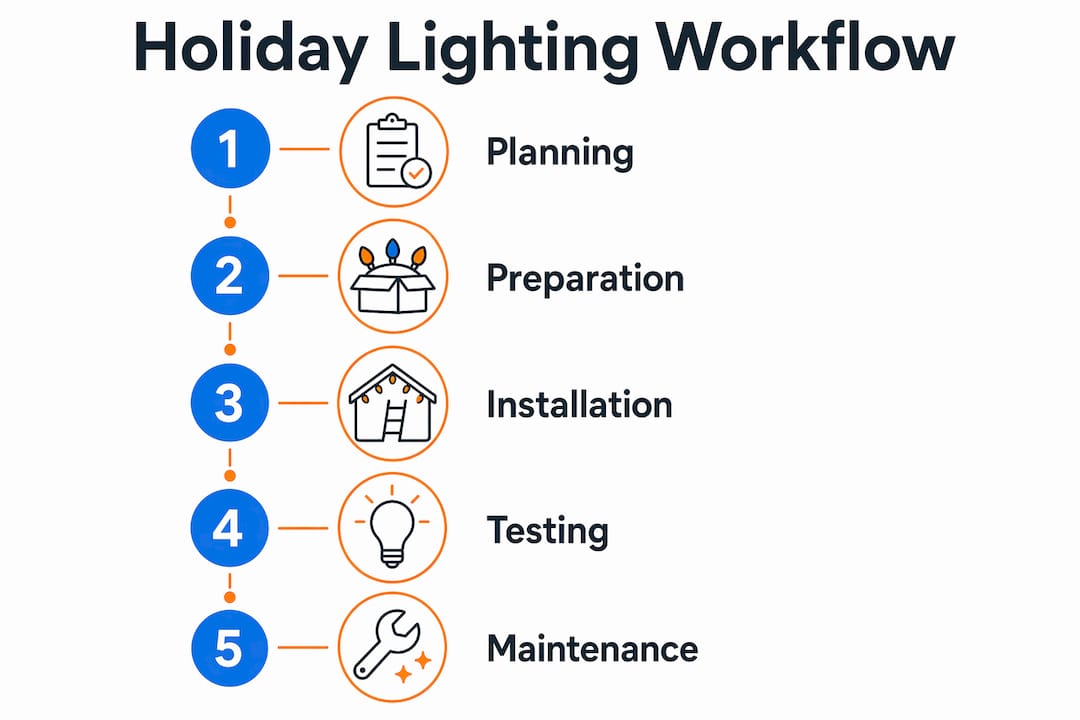
A holiday lighting setup workflow is the process of planning, preparing, and installing outdoor festive lights in a structured sequence to produce a safe, attractive, and efficient display. Most homeowners skip the planning phase entirely and end up with tangled wires, tripped breakers, and lights that fail mid-season. The professional term for this process is a lighting installation workflow, and it covers everything from measuring your roofline to programming smart timers. Follow the steps in this guide and you will cut installation time, reduce waste, and end up with a display that looks like it was done by a pro.
What tools and materials do you need before starting?
Every successful exterior house lighting workflow starts with the right tools on hand before you touch a single clip or strand. Showing up to the job without a measuring tape or weatherproof connectors adds hours to your day and forces costly last-minute trips to the hardware store.
Tools to gather before you start:
- Measuring tape (at least 25 feet)
- Mounting clips: TuffClips or Omni Clips for rooflines and gutters
- Adhesive backing for flat surfaces like fascia boards
- Flathead and Phillips screwdrivers
- Weatherproof wire connectors (gel-filled or heat-shrink style)
- Wire staple gun for cable management
- Voltage tester and GFCI outlet tester
- Ladder rated for your roof height
Lighting materials to source:
- LED string lights or permanent LED track systems
- Low-voltage cable (12 or 14 gauge) or line-voltage UF cable for buried runs
- Inline fuses and extension cords rated for outdoor use
- Photocell timer or smart outlet timer for automation
Ordering 10–15% extra wire and clips covers measurement errors and installation mishaps without a second supply run. That buffer sounds small, but on a 150-foot roofline it means having enough material to redo a full corner section cleanly.
Pro Tip: Pair a 2-outlet photocell timer with your display. Photocell timers turn lights on at dusk and off at a preset time automatically, saving energy and extending bulb life without any daily manual effort.
Planning your display early in spring secures product availability before seasonal demand causes shortages and books installer slots. If you wait until october or november, TuffClips and specific LED strands are often backordered for weeks.
How do you plan and map out your outdoor lighting layout?
Effective planning is the phase that separates a clean, professional display from a chaotic one. Measure every zone you intend to light before ordering a single product.
Start with these key measurements:
- Total roofline length (front, sides, and any dormers)
- Tree trunk circumference and canopy spread for wrap lighting
- Pathway lengths from driveway to front door
- Window perimeter for accent framing
Custom socket wire with precise 12-inch bulb spacing avoids the visual clutter you get with pre-strung commercial sets. Pre-strung sets are built for average spacing, not your specific architecture. Custom wire runs let you place bulbs exactly where the eye expects them.
Power source placement matters as much as fixture placement. Locate your outdoor GFCI receptacles before finalizing your layout. Power sources near outdoor GFCI outlets protected from weather allow safe testing and easy access during maintenance. Plan your wire runs to reach those outlets without long, exposed extension cord runs across walkways.

Load balancing is a step most homeowners skip. Divide your display across multiple circuits rather than plugging everything into one outlet. A single 15-amp circuit handles roughly 1,440 watts. Overloading it trips breakers and creates a fire risk.
Low-voltage vs. line-voltage: which system fits your home?
| Feature | Low-Voltage (12V) | Line-Voltage (120V) |
|---|---|---|
| Trench depth required | 6 inches | 18 inches |
| Installation labor cost | 30–40% lower | Higher due to deeper trenching |
| DIY suitability | High | Requires licensed electrician |
| Brightness output | Moderate | High |
| Safety risk | Low | Higher if improperly installed |
| Best use case | Pathways, accent, rooflines | High-output floodlights, large displays |
Low-voltage systems reduce labor costs by 30–40% compared to line-voltage setups because they require shallower trenching and simpler connections. For most residential holiday accent lighting workflows, low-voltage LED systems deliver the right balance of safety, cost, and visual impact.
For a deeper look at outdoor fixture placement techniques, Dfwledpro has a dedicated guide covering roofline, tree, and pathway positioning specific to DFW-area homes.
What is the step-by-step installation process for holiday lighting?
A permanent LED roofline installation typically requires 7–12 hours total, with 3–5 of those hours spent on physical track mounting. That timeline assumes a clean, prepared surface and all materials on site before day one.
Follow this sequence for a clean holiday light installation process:
- Clean and prep mounting surfaces. Remove dirt, debris, and old adhesive from fascia boards and gutters. Clips and fasteners bond better to clean surfaces and last longer through temperature swings.
- Dry-fit your entire wire run before attaching anything. Lay out the full length of wire along the roofline, around corners, and down to the power source. Confirm lengths before cutting.
- Mount clips using mechanical fasteners, not adhesive alone. Adhesive clips are insufficient for long-term use because thermal expansion and contraction in Texas summers and winters break adhesive bonds over time. Add screws or gutter clips as backup.
- Route wire cleanly. Wire routing with proper support prevents twists, pinches, and damage that cause failures months later. Tuck wire into channels or along fascia edges rather than letting it hang freely.
- Weatherproof every connection point. Use gel-filled wire nuts or heat-shrink connectors on all splices. Improper wiring is the primary cause of holiday lighting system failures, and most failures happen at connection points exposed to rain.
- Test the full system before burying or concealing any wire. Plug in the display and walk the entire run. Look for dark sections, flickering, or dimming at far ends.
- Bury or conceal wire runs. Use conduit for any above-ground wire exposed to foot traffic or mowers.
Pro Tip: Mount from one end of the roofline to the other in a single continuous pass rather than working in sections. This keeps wire tension consistent and prevents the sagging that shows up after the first rainstorm.
For a full walkthrough of permanent LED installation steps specific to DFW homes, Dfwledpro covers the process in detail including local code considerations.
How do you troubleshoot common holiday lighting issues?
Troubleshooting is efficient when you follow a fixed sequence: power, then connection, then load. This power-to-load troubleshooting sequence prevents the costly mistake of replacing working light strands before finding the actual fault.
Seasonal maintenance checklist:
- Check GFCI outlets monthly and after heavy rain
- Inspect all connection points for moisture intrusion or corrosion
- Replace any bulb showing discoloration or flickering immediately
- Test timer and photocell settings at the start of each season
- Look for sagging wire runs after high winds or ice events
- Verify clip and fastener integrity before adding new sections
Voltage drop is the most common cause of dimming or flickering at the far end of a long LED run. Power injection points at intervals along long runs restore consistent brightness by feeding power from multiple points rather than one end only. On runs longer than 50 feet, plan for at least one mid-run injection point.
Safety note: Never use indoor-rated extension cords outdoors. Never daisy-chain more than three standard light strands. Always confirm your outdoor outlets are GFCI-protected before connecting any holiday lighting system.
For a complete outdoor LED lighting checklist covering both installation and seasonal maintenance, Dfwledpro has a free resource built specifically for DFW homeowners.
Store string lights loosely coiled in labeled plastic bins, never wrapped tightly around cardboard spools. Tight wrapping stresses the wire insulation and causes micro-cracks that show up as failures the following season.
Key takeaways
A structured holiday lighting setup workflow, built on accurate measurements, correct materials, and a logical installation sequence, produces safer and longer-lasting results than any ad hoc approach.
| Point | Details |
|---|---|
| Plan before you purchase | Measure all zones and map power sources before ordering any wire or clips. |
| Buffer your materials | Order 10–15% extra wire and clips to cover errors without a second supply run. |
| Use mechanical fasteners | Adhesive clips alone fail over time; add screws or gutter clips for durability. |
| Follow the troubleshooting sequence | Work through power, then connection, then load to isolate failures without wasting parts. |
| Add power injection for long runs | Inject power at mid-run intervals on any LED run longer than 50 feet to prevent dimming. |
What i’ve learned after installing hundreds of holiday displays
Most homeowners underestimate how much the planning phase determines the final result. The instinct is to start hanging lights as soon as the ladder is out. The displays that look best and last longest are the ones where someone spent 30 minutes measuring and sketching before touching a single clip.
The advice I give every homeowner is to start with a phased approach. Phased implementation lets you start with entry paths and the front roofline, then expand to trees and accent zones in following seasons. This keeps your first-year budget manageable and gives you time to learn what works on your specific home before committing to a full permanent system.
The other thing I see go wrong consistently is over-reliance on adhesive. Adhesive works fine in mild climates. In the DFW area, where summer temperatures push past 100°F and winter ice storms hit without warning, thermal expansion destroys adhesive bonds within one or two seasons. Mechanical fasteners are not optional here. They are the difference between a display that holds through february and one that starts drooping by new year’s.
Smart controls are worth adding gradually, not all at once. A basic photocell timer costs under $20 and handles 90% of what most homeowners need from automation. Once you are comfortable with that, adding a Wi-Fi smart outlet or a full app-controlled system like JellyFish Lighting makes sense. Trying to set up a complex smart outdoor lighting workflow on day one adds unnecessary complexity to an already full installation day.
Safety and code compliance are not optional considerations. Every connection point exposed to weather needs proper weatherproofing. Every outdoor circuit needs GFCI protection. These are not suggestions from cautious installers. They are the baseline requirements that keep your home and family safe.
— Adrian
Let Dfwledpro handle your holiday lighting this season
If the installation process sounds like more than you want to take on yourself, Dfwledpro installs permanent LED lighting in Fort Worth and across 35+ DFW cities including Arlington, Mansfield, Grand Prairie, Burleson, and Cedar Hill. We are the official authorized JellyFish Lighting dealer for the Dallas-Fort Worth metroplex, which means you get a system built to last year-round, not just through the holidays.
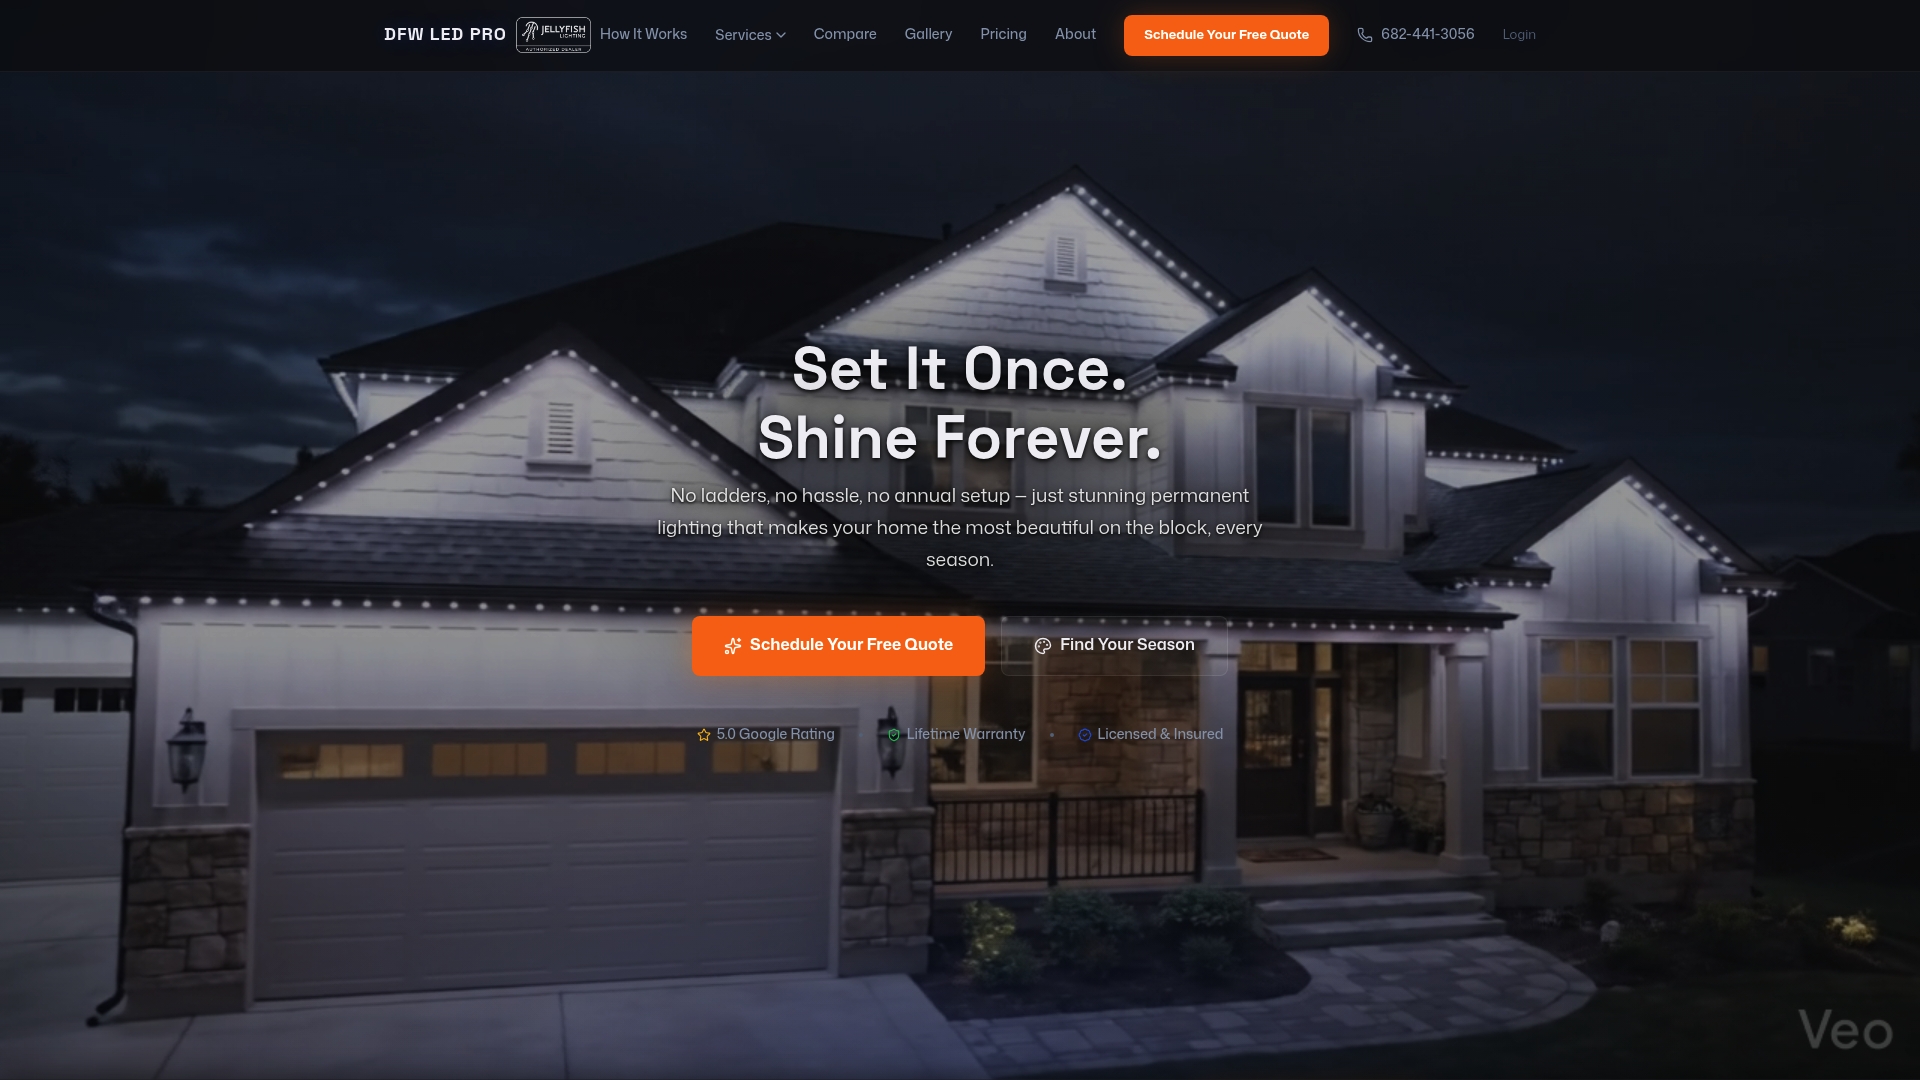
JellyFish permanent LED systems give you full app control over color, brightness, and scheduling. You set it once and the system handles every holiday automatically. No ladders, no storage bins, no annual reinstallation. Explore JellyFish permanent LED lighting options or contact Dfwledpro directly to schedule a free property assessment.
FAQ
What is a holiday lighting setup workflow?
A holiday lighting setup workflow is a structured process covering planning, material prep, installation, and testing for outdoor festive lights. Following a defined sequence reduces errors, saves time, and produces a safer display.
How early should i start planning my holiday lighting?
Start planning in spring to secure product availability and installation slots before seasonal demand peaks. Waiting until october or november often means backordered materials and fully booked installers.
How do i prevent voltage drop in long LED runs?
Add power injection points at intervals along any run longer than 50 feet. Voltage drop causes dimming and flickering at the far end of a run when power feeds from only one point.
Are adhesive clips enough for permanent holiday lighting?
Adhesive clips are not sufficient for long-term use. Mechanical fasteners prevent failures caused by thermal expansion and contraction, especially in climates with extreme temperature swings like the DFW area.
What is the fastest way to troubleshoot a section of lights that won’t turn on?
Follow the power-to-load sequence: check the outlet and GFCI first, then inspect connection points, then test individual strands or bulbs. This sequence isolates the fault without replacing parts that are still working.