How to Install Permanent Outdoor LED Lights in DFW
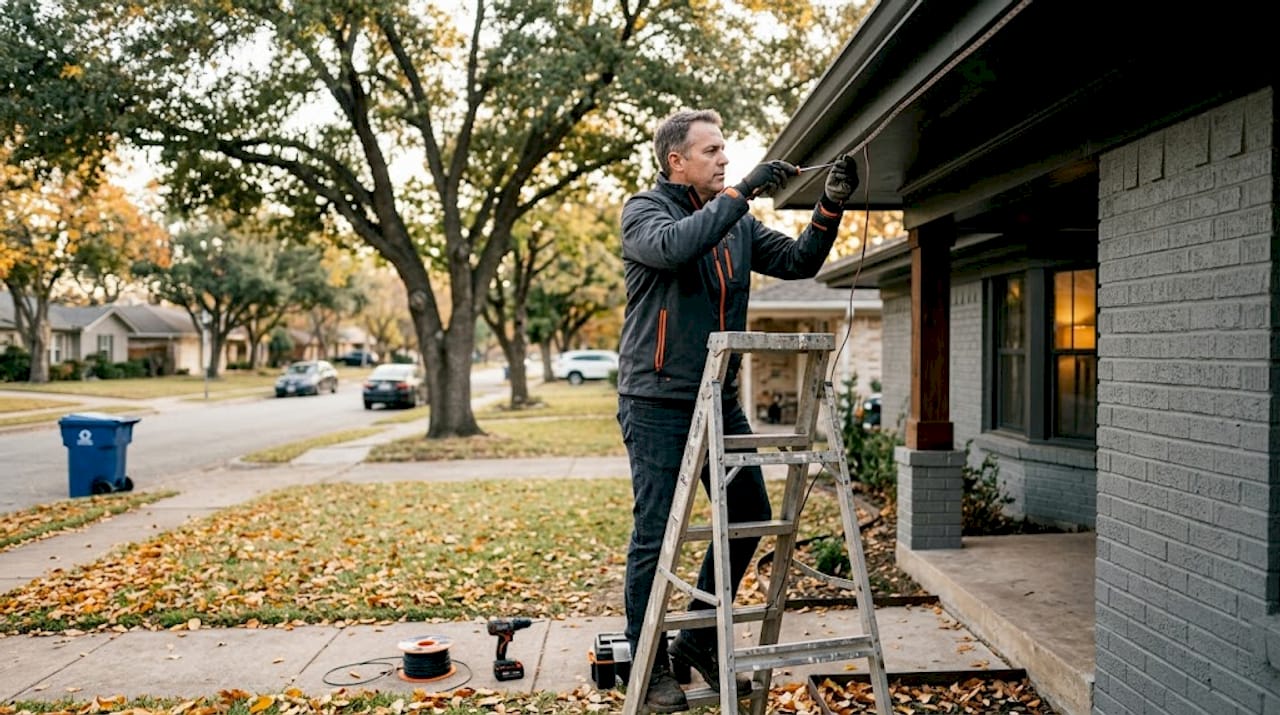
Every fall, thousands of DFW homeowners drag out tangled strands of temporary lights, spend hours on ladders stapling them to gutters, and watch them sag, burn out, or blow away in a Texas thunderstorm before the season even ends. It’s a cycle that wastes time, money, and patience. Permanent outdoor LED lighting breaks that cycle entirely. Installed once along your roofline, soffit, or fascia, these systems deliver professional-grade illumination for every holiday, event, and ordinary evening, while adding measurable curb appeal and resale value to your home. This guide walks you through exactly what it takes to install permanent LED lighting the right way in the Dallas-Fort Worth area.
Table of Contents
- What you’ll need: Tools, materials, and key requirements
- Step-by-step installation process for permanent LED lighting
- Overcoming wiring challenges: Voltage drop, transformer sizing, and weatherproofing
- Verifying and maintaining your permanent LED lighting setup
- The truth about permanent outdoor lighting: What most guides miss
- Professional solutions for your DFW permanent lighting project
- Frequently asked questions
Key Takeaways
| Point | Details |
|---|---|
| Plan and prep carefully | Having the right tools, materials, and code knowledge ensures safer installations and fewer headaches. |
| DIY or pro—choose wisely | Professional installers are essential for complex, multi-story setups or advanced system integration. |
| Weatherproof for DFW | IP65/IP67 protection and GFCI outlets are crucial for storm-safe outdoor LED lighting. |
| Maintenance matters | Regular checks keep your permanent lighting reliable and add long-term value to your property. |
What you’ll need: Tools, materials, and key requirements
Now that you’re motivated to upgrade your lighting, let’s make sure you’re fully prepared with the right materials and safety requirements before anything goes up on your home.
Permanent LED lighting basics differ from the cheap strand lights most homeowners are used to. These systems run on low-voltage systems (12 to 24V) plugged into GFCI-protected outdoor outlets, with transformers mounted a minimum of 12 inches above ground. That low-voltage design keeps the system safe, energy-efficient, and compatible with smart controllers.
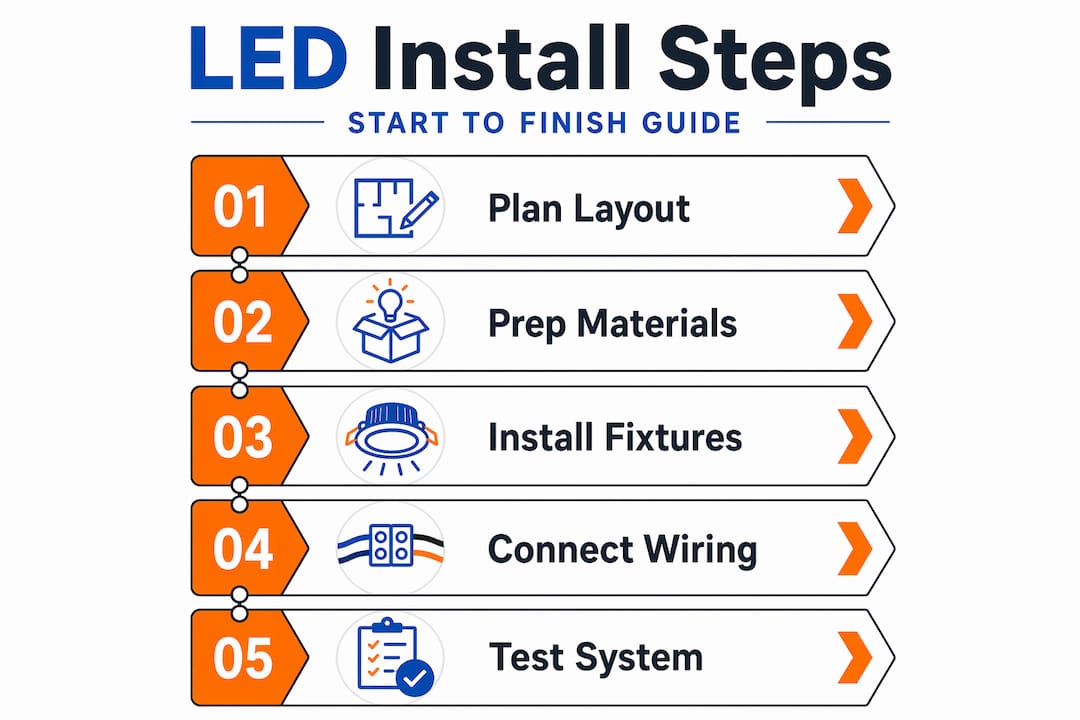
Here’s a quick-reference table covering the essential materials and their purpose:
| Item | Purpose | Code/safety note |
|---|---|---|
| 12 or 14-gauge outdoor wire | Carries power to fixtures | Use 12-gauge for runs over 100 feet |
| Low-voltage transformer (150W to 600W) | Steps down power to safe voltage | Mount 12+ inches above ground |
| GFCI outlet (outdoor rated) | Protects against ground faults | Required by NEC 2026 for all outdoor receptacles |
| Weatherproof outlet cover | Seals outlet from rain and moisture | In-use covers required outdoors |
| LED fixtures (IP65 or IP67 rated) | Provides actual illumination | IP67 rated for submersion to 1 meter |
| Soffit or fascia mounting clips | Holds fixtures flush against home | Match clip style to fixture housing |
| Wire connectors and waterproof caps | Secures and seals all junctions | Prevents corrosion and shorts |
| Laser level | Ensures straight, even alignment | Prevents the “sagging look” |
| Drill and appropriate bits | Mounts clips and hardware | Use masonry bits for brick sections |
Understanding outdoor lighting terminology like IP ratings, gauge sizes, and transformer load capacity will help you make smarter decisions at the supply house. IP65 fixtures resist water jets from any direction. IP67 fixtures can handle brief submersion. For DFW conditions, which include heavy spring thunderstorms, hail, and high humidity, we always recommend IP67 as the minimum standard.
Checklist before you start:
- Locate and mark all outdoor GFCI outlets and verify they are working
- Identify your planned wire run distances from transformer to each zone
- Confirm your transformer’s total watt capacity covers all planned fixtures
- Check your city’s current codes for permit requirements on exterior electrical work
- Gather all mounting hardware sized for your specific soffit or fascia material
Pro Tip: Buy your fixtures from a licensed dealer who stocks IP67-rated housings specifically engineered for temperature swings. DFW summer heat regularly pushes attic and soffit surface temperatures past 140°F, and budget-grade fixtures degrade fast under those conditions.
Step-by-step installation process for permanent LED lighting
With your supplies and understanding of local codes squared away, it’s time to tackle the installation process step by step.
Here is the full installation sequence from prep to final power-on:
- Plan your layout on paper. Measure your roofline, mark fixture spacing at 4-inch intervals, and identify where wire runs will travel through the soffit back toward the transformer location.
- Install the transformer. Mount the transformer on an exterior wall near your GFCI outlet, at least 12 inches off the ground. Use weatherproof hardware and make sure the unit is accessible for future programming.
- Run your wiring. Feed 12 or 14-gauge wire from the transformer to each zone. Where possible, run wire through the soffit cavity to keep it hidden. Secure wire with staples every 24 inches to prevent sagging.
- Mount the clips or channel. For precise alignment, use a laser level to snap a chalk line along the roofline before mounting clips. Space clips or mounts at the spacing specified by your fixture manufacturer, typically 4 inches apart, and use extension wires to bridge any gaps over windows or architectural features.
- Install the LED fixtures. Snap each fixture into the clip or channel. Connect each fixture’s pigtail wires to the main run using waterproof wire connectors. Double-check polarity (positive to positive) at every connection.
- Connect the transformer zones. Attach each wire run to the correct zone terminal on the transformer. Most multi-zone transformers support 4 to 6 independent zones, which lets you control sections of your home independently.
- Program and test. Power the transformer on, load your desired scene or color, and walk the perimeter of your home to check every fixture.
DIY vs. professional installation
| Factor | DIY | Professional |
|---|---|---|
| Cost | Lower upfront | Higher upfront, lower lifetime cost |
| Safety on multi-story homes | High risk without proper equipment | |
| Code compliance | Homeowner responsible | Handled by licensed installer |
| Alignment quality | Varies by skill | Consistent, laser-level straight |
| Warranty coverage | May be voided | Maintained with authorized dealer |
| Time to complete | 1 to 3 days | 4 to 8 hours typical |
Safety warning: Multi-story installations are not a DIY project. Working from extension ladders at roofline height while managing wire, fixtures, and tools simultaneously creates serious fall risk. Professional installers use bucket trucks and follow OSHA guidelines for elevated work. Code-compliant wiring and IP67 weatherproofing standards are also harder to verify without training and proper test equipment.
For single-story installations with accessible soffits, confident DIYers can manage this project. But for two-story or more complex homes, the durable outdoor LED tips we consistently share point toward professional installation as the smart call for long-term reliability.
Pro Tip: Use a laser level, not a chalk line alone, to set your mounting height. Even a slight drift of a quarter inch over a 40-foot roofline becomes obvious once the lights are on and visible from the street. Get it straight the first time.
Overcoming wiring challenges: Voltage drop, transformer sizing, and weatherproofing
After the physical installation, you need to make sure your lighting performs reliably, especially as you scale up or run wires over longer distances.
Voltage drop is the most common technical problem in permanent LED installations. When voltage drops too low at the end of a long wire run, fixtures dim or flicker. Here’s how to prevent it:
- Use 12-gauge wire for any run exceeding 100 feet. Thinner 14-gauge wire is acceptable for shorter runs but loses too much voltage over longer distances.
- Switch to a hub-and-spoke layout for large properties. Instead of daisy-chaining all fixtures along one continuous wire, run a home run from the transformer to a central hub near the roofline, then branch out from there. This keeps wire runs short and voltage consistent across all fixtures.
- Size your transformer at 80% of its maximum load. The formula is simple: add up the total wattage of every fixture you’re installing, then multiply that number by 1.25. That result is the minimum transformer capacity you need. For example, 40 fixtures at 3 watts each equals 120 watts total, so you need at least a 150-watt transformer.
- Never exceed 80% of a transformer’s rated capacity. Running a transformer at full load generates heat and shortens its lifespan. Staying at 80% keeps it running cool and dependable.
Weatherproofing deserves serious attention in the DFW climate. North Texas gets hail, wind-driven rain, high humidity, and temperature swings that can span 70°F between winter lows and summer highs. Every wire connection exposed to the elements needs a waterproof wire nut or gel-filled connector, not standard twist-on connectors.
Check the best permanent lighting guide for specific product recommendations that hold up under Texas conditions. The fixtures and connectors that work in mild climates often fail within two seasons here.
- Seal any penetration through the soffit with exterior-grade silicone caulk
- Inspect all wire entry points annually for cracks or pest intrusion
- Use UV-resistant wire rated for direct sun exposure along any exposed roofline sections
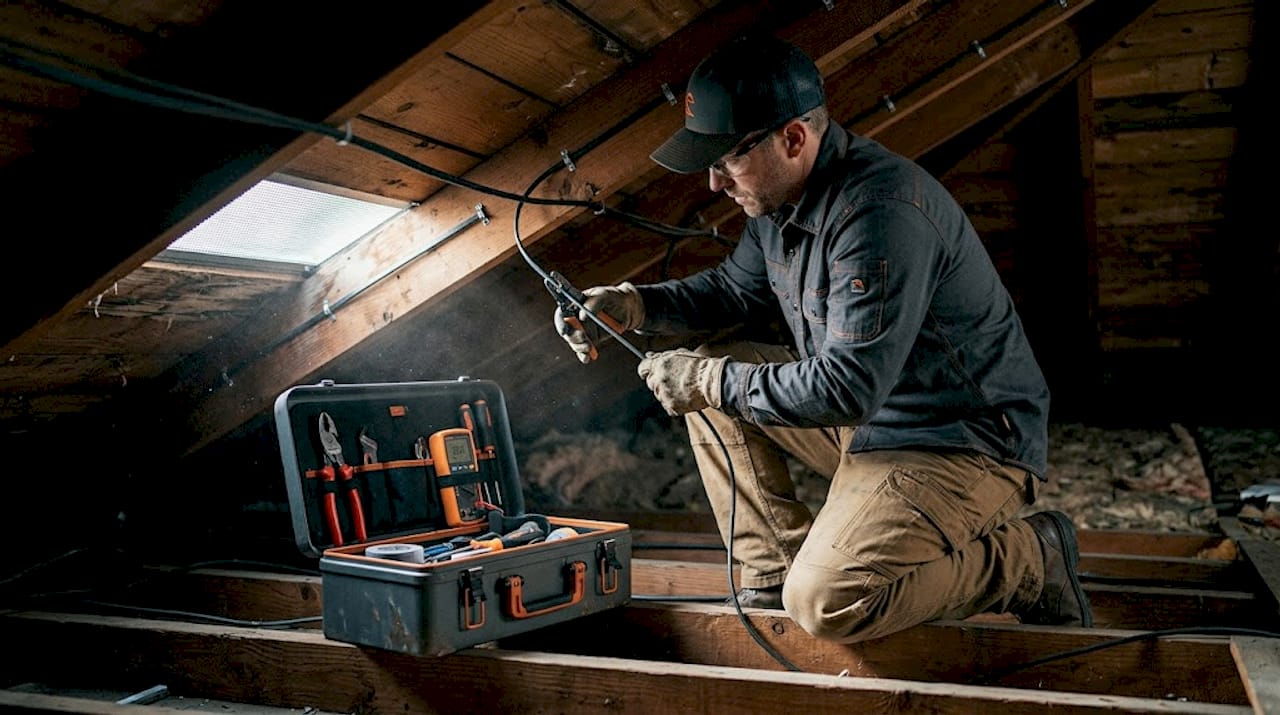
Pro Tip: When running wire through an unconditioned attic space above the soffit, use wire rated for 90°C (194°F). Standard wire rated for 60°C can degrade quickly in a Texas attic during summer months.
Verifying and maintaining your permanent LED lighting setup
Once your lighting is installed and wired correctly, let’s make sure your system stays bright and beautiful for years to come.
Follow this final verification checklist before calling the job complete:
- Power on each transformer zone individually and confirm all fixtures in that zone illuminate fully.
- Walk the perimeter of your home and visually inspect every fixture for consistent color and brightness. Flag any dimmer fixtures for connection re-check.
- Test your GFCI outlet by pressing the “test” button on the outlet face. The transformer and all fixtures should cut power immediately. Press “reset” to restore power.
- Confirm low-voltage systems are reading 12 to 24V at the transformer terminals using a multimeter. Voltage outside that range signals a wiring problem.
- Run a full color cycle through your controller app to verify every pixel and zone responds correctly.
- Check that all weatherproof covers, wire caps, and soffit penetrations are fully sealed.
Ongoing maintenance schedule:
- Every 6 months: Visually inspect all fixtures for physical damage, fading, or loose clips
- Every 6 to 12 months: Check all wire connections for corrosion or loosening, especially after a hail event
- Annually: Wipe fixture lenses clean with a soft cloth and mild cleaner to maintain light output
- After major storms: Walk the perimeter and look for any fixtures knocked out of alignment or clips pulled loose
These LED value assessment factors matter when calculating total ownership cost. A well-maintained permanent LED system can deliver 10 to 15 years of consistent performance. Neglected systems start showing failures within 3 to 5 years.
Pro Tip: If a section of lights flickers intermittently, the most common cause is a loose wire connection at a junction point, not a failed fixture. Before replacing anything, re-seat every connector in the flickering zone. Nine times out of ten, that solves it.
Use the lighting setup checklist we’ve put together for DFW homeowners to stay on top of seasonal maintenance reminders.
The truth about permanent outdoor lighting: What most guides miss
Most installation guides stop at the technical steps. They tell you what wire to buy and how to mount a clip, but they skip the factors that actually determine whether your lighting system performs beautifully a decade from now or becomes an expensive regret.
Here’s what we’ve learned from installing permanent LED systems across 35+ DFW cities: the installer matters more than the equipment. A premium fixture installed with sloppy wire connections and misaligned clips will look worse within two years than a mid-grade fixture installed with precision. Workmanship drives longevity.
The second overlooked factor is aesthetic alignment with your home’s architecture. Permanent lighting isn’t just about brightness. It’s about how the light sits against your roofline, how it transitions around corners, and whether it enhances or fights your home’s existing design. We’ve seen beautiful homes hurt by poorly placed lighting that draws attention to awkward transitions or uneven fascia lines. Getting this right requires a site assessment before installation, not after.
“After years of installations across Fort Worth, Mansfield, and Arlington, we’ve found that homeowners who invest in a proper pre-installation consultation end up with results they’re proud of for the full life of the system. The ones who skip that step often come back asking for repositioning work within the first year.”
Code compliance is the third factor most guides gloss over. In DFW, municipal codes vary by city, and HOA requirements add another layer. A lighting installation that’s code-compliant in Grand Prairie may need additional permits in Southlake. Non-compliant installations can create problems during a home sale, when inspectors flag unpermitted electrical work as a defect. Choosing an authorized, licensed installer means this is handled for you, and it’s documented correctly for any future buyer.
Learning lighting basics perspective upfront helps you ask the right questions and evaluate installer quality before you sign anything. The best permanent lighting result combines quality hardware, skilled installation, and a clear understanding of your local codes.
Professional solutions for your DFW permanent lighting project
Ready to upgrade your home? Here’s how to connect with trusted pros in the Dallas-Fort Worth area for stellar LED lighting results.
At DFW LED Pro, we’re the official authorized JellyFish Lighting dealer for the entire Dallas-Fort Worth metroplex, serving homeowners across 35+ cities. Every installation we complete is code-compliant, professionally aligned, and backed by the JellyFish Lighting warranty.
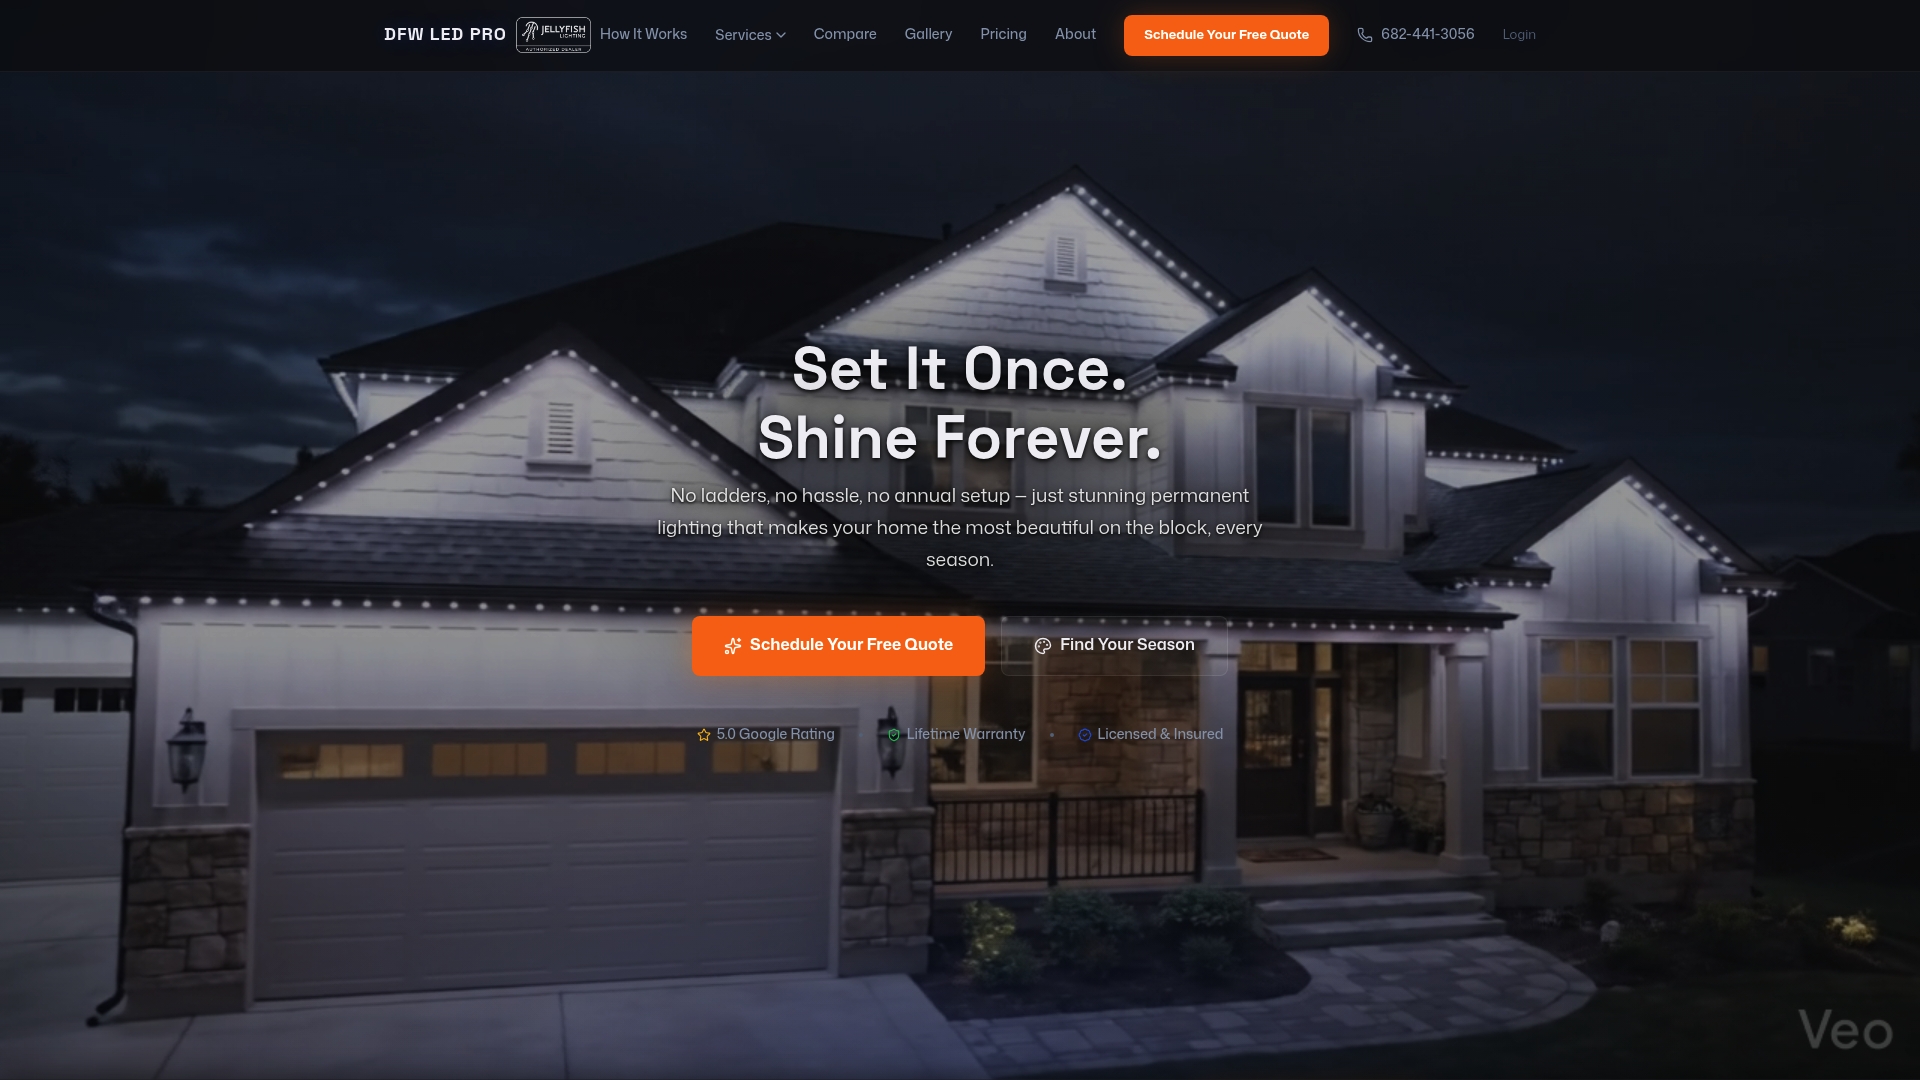
If you’re in the Fort Worth area, explore our Fort Worth LED installation services to see system options and request a free consultation. Dallas homeowners can check out our Dallas LED installation page for detailed project examples and pricing. We handle everything from the initial site assessment through final testing, so you get a system that works flawlessly from day one without the guesswork.
Frequently asked questions
Do I need a permit to install permanent outdoor LED lighting in DFW?
Permits may be required depending on your city, since any work involving outdoor electrical outlets or new transformer wiring can trigger local code review. Always check your specific Dallas-Fort Worth municipality’s requirements before starting any installation.
What size transformer should I use for my LED lighting system?
Size your transformer by multiplying your total fixture wattage by 1.25 to get the minimum capacity needed, which keeps your unit running at a safe 80% load for maximum lifespan.
Are permanent LEDs safe during storms or heavy rain?
Yes, as long as fixtures carry an IP65 or IP67 rating and your system uses GFCI-protected outlets with weatherproof covers, your permanent LED system is engineered to handle rain, wind, and the heavy storm conditions common in North Texas.
How often should I check or maintain my installed lights?
Plan for a visual inspection every 6 months, with a more thorough check of connections and weatherproofing annually, and always do a quick walk-around after any significant hail or wind event.