Top LED lighting tips for durable outdoor results in South DFW
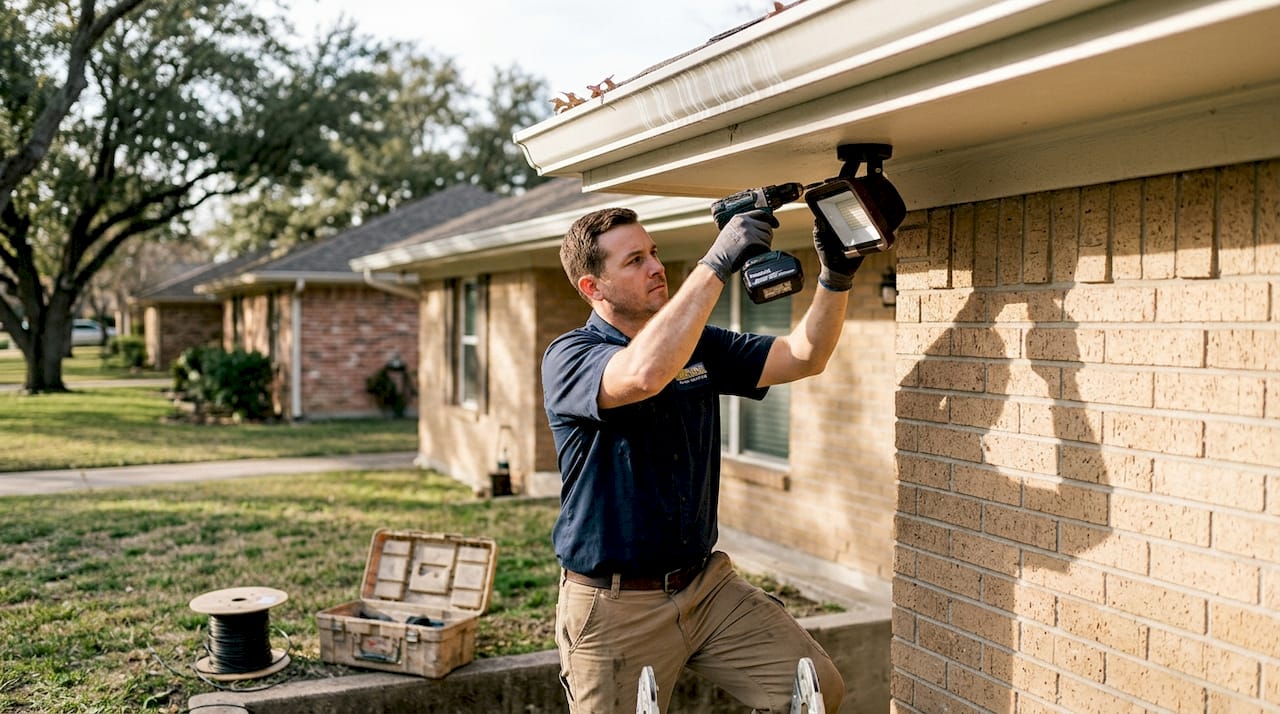
South DFW’s summers are brutal. Triple-digit heat, sudden hailstorms, and humidity that creeps in overnight put serious stress on outdoor LED lighting systems. Most homeowners discover this the hard way after spending good money on fixtures that fail within a season or two. The good news is that failure is almost always preventable. With the right product choices, proper mounting techniques, and smart controls, you can install permanent outdoor LED lighting that looks great and holds up for years. This guide covers the practical, field-tested tips we use every day across Arlington, Mansfield, Fort Worth, and the surrounding communities.
Table of Contents
- Start with safety: Choose low-voltage, weatherproof systems
- Focus on proper installation: Secure and smart mounting
- Choose materials built for Texas weather
- Optimize performance: Power, layout, and smart control
- Understand costs, ROI, and when to go pro
- Why most DIY LED installs fail in South DFW (and what actually works long-term)
- Get expert results for your South DFW home
- Frequently asked questions
Key Takeaways
| Point | Details |
|---|---|
| Go low-voltage and weatherproof | 12V systems with IP65+ fixtures deliver the safest, longest-lasting results for South DFW homes. |
| Use mechanical mounting | Clips and screws outperform adhesives, preventing failures in harsh Texas heat and humidity. |
| Pick the right materials | Powder-coated aluminum or stainless fixtures avoid corrosion and last longer than plastic. |
| Understand cost and ROI | Professional LED installs cost $3.5k-8k and typically pay for themselves in energy savings within 2 years. |
| When in doubt, hire a pro | Certified installers handle codes, design, and warranties for worry-free, beautiful results. |
Start with safety: Choose low-voltage, weatherproof systems
Building a solid foundation starts with safety and system selection. The single most important decision you’ll make is choosing a 12V low-voltage LED system. Unlike standard 120V line-voltage systems, 12V setups dramatically reduce shock risk, especially around wet rooflines, patios, and landscaping. They’re also far more forgiving if a wire gets nicked during installation.
But voltage alone doesn’t protect your investment. You also need fixtures rated for real outdoor exposure. That’s where the IP rating matters. IP stands for Ingress Protection, and it tells you how well a fixture resists dust and water. For South DFW conditions, you want a minimum of IP65, which means the fixture can handle direct water jets from any direction. IP66 or higher adds protection against powerful water streams and is worth the upgrade for exposed roofline applications.
Here’s what to look for when evaluating any outdoor LED fixture:
- IP65 or higher for all exposed fixtures
- GFCI-protected circuits for any outdoor outlet or junction
- Weatherproof enclosures for all power connections and transformers
- UV-resistant lenses to prevent yellowing and cracking in Texas sun
- Thermal management features like heat sinks or vented housings
Texas electrical code requires GFCI protection on all outdoor circuits, and local inspectors in cities like Fort Worth and Arlington take this seriously. Skipping it isn’t just a code violation, it’s a real safety hazard. As noted in Texas electrical weatherproofing guidelines, you should use IP65+ rated fixtures for safety and durability in South DFW’s heat, humidity, and storms.
For Dallas-area LED installation tips, understanding these ratings upfront saves you from buying fixtures that look fine in the store but fail in the field.
Pro Tip: Use NEMA 3R or NEMA 4X rated outdoor boxes for all power connections. NEMA 4X adds corrosion resistance, which matters in South DFW’s humid summers. Standard weatherproof covers sold at big-box stores often don’t meet this standard.
You can also explore energy savings with LEDs to understand how the right system choice affects your monthly utility bill from day one.
Focus on proper installation: Secure and smart mounting
After selecting safe, weatherproof products, precise installation is the next key step for durability. Even the best fixture will fail early if it’s mounted incorrectly. In South DFW, the two biggest culprits are adhesive failure and improper spacing.
Adhesive-backed LED strips are popular because they’re fast and easy. The problem is that South DFW summers regularly push attic and roofline temperatures past 140°F. At those temperatures, most 3M-style adhesive tapes lose their grip within one to two seasons. Once a strip pulls away from the surface, water gets behind it, and the failure accelerates quickly.
Here’s the right way to mount permanent outdoor LED strips and fixtures:
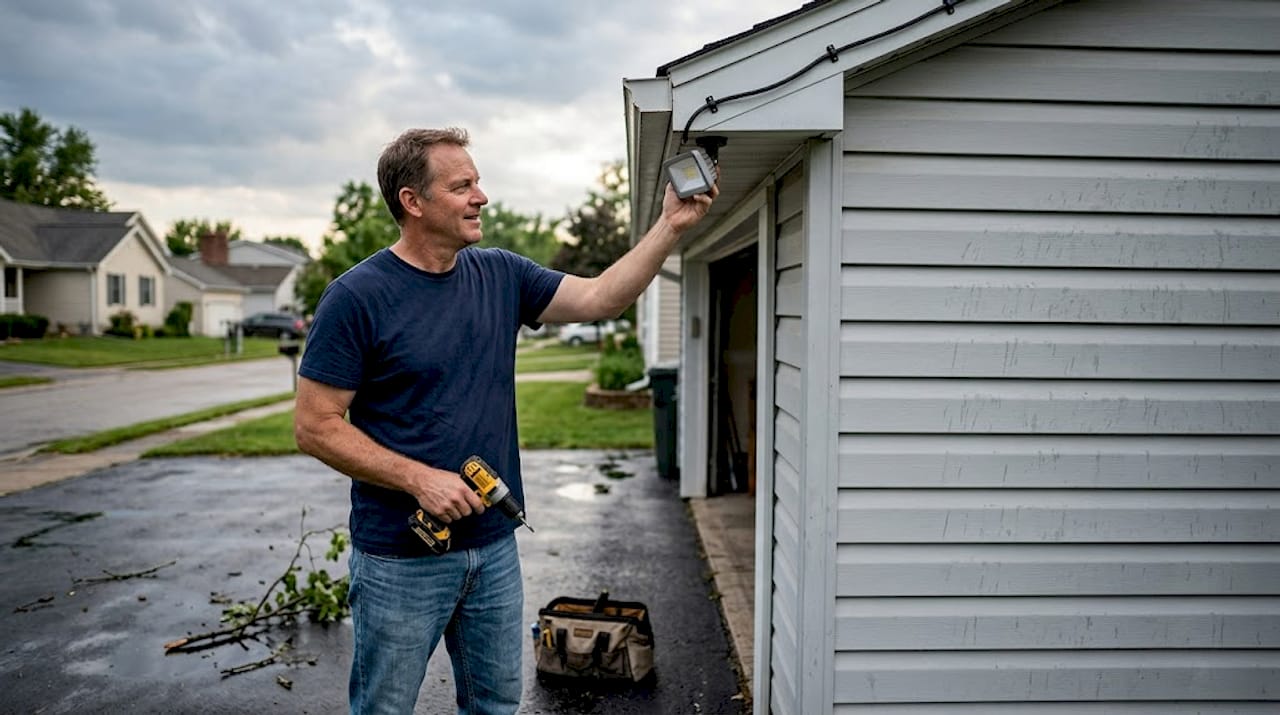
- Use mechanical fasteners first. Aluminum mounting clips or stainless screws should be your primary attachment method, not tape.
- Space clips every 12 to 18 inches along the run to prevent sagging and wind movement.
- Mount roofline strips 2 to 4 inches from the wall to allow airflow and prevent moisture buildup behind the fixture.
- Seal all penetrations where wires pass through fascia or soffits using outdoor-rated silicone caulk.
- Test every GFCI outlet before final installation and after any heavy rain.
- Label all circuits so future troubleshooting is fast and accurate.
“For permanent eaves and roofline installs,
mount 2-4 inches from wall using mechanical clips and screws, not adhesive alone, to prevent failure in heat and humidity.”
For homeowners considering a full roofline system, our Lewisville expert installation page shows real examples of how proper mechanical mounting looks on finished homes.
Pro Tip: If you’re mounting on painted wood fascia, use stainless steel screws to prevent rust streaks. On brick or stucco, use masonry anchors rated for outdoor use. The mounting surface matters as much as the clip itself.
Wind is also a factor many homeowners underestimate. South DFW sees strong spring storms with gusts that can exceed 60 mph. A strip that’s only taped down will flex, pull, and eventually separate. Mechanical clips hold firm through those conditions.
Choose materials built for Texas weather
With a secure installation plan in place, next up is choosing smart, durable materials. The fixture housing and hardware you choose will determine whether your system looks great in five years or starts corroding after two.
The best materials for South DFW outdoor LED fixtures are:
- Powder-coated aluminum: Lightweight, corrosion-resistant, and holds up well against UV exposure and humidity
- 316 stainless steel: The premium choice for hardware like screws, clips, and brackets; resists rust even in humid conditions
- Brass: Excellent for decorative fixtures; naturally corrosion-resistant and develops a stable patina over time
What to avoid:
- Uncoated or non-anodized aluminum: Oxidizes quickly in humid conditions
- Standard plastic housings: Become brittle under UV exposure and crack in temperature swings
- Zinc die-cast hardware: Corrodes faster than stainless in South DFW’s humidity
For fixtures installed on eaves or in areas exposed to rain, look for IP66+ rated housings with barometric venting. Barometric venting allows pressure to equalize inside the fixture without letting water in. This prevents the “humidity pumping” effect, where temperature swings force moist air into sealed fixtures and cause internal condensation.
As outlined in Texas outdoor weatherproofing standards, powder-coated aluminum and stainless steel are the recommended choices for corrosion resistance in humid Texas climates.
| Material | Corrosion resistance | Weight | Best use |
|---|---|---|---|
| Powder-coated aluminum | High | Light | Eave strips, channel mounts |
| 316 stainless steel | Very high | Medium | Screws, clips, brackets |
| Brass | High | Medium | Decorative fixtures, path lights |
| Standard plastic | Low | Very light | Avoid for permanent installs |
| Zinc die-cast | Low | Medium | Avoid in humid climates |
Our Fort Worth LED materials page covers specific product lines we install locally, including options that meet these material standards.
Optimize performance: Power, layout, and smart control
Beyond materials, optimizing your power setup, layout, and controls delivers the best lighting effect and longest system life. Texas heat directly affects how much current your wiring can safely carry. In technical terms, high ambient temperatures derate ampacity, meaning your wire can handle 25% less current in summer heat than the same wire would in cooler climates. Ignoring this leads to overheated wiring and tripped breakers.
To manage power correctly:
- Use thicker wire gauge than the minimum. If the minimum spec calls for 18 AWG, use 16 AWG or 14 AWG for South DFW installs.
- Split long runs. Instead of one 100-foot run, use two 50-foot runs fed from a central point to reduce voltage drop.
- Add heat sinks to driver boxes and transformers installed in direct sun.
- Use breathable vents rather than fully sealed enclosures for transformer housings.
For LED power management tips, understanding voltage drop is essential. A 10% voltage drop causes noticeable dimming and color shift in LED strips.
| String length | Recommended wire gauge | Max power budget |
|---|---|---|
| Up to 25 ft | 18 AWG | 60W |
| 25-50 ft | 16 AWG | 80W |
| 50-100 ft | 14 AWG | 100W |
Smart controls add real value. App-controlled systems like JellyFish Lighting let you schedule on/off times, change colors for holidays, and dim lights automatically after midnight. This saves energy and extends LED lifespan by reducing run hours. Check out Euless smart LED setups for examples of how smart controls look in practice.
For layout, prioritize eaves for maximum coverage, add wall wash lighting on garage faces, use accent lighting on trees and landscaping, and position security lighting at entry points and dark corners.
Understand costs, ROI, and when to go pro
Optimizing layout and controls sets the stage, but understanding costs and professional options brings it all together. For a mid-size South DFW home, expect a professional install to run $3,500 to $8,000, depending on home size, fixture count, and system complexity. That range covers design, materials, labor, and warranty.
Here’s what drives cost:
- Linear footage of eave coverage
- Number of accent and security zones
- Smart control system integration
- Permitting requirements (required for line-voltage work)
- Material grade (aluminum vs. stainless hardware)
The ROI is typically 1 to 2 years when replacing older halogen or incandescent systems. LEDs use 75% to 80% less energy for the same light output. On a home running outdoor lights 6 hours per night, that’s real money back in your pocket every month.
Properly installed and thermally managed LED systems last 50,000 hours or more. At 6 hours per night, that’s over 22 years of runtime. The key phrase is “properly managed,” which means correct wire sizing, heat management, and quality fixtures from the start.
When should you hire a pro? Any time the install involves:
- Line-voltage wiring (120V or higher)
- Permit requirements from your city
- HOA approval with specific aesthetic standards
- Warranty-backed systems that require certified installation
For LED lighting costs and ROI, our blog breaks down real project numbers from homes across the DFW area.
Why most DIY LED installs fail in South DFW (and what actually works long-term)
Having covered evidence-backed tips, here’s a frank perspective from the field. We’ve inspected hundreds of DIY LED installs across South DFW, and the failure patterns are remarkably consistent. Tape mounting is the number one culprit, followed closely by undersized wire and skipped GFCI protection. These aren’t random failures. They’re predictable outcomes of shortcuts that seem reasonable in cooler climates but simply don’t hold up in Texas.
What separates a system that lasts five or more years from one that fails in the first summer? It comes down to three things: mechanical mounting, properly derated wiring, and code compliance. The installs we see on real-world Dallas installations that hold up year after year all share these traits. They were planned for Texas weather, not just installed and hoped for the best.
The upfront investment in quality materials and professional installation almost always costs less than two rounds of DIY repairs. Repeat fixes add up fast, and they rarely address the root cause.
Get expert results for your South DFW home
If you want permanent outdoor LED lighting that holds up through Texas summers, looks exactly right, and doesn’t require seasonal repairs, working with a certified installer is the straightforward path to that outcome.
At DFW LED Pro, we handle everything from design and material selection to code-compliant installation and post-install support. Whether you’re looking at full roofline coverage, JellyFish patio options, security lighting, or accent zones, we bring the same attention to detail to every project. We serve homeowners across Lancaster, Midlothian, and 35+ cities throughout the metroplex. Getting a quote is simple, and our team is ready to walk you through options that fit your home and your budget.
Frequently asked questions
What does IP65 or IP66 mean for outdoor LED fixtures?
IP65 and IP66 ratings confirm the fixture is sealed against dust and protected from heavy water exposure, making them the right choice for South DFW’s outdoor conditions. IP66 adds resistance to powerful water jets, which is worth the upgrade for roofline and eave applications.
How long do permanent outdoor LEDs last in North Texas climate?
With quality materials and proper installation, LED systems can last 50,000+ hours, which translates to 15 or more years at typical daily run times. Thermal management and mechanical mounting are the two biggest factors in hitting that lifespan.
What is the biggest installation mistake South DFW homeowners make?
Relying on adhesive tape mounting instead of mechanical clips causes the majority of early failures in Southern climates, where roofline temperatures regularly exceed 130°F in summer.
Can upgrading to LEDs save money on electricity in DFW homes?
Yes. Outdoor LEDs typically pay for themselves in 1 to 2 years through energy savings, especially when replacing halogen or incandescent systems that draw three to four times more power for the same output.
Should I DIY or hire a pro for permanent LED installs?
DIY works for simple low-voltage layouts on single-story homes, but pros ensure code compliance with GFCI requirements, proper permitting, and installation warranties that protect your investment long-term.
Recommended
- Permanent LED Lights in Dallas, TX | Professional Installation | DFW LED Pro
- Best Permanent LED Lights in Fort Worth, TX (2026) | DFW LED Pro
- Permanent LED Lights in Fort Worth, TX | Professional Installation | DFW LED Pro
- Are Permanent LED Lights Worth It? Honest Answer for DFW Homeowners | DFW LED Pro
- Tree Health During a Drought - McCullough Tree Service