Accent Lighting Step by Step for Every Home
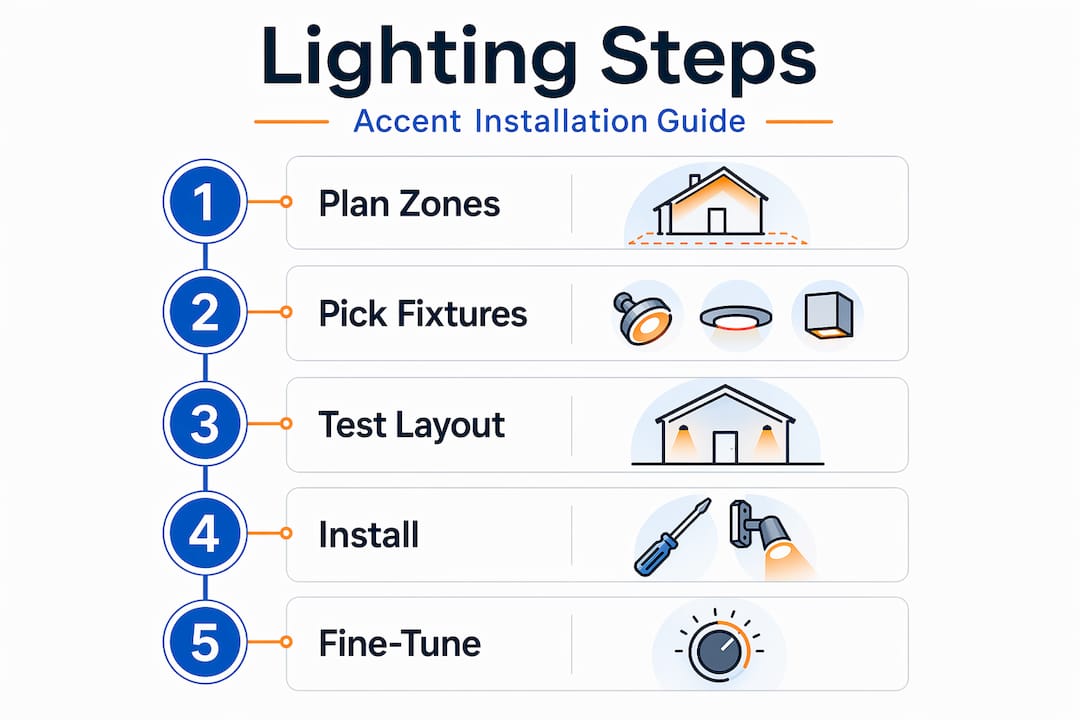
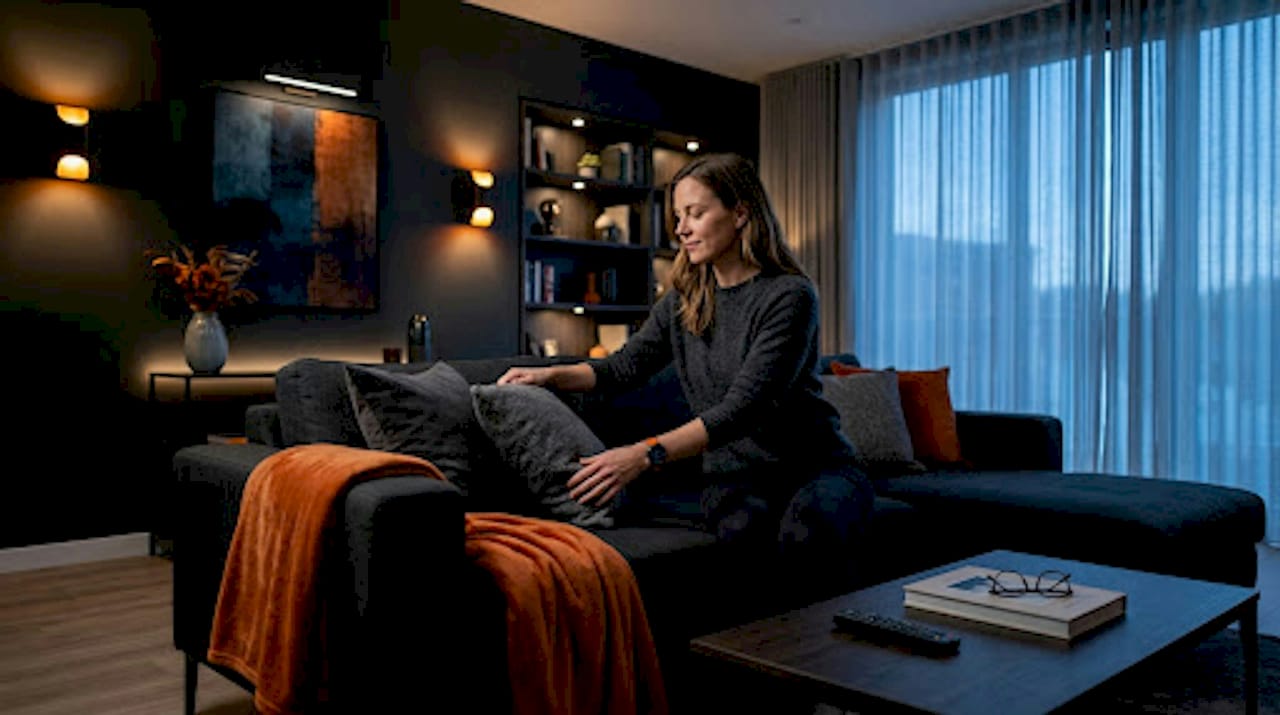
Most rooms look flat not because of bad furniture or paint, but because of poor lighting. One overhead fixture washing a room in even, shadowless light kills depth, texture, and character. Accent lighting, the practice lighting designers call “focal lighting,” fixes this directly. Done right, it guides the eye, creates visual hierarchy, and makes spaces feel intentional. This accent lighting step by step guide walks you through everything: choosing the right fixtures, planning your layout, wiring it correctly, and troubleshooting the problems most DIYers run into the first time.
Table of Contents
- Key takeaways
- Accent lighting step by step: what you need first
- Planning your accent lighting layout
- Installing accent lights: the step-by-step process
- Fine-tuning and fixing common problems
- Design ideas for indoor and outdoor spaces
- What I’ve learned from doing this across dozens of homes
- Get professional accent lighting installed in DFW
- FAQ
Key takeaways
| Point | Details |
|---|---|
| Layer before you accent | Establish ambient lighting first; accent lighting works on top of it, not instead of it. |
| Use the 3x brightness rule | Accent fixtures should be roughly 3 times brighter than your ambient light for visible effect. |
| Wire LED strips in parallel | Series wiring causes dim ends; always run each strip back to the controller independently. |
| Prep surfaces before mounting | Clean, dry, grease-free surfaces are required for peel-and-stick adhesion to last. |
| Add dimmers from the start | Dimmers let you adjust mood throughout the day and prevent glare in small spaces. |
Accent lighting step by step: what you need first
Before you buy a single fixture, you need the right materials and a clear understanding of what accent lighting actually does. In professional design, accent lighting highlights details without brightening the whole room. It is the third layer in a lighting plan, sitting above ambient light (general room illumination) and task lighting (focused work light). Skip the first two layers and accent lights just look out of place.
Tools and materials checklist
For most DIY accent lighting projects, you will need:
- LED strip lights or spotlights (check IP rating: IP20 for indoor, IP65 or higher for outdoor)
- Aluminum mounting channels with diffuser covers for strip installations
- Low-voltage wire: 20 AWG for runs under 3 meters, 18 AWG for longer runs
- LED driver or transformer matched to your strip’s wattage
- Wire strippers, screwdriver, measuring tape, and a pencil
- Mounting hardware: screws, clips, or 3M adhesive tape for spotlights
- Dimmer switch compatible with your LED fixtures
- Multimeter for testing voltage before finalizing connections
Fixture types and best use cases
| Fixture Type | Best Use Case | Notes |
|---|---|---|
| LED strip lights | Coves, under cabinets, shelving | Flexible, low profile, easy to cut |
| Recessed spotlights | Artwork, architectural features | Directional, clean look |
| Puck lights | Closed shelving, display cases | Battery or hardwired options |
| Wall washers | Large walls, textured surfaces | Set back 300mm from surface for even wash |
Pro Tip: Always do a dry run. Lay out your strips or position fixtures before committing adhesive or drilling. It takes 15 extra minutes and saves hours of corrections.
Planning your accent lighting layout
Good accent lighting starts on paper, not at the hardware store. Walk through each room and ask yourself one question: what do I want people to look at? Accent lighting is most effective when it serves a clear focal point. It guides visual attention to specific features rather than trying to light everything at once.
Here is a practical planning sequence to follow:
- Identify your focal points. List the features worth highlighting: artwork, bookshelves, architectural details like archways or brick walls, plants, stair steps, or outdoor trees and façades.
- Match fixture to feature. Recessed adjustable spotlights work well for artwork. LED strips suit shelving runs and cove details. Uplights handle trees, plants, and columns effectively outdoors.
- Set your brightness target. Accent fixtures should be roughly 3 times brighter than your ambient light level. Too close in brightness and the accent effect disappears entirely.
- Choose color temperature. For artwork and warm interiors, use 2700K to 3000K (warm white). Neutral white at 3500K to 4000K suits kitchens, shelving, and outdoor architectural elements. For color accuracy on artwork or display items, choose fixtures with a CRI of 90 or higher.
- Plan your beam angles. For framed artwork, aim the beam at approximately 30 degrees from vertical to reduce glare and reflections. Position the fixture 1 to 3 feet away depending on the size of the piece.
- Avoid over-lighting. Overuse of accent lights causes visual fatigue. A room with 10 accent fixtures competing for attention has no focal point at all. Choose 2 to 4 highlights per room and commit to them.
For layered lighting examples across different room types, the ambient lighting role guide from Dfwledpro covers how accent and ambient sources work together in practical layouts.
Pro Tip: Photograph your room in daylight and again at night. The nighttime photo shows you exactly where light is missing and helps you prioritize which focal points need accenting first.

Installing accent lights: the step-by-step process
This is where most DIYers either nail it or make costly mistakes. Follow this sequence carefully. The difference between a professional result and a mediocre one usually comes down to wire management and surface preparation, not fixture quality.
LED strip installation
- Measure your run length precisely. Add 10% for waste at cut points. LED strips must only be cut at the marked cut lines, typically spaced every 50mm to 100mm depending on the product. Cutting anywhere else destroys the circuit for that segment.
- Install aluminum channels first. Channels protect the strip, improve heat dissipation, and the diffuser cover creates a smooth wash of light instead of visible hot spots. Secure channels to the surface with screws or strong mounting tape.
- Prep the surface. For peel-and-stick strips, the surface must be completely clean, dry, and grease-free. Wipe down with isopropyl alcohol and allow to dry fully. Surface prep is critical for adhesion longevity, especially on vertical runs or in areas with temperature swings.
- Wire in parallel, not series. Run each strip segment back to the controller with its own positive and negative leads. Parallel wiring prevents voltage drop and keeps brightness uniform across the entire run. Series wiring is the most common DIY mistake and results in dimming at the far end of long runs.
- Match wire gauge to run length. Use 20 AWG wire for runs under 3 meters. For longer runs, switch to 18 AWG to handle the current load. For very long installations, use midpoint or multiple feed points to inject power along the run rather than pulling it all from one end.
- Test before finalizing. Connect power and test every segment before sliding strips into channels or securing wiring. Check brightness uniformity along the full run. Use a multimeter to verify voltage at the far end of each strip. If you see more than a 0.5V drop, add a feed point.
- Complete cable management. Route wires through channels, conduit, or along baseboards. Secure with cable clips every 150mm to 200mm. No loose wiring should be visible in the finished result.
Spotlight installation
- Mark the mounting position with a pencil and check for studs or obstacles behind the wall
- Drill pilot holes and secure the fixture bracket firmly before attaching the fixture head
- Connect wiring according to the fixture’s instructions, confirming correct polarity
- Adjust the beam direction before tightening the locking nut. You will not want to readjust after final mounting
Pro Tip: For outdoor spotlights on steps or pathways, test the angle from standing height before locking it. What looks right at knee level during installation often creates glare for people walking past at eye level.
Fine-tuning and fixing common problems
Even a well-planned installation needs adjustment after the first power-on. Walk through the space with the lights on and evaluate what you see.
- Glare from exposed strips: If you can see individual LED hot spots, the diffuser cover on the aluminum channel is missing or the wrong type. Frosted diffusers solve this completely.
- Uneven brightness along a run: This is almost always a voltage drop issue. Add a power injection point at the midpoint of the run or switch to heavier gauge wire.
- Strips falling off vertical surfaces: Poor adhesion usually comes from inadequate surface prep or temperature cycling. Remove, clean the surface again with isopropyl alcohol, and re-mount using the aluminum channel with mechanical fasteners instead of relying only on the peel-and-stick backing.
- Artwork spotlight creating a hot spot instead of a wash: The beam angle is too narrow or the fixture is too close. Move the spotlight farther from the wall or switch to a wider beam spread, typically 36 to 60 degrees for most home artwork.
- Too many lights competing for attention: Remove fixtures from secondary features and let 2 to 3 strong focal points carry the room. Layered lighting from multiple heights works better than many fixtures at the same level.
Using dimmers lets you adapt accent lighting for different times of day and occasions. Bright settings for active evenings, low settings for relaxed nights. If you did not wire dimmers in originally, smart plug-in dimmers are a quick retrofit for most LED fixtures.
Pro Tip: Live with the lighting for two full days before making permanent adjustments. Morning light, afternoon light, and evening light interact with accent fixtures differently. What bothers you at noon may be perfect at 9 PM.
Design ideas for indoor and outdoor spaces
Once installation is solid, you can start adapting techniques to specific spaces around your home. Here are the approaches that consistently deliver the best results:
- Cove lighting: Mount LED strips inside a ceiling recess or along the top of a wall soffit. The light washes the ceiling and creates a floating effect. Use warm white for bedrooms and living rooms.
- Uplighting for plants and columns: Place a small uplight at the base of an indoor plant or exterior column. The upward throw of light creates shadow and depth that downlights cannot.
- Step and pathway lighting: Recessed step lights or low-profile strip lighting along stair risers improve safety and look architectural rather than decorative. This works equally well indoors and outdoors.
- Color-changing options: RGBW LED strips with smart controls let you shift the mood for holidays, entertaining, or seasonal changes without replacing any fixtures. For outdoor permanent installations, smart outdoor LED systems offer scheduling, color programs, and app control.
| Space | Best Technique | Fixture Recommendation |
|---|---|---|
| Living room | Cove or shelf strip lighting | Warm white LED strip, 2700K |
| Kitchen | Under-cabinet strip lighting | Neutral white LED strip, 3500K |
| Artwork wall | Adjustable recessed spotlight | Narrow beam, CRI 90+, 3000K |
| Outdoor façade | Wall washing or uplighting | IP65 strip or directional uplight |
| Stairs and steps | Riser strip or recessed step lights | Low-wattage strip, warm white |
What I’ve learned from doing this across dozens of homes
I’ve seen homeowners spend real money on good fixtures and still end up with lighting that looks wrong. The problem is almost never the fixture. It is the planning, the wiring, or the assumption that more lights equals better results.
The single biggest misconception I encounter is that accent lighting can replace layered design. It cannot. If the ambient layer is not right, accent lighting just highlights how uneven everything else is. Get the base layer right first, then add accents.
On wiring: I have watched beautiful strip light installations go dim at the far end within a week because the installer skipped the wire gauge calculation and wired everything in series. Taking 20 minutes to plan feed points and wire gauge before installation starts eliminates that problem entirely.
Adhesion is the other thing I am direct about with homeowners. Peel-and-stick backing is convenient. It is not a permanent mounting solution on its own, particularly outdoors or in garages. Aluminum channels with mechanical fasteners are the right approach for any installation you expect to last more than a year.
Dimmers are not optional in my view. Fixed-brightness accent lighting looks good once, at one time of day. Dimmable accent lighting looks right all day. The cost difference is minimal and the payoff in flexibility is significant.
— Adrian
Get professional accent lighting installed in DFW
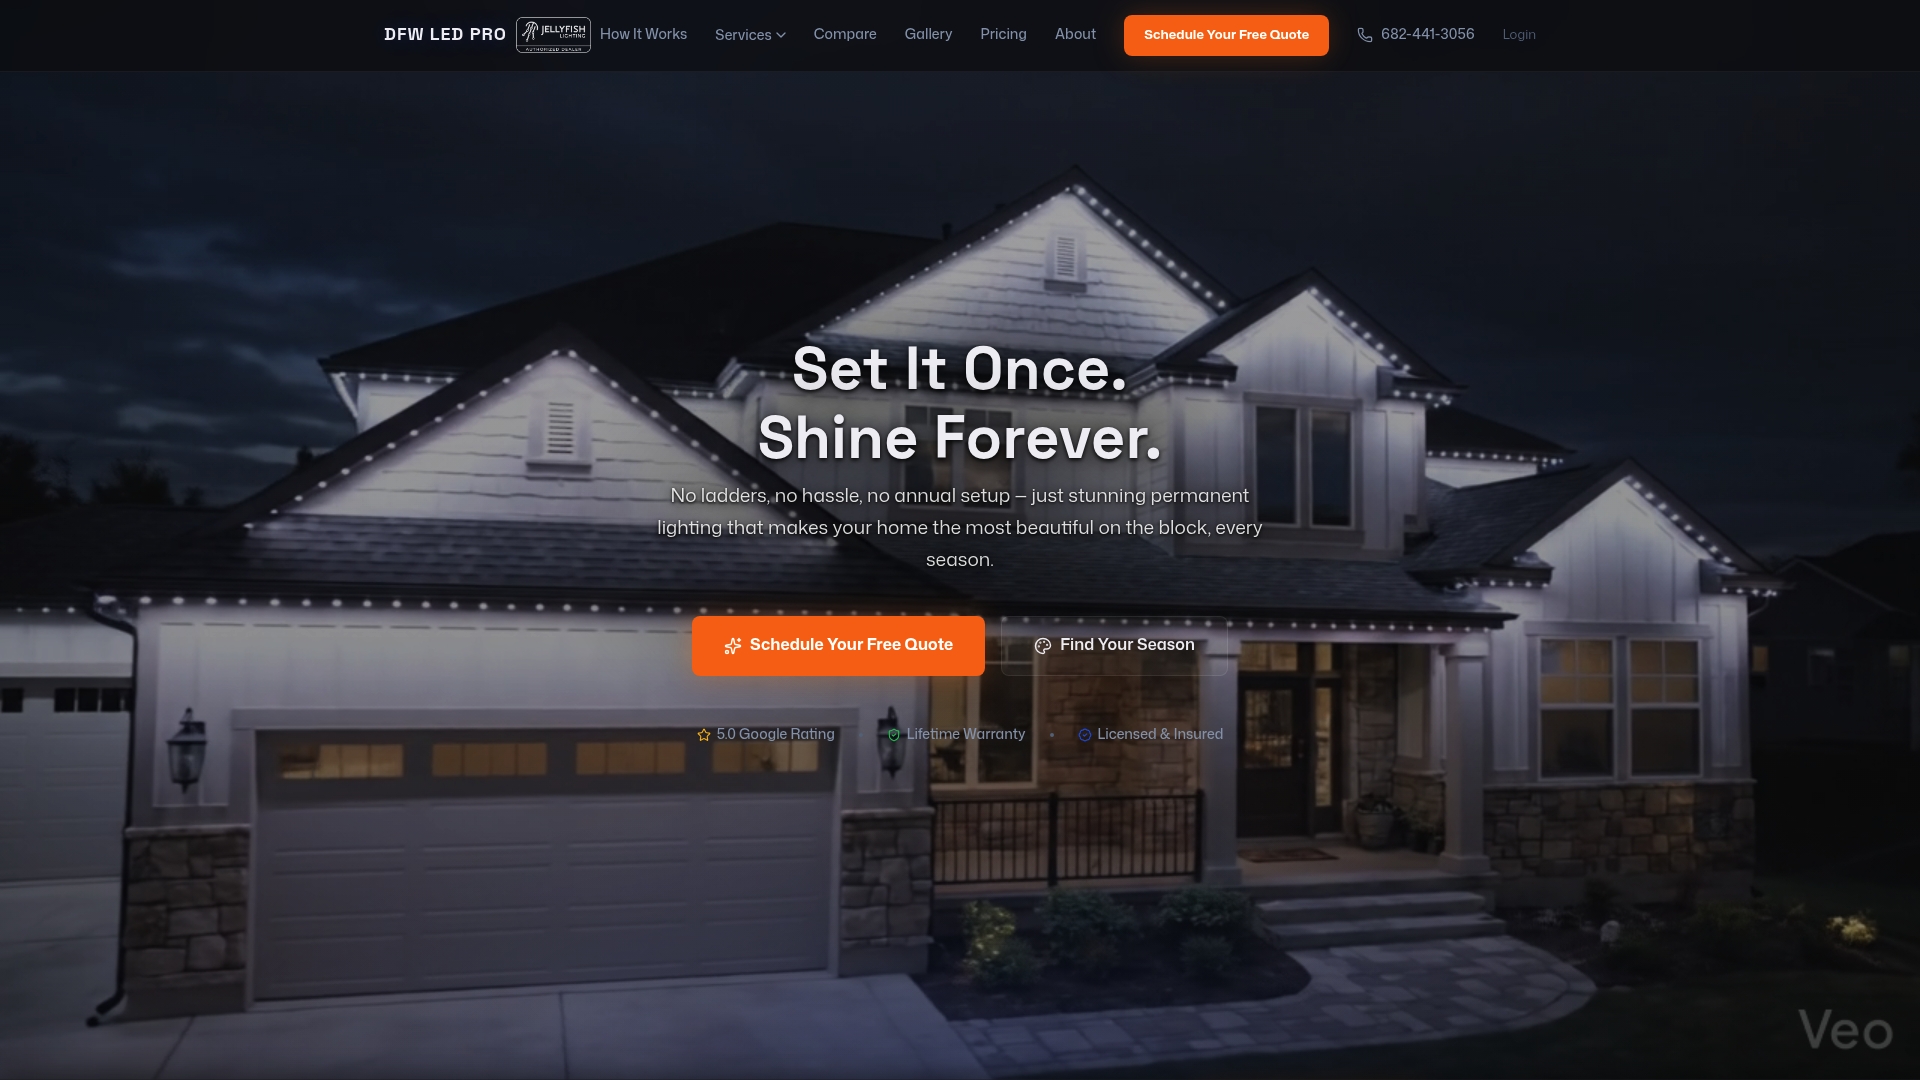
If your project involves the full exterior of your home, complex wiring runs, or you want a permanent installation that lasts without ongoing maintenance, professional installation is worth considering. Dfwledpro is the authorized JellyFish Lighting dealer for the Dallas-Fort Worth area, with installations across Arlington, Mansfield, Fort Worth, Grand Prairie, Burleson, and 30+ surrounding cities. We handle layout planning, wiring, and mounting so you get a clean, professional result the first time. For homeowners in the area, explore our permanent LED installation services or learn more about our JellyFish smart lighting options for color-changing, app-controlled exterior lighting.
FAQ
What does accent lighting step by step involve?
Accent lighting installation follows a sequence: plan your focal points, select appropriate fixtures, prepare surfaces, mount and wire correctly, then test and adjust. Skipping the planning phase causes most of the problems DIYers run into after installation.
How bright should accent lighting be compared to ambient?
Accent lighting should be approximately 3 times brighter than your ambient light level. This ratio creates a visible focal effect without making the contrast feel harsh or theatrical.
Why are my LED strips dimmer at the far end?
Dim ends are caused by voltage drop from incorrect wiring or wire gauge. Wire strips in parallel rather than series, use 18 AWG wire for runs longer than 3 meters, and add power injection points for very long runs to maintain even brightness.
What color temperature works best for accent lighting indoors?
Warm white at 2700K to 3000K suits living rooms, bedrooms, and artwork. Neutral white at 3500K to 4000K works better in kitchens and shelving displays. For artwork, always choose a fixture with CRI 90 or higher for accurate color rendering.
Can I install accent lighting outdoors myself?
Yes, with the right fixtures. Use IP65 or higher rated strips and spotlights for any outdoor installation. Surface prep and waterproofing connections are critical. For permanent whole-home exterior systems, professional installation from a company like Dfwledpro provides cleaner results and long-term durability.