LED Fixture Placement: A Homeowner’s Outdoor Guide
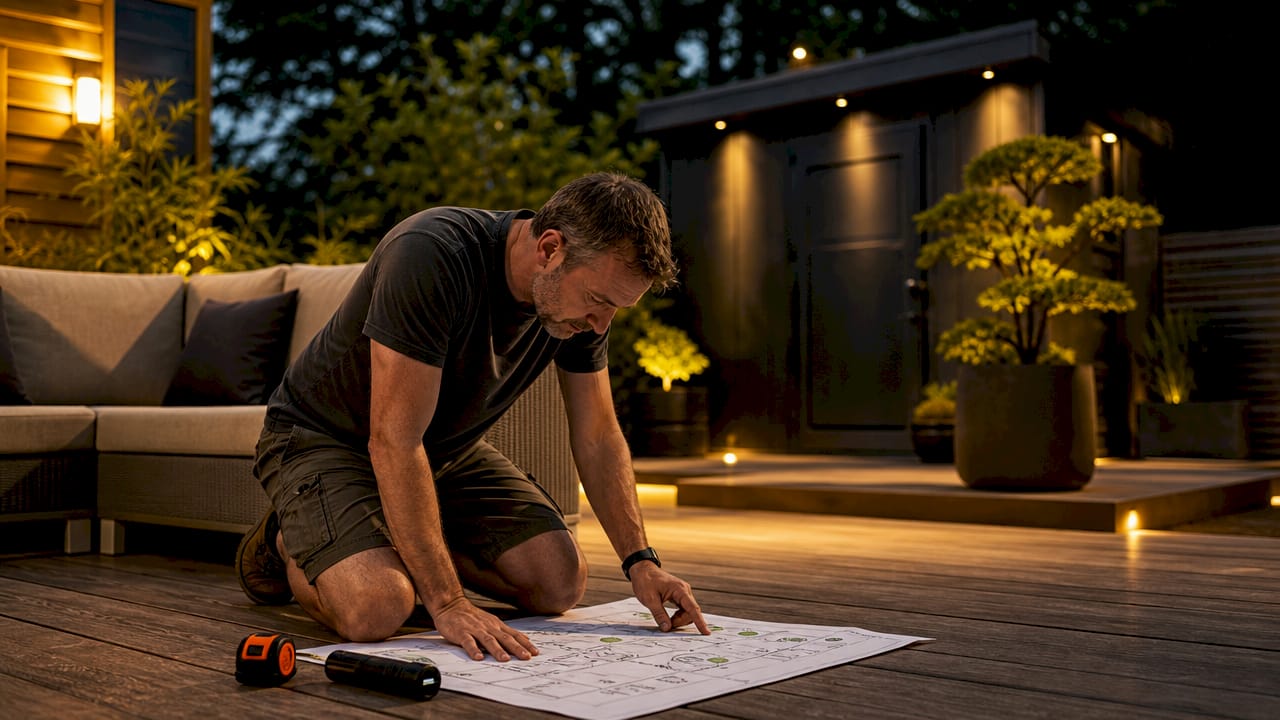
LED fixture placement is the process of deciding exactly where each light source sits relative to your home’s exterior surfaces, pathways, and landscape features to deliver safe, even, and visually appealing illumination. The industry term for this practice is luminaire positioning, though most homeowners and installers simply call it fixture placement. Getting it right means the difference between a yard that feels welcoming and secure at night and one riddled with dark corners, blinding glare, or wasted energy. At Dfwledpro, we work with homeowners across the Dallas-Fort Worth metroplex every week, and poor placement is the single most common reason a new lighting system underperforms. This guide covers everything you need to make smart decisions before a single fixture goes up.
What is LED fixture placement and why does it matter?
LED fixture placement means deciding where each light source sits relative to yard elements, while spacing means how far apart multiple fixtures are. These are two separate decisions, and confusing them leads to uneven coverage. A fixture can be perfectly spaced from its neighbors yet still aimed at the wrong surface, creating a bright patch next to a dark void.
Placement directly affects three outcomes: safety, aesthetics, and energy efficiency. A pathway light positioned too far from the walking surface leaves gaps where someone could miss a step. A flood light aimed at a garage door instead of the driveway wastes lumens on a surface nobody walks on. Lighting layout is about where the light lands to avoid shadows and glare, not just where the fixture hangs.
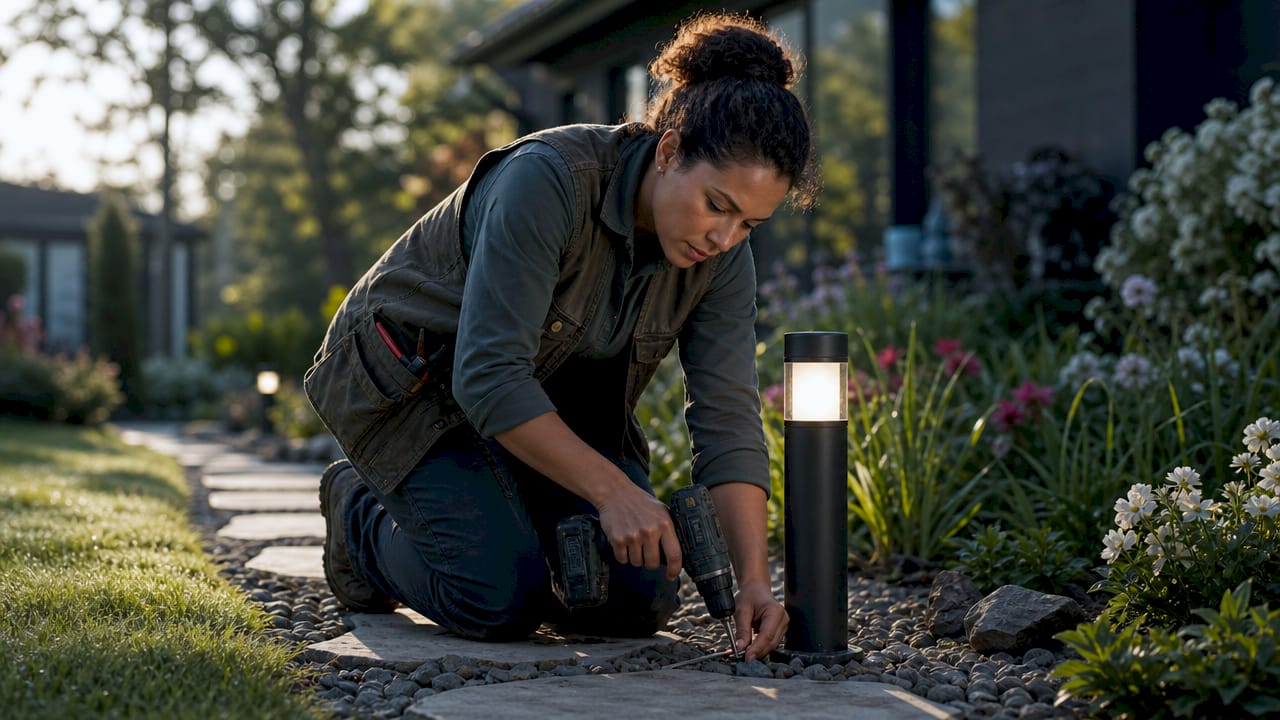
Common outdoor fixture types homeowners encounter include eave-mounted LED pucks, in-ground uplights, pathway bollards, wall-wash sconces, and JellyFish Lighting track systems. Each type has its own placement logic. An uplight aimed straight up at a tree canopy behaves very differently from a wall-wash sconce set 12 inches from a brick facade. Knowing the fixture type before you plan placement is non-negotiable. Choosing fixture type and rough placement before electrical wiring avoids awkward compromises that are expensive to fix later.
Key factors that determine the best LED lighting placement outdoors
Four variables govern every outdoor placement decision: mounting height, beam angle, aiming direction, and surface reflectance. Miss any one of them and the result looks off, even if the spacing math is correct.
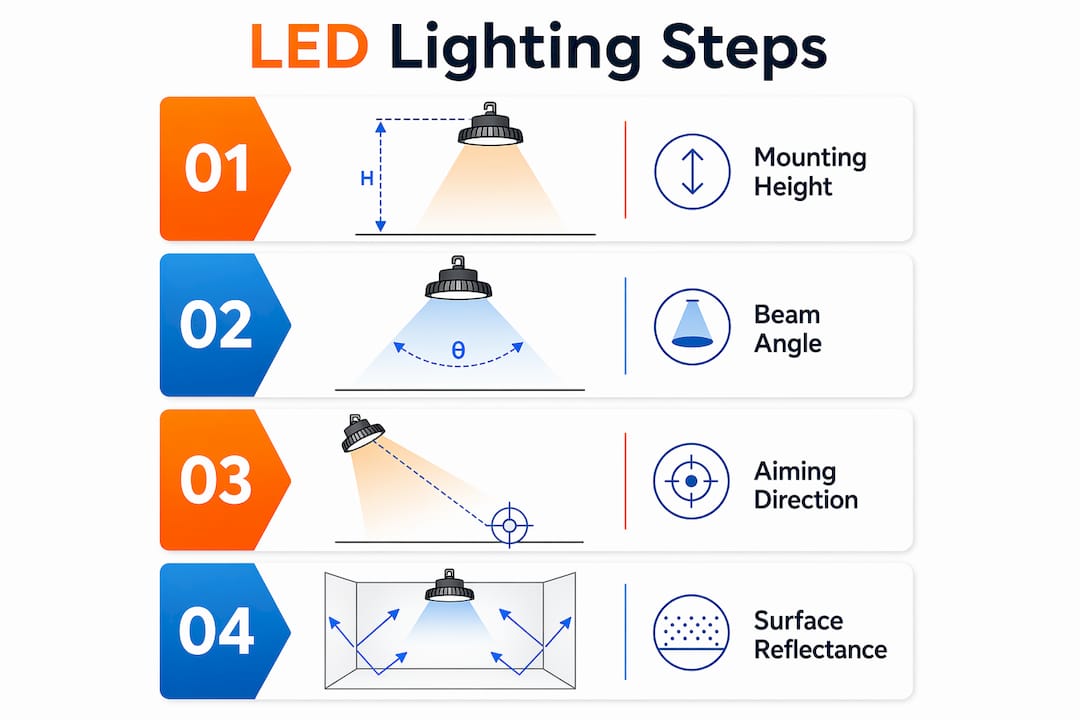
Mounting height controls how wide the light spreads and how intense it feels at ground level. Higher mounts cover larger areas with less intensity, while lower mounts concentrate light but increase glare risk. For eave-mounted fixtures on a standard 9-foot soffit, this means a wider beam angle is needed to cover the same ground area compared to a 7-foot soffit installation.
Beam angle determines the cone of light. A narrow 15-degree beam works for uplighting a single tree trunk. A wide 120-degree beam suits general pathway illumination. Mixing beam angles across a single zone creates hot spots and dark bands that look unprofessional.
Aiming and shielding prevent light pollution and protect neighbors from glare. Spacing rules alone are not enough. Beam geometry and surface reflectance critically affect light distribution and perceived quality. A light-colored stucco wall reflects far more lumens back into the yard than dark wood siding, which changes how bright a space feels even with identical fixtures.
- Aim fixtures downward or at a low angle to the target surface whenever possible
- Use shielded or full cut-off housings to block upward light scatter
- Account for obstacles like shrubs, columns, and overhangs that redirect or block beams
- Test reflectance by shining a flashlight on the target surface at night before finalizing placement
Pro Tip: Walk your yard at night with a flashlight before installation. Aim it at each intended target surface and note where shadows fall. This low-tech test reveals obstacles and reflection patterns that no diagram captures.
How to plan LED fixture layout for pathways, eaves, and yards
Planning layout by zone keeps the process manageable. Treat pathways, eaves, garden beds, and seating areas as separate lighting problems with their own spacing and aiming logic.
Pathway and walkway placement
Pathway lights work best when staggered on alternating sides of the walk rather than placed directly opposite each other. This creates a natural visual rhythm and reduces the tunnel effect that straight bilateral placement produces. Space fixtures 8 to 10 feet apart for a standard 3-foot-wide residential path. Tighter spacing of 6 feet suits curves or steps where shadows are more likely.
Eave and roofline placement
Outdoor fixture spacing for eaves suggests 6 to 8 feet apart for typical installations, with the first fixture placed about half that distance from corners. This half-spacing rule at corners prevents the dark perimeter zones that make a home look incomplete. For taller eaves above 10 feet, shift to 5 to 6 feet between fixtures to maintain ground-level brightness. Shift fixture positions slightly inward from windows to avoid beaming light directly through glass into living spaces.
Layering fixtures for depth and dimension
Professional outdoor lighting uses at least two layers: a base layer for safety and a feature layer for aesthetics. The base layer covers pathways, driveways, and entry points. The feature layer highlights architectural details, trees, or garden focal points. Using both layers together creates the depth that makes a home look professionally lit rather than simply illuminated.
Here is a quick comparison of placement approaches for common outdoor zones:
| Zone | Recommended spacing | Aiming direction | Key consideration |
|---|---|---|---|
| Pathway | 8 to 10 ft, staggered | Downward at 45° | Avoid tunnel effect with alternating sides |
| Eaves | 6 to 8 ft, half-space at corners | Downward or angled out | Shift away from windows to prevent glare |
| Garden uplights | Per feature, 1 to 2 per tree | 15 to 30° from vertical | Aim at lower third of feature |
| Seating areas | Perimeter-focused | Indirect or diffused | Align with furniture, not geometric center |
Pro Tip: Align lights with furniture and activity zones instead of centering them on the ceiling or roofline. A seating area lit from the perimeter feels warmer and more usable than one with a single overhead fixture directly above.
How local lighting codes and dark-sky guidelines affect LED fixture placement
Local codes in cities across the Dallas-Fort Worth area, and nationally, increasingly require outdoor fixtures to meet specific placement and shielding standards. Ignoring these rules can result in HOA violations, neighbor complaints, or required reinstallation.
Full cut-off fixtures prevent any light above the 90-degree horizontal plane, minimizing glare and light pollution. Many municipal codes require full cut-off design for all exterior fixtures above a certain mounting height. The practical placement implication is that you cannot simply aim a flood light wherever you want. The housing itself must block upward scatter regardless of aiming angle.
Dark-sky guidelines from organizations like the International Dark-Sky Association go further. Dark-sky oriented placement aims lights at the lower third of features with shielding to hide the LED source from common horizontal view angles. Aiming fixtures at 15 to 30 degrees from vertical reduces skyglow without sacrificing safety. This is a measurable, achievable standard, not just a vague preference.
Key placement rules for code compliance and dark-sky friendliness:
- Mount fixtures so the LED source is not visible from the street or neighboring properties
- Use full cut-off or shielded housings on all fixtures above 8 feet
- Aim uplights no steeper than 30 degrees from vertical to limit skyglow
- Keep fixture lumens appropriate to the task. Driveways do not need the same output as a sports court
Good outdoor placement reduces light pollution without compromising safety by carefully aiming and shielding LEDs. The goal is light where you need it, nothing where you don’t.
For homeowners interested in night sky friendly lighting, Dfwledpro installs JellyFish Lighting systems with programmable output levels that let you dial down brightness after peak hours, satisfying both code requirements and personal preference.
Common mistakes homeowners make in LED fixture placement
Most placement errors fall into a predictable set of categories. Recognizing them before installation saves time, money, and frustration.
- Over-aiming flood lights: Tilting a flood light too far from vertical spreads light across a wide, shallow area and sends glare directly into the eyes of anyone approaching. Over-aiming or excessive brightness causes glare and unsafe conditions. More lumens do not always mean better safety or aesthetics.
- Ignoring the wall setback rule: Spacing fixtures too close or too far from walls creates uneven lighting quality. Placing a fixture at half the standard spacing distance from the wall reduces dark perimeter zones and helps wash vertical surfaces evenly.
- Centering on geometry instead of activity: Homeowner error often involves planning fixture placement without considering human activities and furniture position. A light centered on a patio slab may land directly over a table, casting harsh downlight on faces instead of illuminating the space from the side.
- Skipping a nighttime walkthrough before finalizing: Most homeowners plan placement in daylight. The actual shadows, glare angles, and dark zones only reveal themselves after dark.
- Using identical fixtures for every zone: Pathway lights, uplights, and eave fixtures each serve different functions. Using the same fixture type everywhere produces flat, one-dimensional lighting that looks institutional rather than residential.
Pro Tip: Before drilling any mounting holes, use a portable LED work light to simulate each fixture position at night. Hold it at the intended mounting height and angle, then walk the space. You will catch glare problems and dark zones in five minutes that would take hours to fix after installation.
For a broader look at outdoor fixture locations that improve both security and curb appeal, Dfwledpro’s resource library covers proven methods used across Arlington, Mansfield, and Fort Worth properties.
Key takeaways
Effective LED fixture placement requires combining mounting height, beam angle, aiming direction, and surface reflectance into a single coordinated plan before any wiring begins.
| Point | Details |
|---|---|
| Placement vs. spacing | Placement decides where each fixture goes; spacing decides how far apart they sit. Both decisions are separate and equally important. |
| Mounting height matters | Higher mounts spread light wider with less intensity; lower mounts concentrate it but increase glare risk. |
| Code compliance is placement-specific | Full cut-off fixtures and aiming angles of 15 to 30 degrees from vertical satisfy most dark-sky and municipal requirements. |
| Activity zones over geometry | Align fixtures with furniture and human activity areas, not the geometric center of the space. |
| Test before you install | A nighttime walkthrough with a portable light catches glare and dark zones before they become permanent problems. |
What I’ve learned from hundreds of outdoor lighting installs
After working on outdoor LED projects across the Dallas-Fort Worth area, the pattern I see most often is homeowners who planned their layout on paper in daylight and then discovered the real problems after dark. The math looked right. The spacing followed the guidelines. But nobody walked the yard at 9 p.m. before the fixtures went in.
The single most underrated step in any LED fixture mounting guide is the nighttime simulation. It costs nothing and reveals everything. I have seen well-intentioned homeowners place eave fixtures at textbook 7-foot spacing, only to find that a mature oak tree blocked two of them entirely, leaving a 15-foot dark gap right at the front entry.
I also think the industry undersells the importance of aiming. Most placement guides focus on spacing and mounting height, which are measurable and easy to diagram. Aiming is harder to communicate on paper, but it has the biggest impact on how a finished installation actually feels. A fixture aimed 10 degrees too steep sends light past the target surface and into a neighbor’s yard. The same fixture aimed correctly creates a smooth wash of light that makes the whole facade look intentional.
My honest advice: treat the permanent LED lighting basics as a starting framework, then adjust based on what you see on site. No two homes are identical, and the best placement decisions always come from observing the actual space after dark, not from a floor plan.
— Adrian
Get professional LED fixture placement from Dfwledpro
Dfwledpro is the authorized JellyFish Lighting dealer for the Dallas-Fort Worth metroplex, serving homeowners in Arlington, Fort Worth, Mansfield, Grand Prairie, Burleson, and 30+ surrounding communities. We handle every aspect of outdoor LED fixture placement, from photometric planning and code compliance to final aiming and programming. Our installations come with a lifetime warranty on the JellyFish Lighting system and are backed by a team that knows DFW’s HOA requirements, weather conditions, and local ordinances. If you are ready for outdoor lighting that looks right from day one, explore our professional installation services in Dallas or check out our Lancaster installation options for South DFW homeowners.
FAQ
What is LED fixture placement in simple terms?
LED fixture placement is the process of deciding exactly where each outdoor light source is installed relative to your home’s surfaces, pathways, and landscape features. The goal is even, glare-free illumination that covers the areas you actually use.
How far apart should outdoor LED fixtures be spaced?
For eave-mounted fixtures, standard spacing is 6 to 8 feet with the first fixture placed at half that distance from corners. Pathway lights work best at 8 to 10 feet apart, staggered on alternating sides.
Do local codes affect where I can install outdoor LED lights?
Yes. Many municipalities require full cut-off fixtures that prevent upward light scatter, and dark-sky guidelines recommend aiming angles of 15 to 30 degrees from vertical to reduce light pollution.
What is the most common LED fixture placement mistake?
The most common mistake is planning placement in daylight without a nighttime walkthrough. Glare angles, dark zones, and obstacles blocked by trees or architectural features only reveal themselves after dark.
Does mounting height change how LED fixtures perform?
Mounting height directly affects coverage area and intensity. Higher mounts distribute light over a wider area with lower intensity, while lower mounts concentrate output but increase the risk of glare at eye level.