Stormproof Lighting Workflow: A Homeowner’s Guide
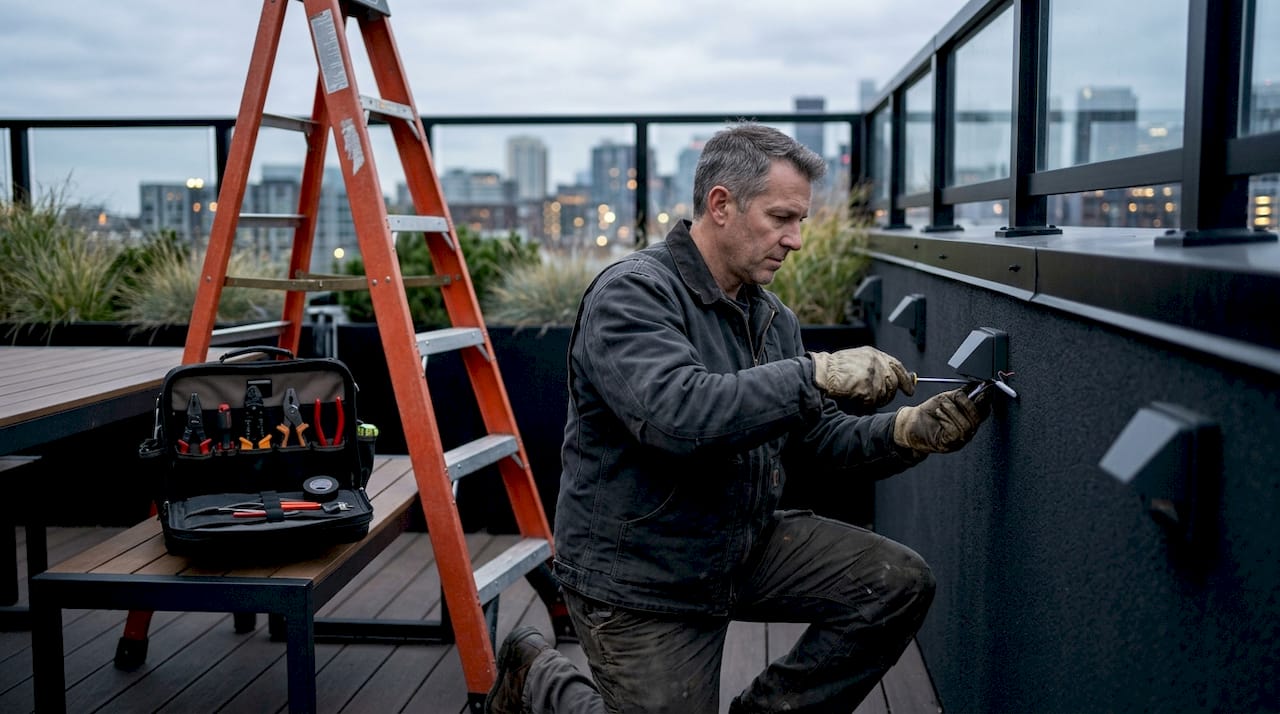
A stormproof lighting workflow is a structured process for selecting, installing, and maintaining outdoor lighting systems that stay operational, safe, and intact during severe weather. For homeowners and property managers across the Dallas-Fort Worth area, where hailstorms, high winds, and flash flooding are seasonal realities, a casual approach to outdoor lighting is a liability. The right workflow combines IP-rated fixtures, surge protection, proper wiring technique, and ongoing maintenance into one repeatable system. Follow it correctly, and your outdoor lighting holds up through the worst Texas weather while still looking great the morning after.
What are the essential components and ratings for stormproof outdoor lighting?
The foundation of any weather-resistant lighting system is the fixture’s IP rating. IP stands for Ingress Protection, and the two numbers that follow tell you exactly how well a fixture resists solids and liquids. IP65 is the minimum for any fixture exposed to rain. That rating means the fixture is fully dust-tight and can handle direct water jets from any direction. For flood-prone yards or low-lying areas, IP68 is required because it covers continuous submersion. Flash flooding in North Texas can submerge ground-level fixtures within minutes, so IP68 is not overkill in those zones.
Beyond the fixture itself, surge protection is the most overlooked component in a storm-ready lighting setup. Lightning strikes and grid instability create power transients that travel through wiring and destroy LED drivers in seconds. Surge protection devices and isolation transformers placed between the main feed and your lighting distribution panel block those transients before they reach your fixtures. Transient voltage suppressors, commonly called TVS devices, are the specific component to specify here.
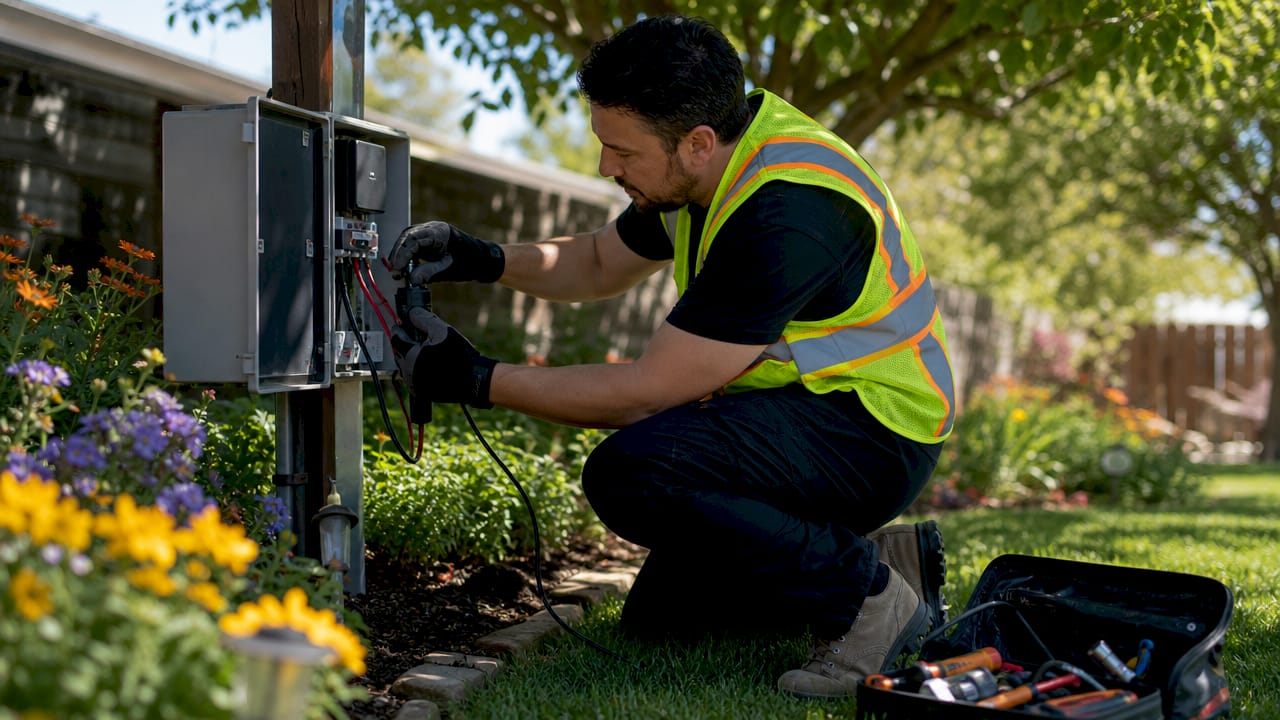
For any system that includes emergency lighting, UL 924 and NFPA 101 set the compliance standard. These standards require that emergency lighting provide at least 90 minutes of illumination during a power failure. That runtime gives occupants and emergency responders enough light to navigate safely. Meeting this standard requires integrated battery backup units, not just a generator.
Key fixture and system specifications to verify before purchasing:
- IP rating: IP65 minimum for rain exposure; IP68 for flood-prone or low-lying areas
- Surge protection: TVS devices or isolation transformers on the main feed
- Emergency runtime: 90-minute battery backup per UL 924 compliance
- Wiring: Waterproof cables with anti-wicking insulation to prevent moisture travel
- Conduit: Schedule 40 PVC or rigid metal conduit for buried runs
- GFCI protection: Required on all outdoor circuits by the National Electrical Code
How to prepare tools, materials, and site conditions before installation
Preparation determines whether your installation holds up or fails at the first major storm. Start by confirming that every fixture, connector, and length of cable carries the correct IP rating for its location. Mismatched components are the most common source of premature failure. A single non-rated connector in an otherwise solid system creates a water ingress point that can take out an entire circuit.
Gather these tools before breaking ground:
- Voltage tester and multimeter
- Rotary hammer drill with masonry bits
- Silicone sealant rated for outdoor UV exposure
- Waterproof wire nuts and heat-shrink connectors
- Fish tape and pull string for conduit runs
- Post hole digger or power auger for fixture anchors
Site planning matters as much as the tools. Map your fixture positions to avoid low spots where water pools. Pooling water accelerates seal degradation and puts constant hydrostatic pressure on fixture housings. Position fixtures on slight grades where possible, or plan for drainage channels around base anchors.
| Preparation item | Specification |
|---|---|
| Trench depth | Minimum 12 inches for hardwired runs |
| Concrete cure time | 4 hours before applying load to post anchors |
| Conduit type | Schedule 40 PVC or rigid metal |
| Sealant type | Outdoor-rated silicone, UV-stable |
| Wire gauge | Sized for run length to control voltage drop |
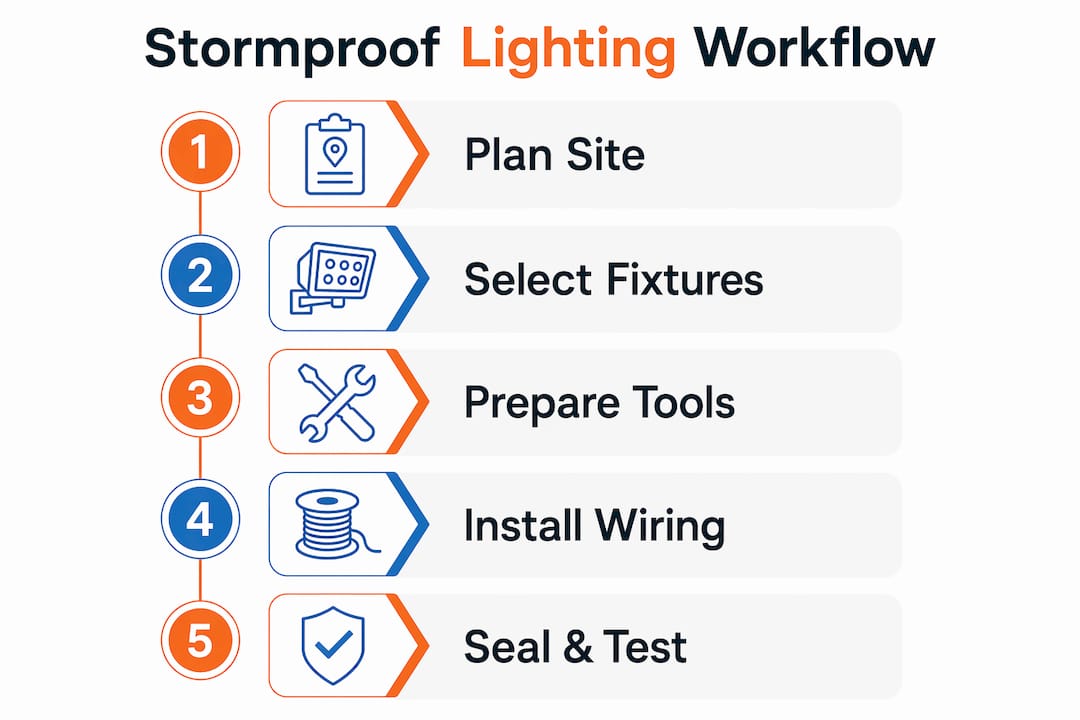
Pro Tip: Plan your conduit runs before digging. A single continuous conduit from the panel to the fixture group is easier to pull wire through and far easier to troubleshoot than multiple spliced sections buried underground.
Step-by-step installation and waterproofing process for stormproof lighting
A clean installation starts with precise marking. Use spray paint or stakes to mark every fixture position and trench line before you pick up a shovel. Precision here prevents costly repositioning later.
Follow these steps in order:
- Mark and dig trenches. Dig to a minimum depth of 12 inches for all hardwired runs. Shallower trenches expose conduit to frost heave and physical damage from landscaping equipment.
- Set post anchors and pour concrete. For post-mounted fixtures, dig post holes to the depth your local code requires. Pour concrete and allow a minimum 4-hour cure time before attaching fixtures or applying any load. Rushing this step causes posts to shift under wind load.
- Run conduit and pull wire. Use the correct wire gauge for your run length. Undersized wire causes voltage drop that stresses LED drivers. Measure voltage at the farthest fixture under load and confirm the reading stays between 10.8V and 12.6V. A reading outside that range means you need a heavier gauge or a shorter run.
- Form drip loops at every fixture entry. A drip loop is a downward curve in the cable just before it enters the fixture housing. Water follows the cable until it hits the lowest point of the loop, then drips off instead of entering the seal. Drip loops prevent water from traveling into fixture seals and are one of the most effective waterproofing techniques available.
- Make waterproof connections. Use waterproof wire nuts or gel-filled connectors for every splice. Apply silicone sealant to all seams and top entry points on the fixture housing.
- Leave weep holes open. Seal seams and top entries only. Leave the bottom of fixture housings open or with small drainage holes. Over-sealing traps condensation inside the housing, which causes driver failure from moisture and pressure buildup.
- Test voltage and restore power. Confirm voltage at the farthest fixture, check all GFCI breakers, and restore power only after every connection is sealed and secured.
Critical rule: Never seal the bottom of a fixture housing completely. Condensation forms inside every outdoor fixture during temperature swings. Without a weep hole, that moisture has nowhere to go and will destroy the driver from the inside out.
Pro Tip: For aluminum LED strip channels buried or mounted outdoors, add drainage holes every 30 centimeters along the bottom of the channel. This prevents water from pooling inside and causing hydrolysis, which degrades both the LED strip and the channel itself.
What maintenance and monitoring strategies keep your system reliable?
A storm-ready lighting setup requires scheduled maintenance to stay that way. The installation is only the starting point. Without regular checks, seals degrade, connectors corrode, and battery backups lose capacity without any visible warning.
Annual maintenance priorities:
- Inspect all seals and gaskets after winter and after any major storm. Look for cracking, shrinkage, or gaps where water could enter.
- Check battery backup runtime on emergency lighting units. Batteries degrade over time and may no longer meet the 90-minute UL 924 requirement even if the unit appears functional.
- Clean fixtures to remove debris, dust, and salt spray. Salt spray from winter road treatments travels farther than most homeowners expect and accelerates corrosion on metal housings.
- Test surge protection devices. Many TVS devices sacrifice themselves to protect the system. After a lightning event, verify that surge protectors are still functional and replace any that have absorbed a strike.
- Inspect and replace worn connectors. Connectors are the most common failure point. A connector that looks intact from the outside may have corroded contacts inside.
Wireless monitoring systems now handle automated testing and real-time status reporting for connected lighting infrastructure. These systems flag failures immediately rather than waiting for a manual inspection cycle. For property managers overseeing multiple buildings, automated monitoring eliminates the guesswork that comes with post-storm manual walkthroughs.
Pro Tip: Schedule your annual seal inspection in october, before winter weather arrives. Catching a failing gasket in fall costs a few dollars. Catching it after a January ice storm costs a fixture.
How do surge protection and emergency lighting solutions enhance safety?
Surge protection and emergency lighting are the two safety layers that separate a functional outdoor lighting system from a truly storm-ready one. Most homeowners address the fixture and wiring correctly, then skip these layers entirely. That gap is where systems fail during the events that matter most.
Surge protection works by diverting excess voltage away from your LED drivers before it can cause damage. Isolation transformers add a second layer by electrically separating the lighting circuit from the main feed, which blocks conducted transients entirely. Both devices belong between the main panel and the lighting distribution point.
Emergency lighting solutions serve a different function. They keep pathways, exits, and key areas lit when the grid goes down. Battery backup units integrated into the fixture or mounted in a nearby weatherproof enclosure provide that coverage. The 90-minute runtime standard from UL 924 exists because that is the minimum time needed for safe egress and emergency response in most residential and commercial scenarios.
| Safety feature | Function | Standard |
|---|---|---|
| Surge protection device | Blocks voltage transients from lightning or grid faults | NFPA 70 |
| Isolation transformer | Separates lighting circuit from main feed | NEC Article 450 |
| Battery backup unit | Powers emergency lighting during outages | UL 924, NFPA 101 |
| GFCI breaker | Cuts power on ground fault to prevent shock | NEC Article 210 |
| Outdoor-rated breaker | Handles moisture and temperature extremes | UL 489 |
Planning your circuits with GFCI protection on every outdoor run is not optional. The National Electrical Code requires it, and it is the single fastest way to prevent electrical shock during a storm when water contacts a compromised fixture or connection. Pair GFCI protection with outdoor-rated breakers, and your system has a fail-safe at both the fixture level and the panel level.
For exterior lighting safety that includes automated emergency response, connected systems can trigger specific lighting zones automatically when a power event is detected. That level of automation is increasingly accessible for residential properties, not just commercial buildings.
Key takeaways
A complete stormproof lighting workflow requires IP-rated fixtures, surge protection, correct wiring technique, and scheduled maintenance working together as one system.
| Point | Details |
|---|---|
| IP ratings are non-negotiable | Use IP65 minimum for rain exposure and IP68 for any flood-prone fixture location. |
| Surge protection prevents hidden failures | Install TVS devices or isolation transformers between the main feed and lighting distribution. |
| Drip loops and weep holes work together | Form drip loops at every fixture entry and leave bottom drainage open to prevent condensation damage. |
| Voltage drop causes early driver failure | Measure voltage at the farthest fixture under load and keep it between 10.8V and 12.6V. |
| Maintenance is part of the system | Inspect seals, test battery backups, and verify surge devices annually and after major storms. |
What I’ve learned from watching stormproof lighting systems succeed and fail
The installations that hold up through North Texas hailstorms and flash floods share one trait: every decision was made before the weather arrived. The ones that fail share a different trait: someone skipped a step because it seemed minor at the time.
The step I see skipped most often is the drip loop. Installers run cable straight into the fixture housing and seal the entry point. That seal works fine for the first season. By year two, water has been wicking along the cable jacket and slowly saturating the seal from the inside. The fix takes thirty seconds during installation and costs nothing. The repair costs a fixture and a service call.
The second most common mistake is over-sealing. Homeowners read that waterproofing matters, so they seal every opening they can find. That approach traps condensation inside the housing. I have seen fixtures that looked perfect from the outside with completely corroded drivers inside because the bottom weep holes were sealed shut. Seal the top. Leave the bottom open.
Voltage drop is the failure mode that takes the longest to show up and the longest to diagnose. A system that tests fine at installation can develop driver failures eighteen months later because the wire gauge was undersized for the run length. Checking voltage drop at the farthest fixture during installation takes five minutes and prevents years of premature replacements.
Wireless monitoring is the upgrade I recommend most to property managers. Manual post-storm inspections miss failures that automated systems catch immediately. The technology is accessible, and the labor savings pay for the system quickly.
— Adrian
Permanent LED lighting built for DFW weather
Dfwledpro installs permanent outdoor LED lighting systems across 35-plus cities in the Dallas-Fort Worth metroplex, including Fort Worth, Arlington, Mansfield, Grand Prairie, and Burleson. Every installation follows the full stormproof workflow: IP-rated JellyFish Lighting fixtures, surge protection, correct conduit depth, and waterproof connections made to code.

If you want durable outdoor LED results without managing the installation yourself, Dfwledpro handles the full process from site assessment to final testing. Our team serves homeowners and property managers who want lighting that performs through every storm season, not just the first one. Contact us for a free consultation, or visit our Lancaster permanent LED page and Fort Worth installation page to learn more about professional installation in your area.
FAQ
What IP rating do outdoor lights need for storm protection?
Outdoor fixtures exposed to rain require a minimum IP65 rating. Fixtures in flood-prone or low-lying areas need IP68, which covers continuous submersion.
How deep should electrical trenches be for outdoor lighting?
Hardwired outdoor lighting trenches require a minimum depth of 12 inches. Shallower runs risk frost heave damage and physical disruption from landscaping.
How long must emergency outdoor lighting run during a power outage?
UL 924 requires emergency lighting to run at least 90 minutes during a power failure. This runtime supports safe egress and emergency response in residential and commercial settings.
What causes LED drivers to fail in outdoor lighting systems?
The two leading causes are voltage drop from undersized wire and surge damage from lightning or grid transients. Measure voltage at the farthest fixture under load and install surge protection devices at the main feed to prevent both failure modes.
How often should stormproof outdoor lighting be inspected?
Inspect seals, connectors, battery backups, and surge protection devices at least once per year. Schedule an additional inspection after any major storm to catch damage before it compounds.