Outdoor Lighting Installation Checklist for Homeowners

A lighting installation checklist is the structured set of steps that guides homeowners through planning, wiring, mounting, and testing outdoor fixtures safely and correctly. Skipping even one step creates real risk: electrical shock, code violations, flickering LEDs, or fixtures that fail within months. The checklist format used by professional installers, including the team at Dfwledpro, covers every phase from permit review to final circuit labeling. Use this guide as your complete outdoor lighting checklist before you touch a single wire.
1. Assess your outdoor space before anything else
Good lighting projects are 80% planning and 20% installation. That ratio matters because errors made during planning cost far more to fix after wires are run and fixtures are mounted.
Walk your property during the day and again at night. Note which areas lack light, which pathways need coverage, and where accent lighting would improve curb appeal. Sketch a rough layout with measurements before you buy a single fixture.
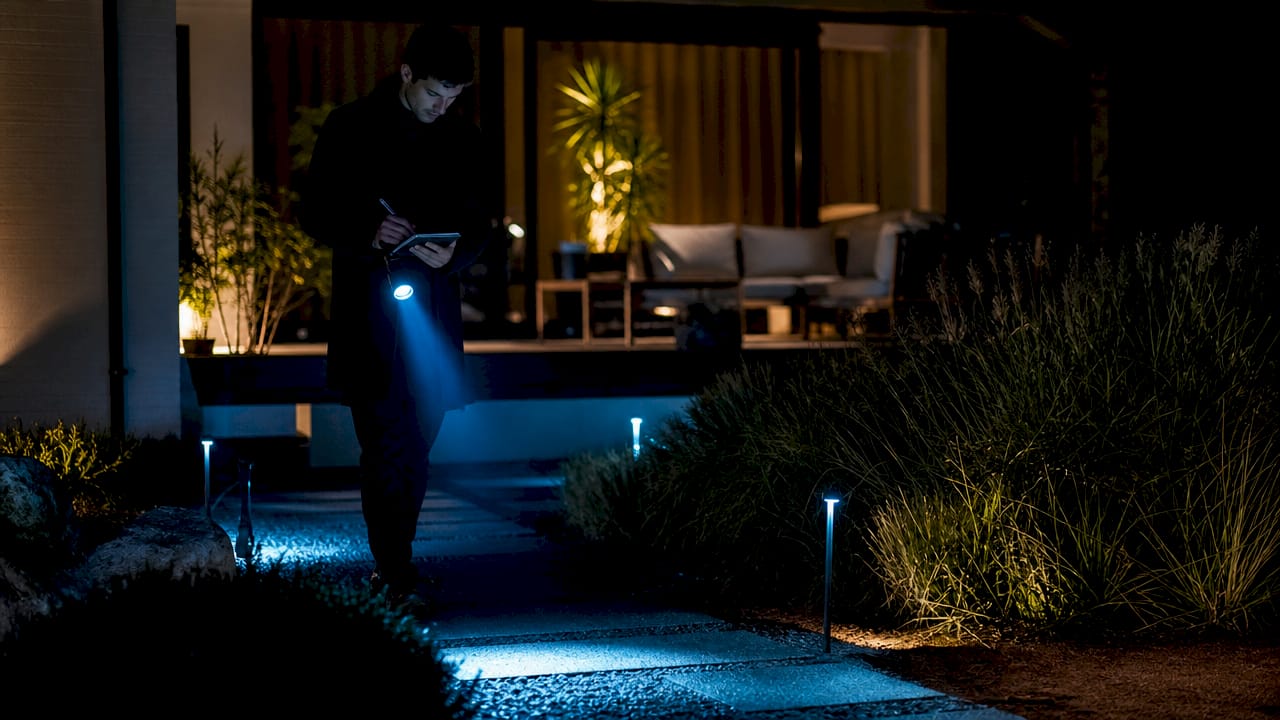
Spacing matters more than most homeowners expect. Experts recommend placing fixtures 4–6 feet apart for even light distribution, and using blue painter’s tape on walls or ground to mock up fixture locations before drilling. This one step prevents the most common spacing mistake: fixtures that create bright spots and dark gaps.
Pro Tip: Take photos of your outdoor space at night before planning. They reveal dark zones your eyes adjust to automatically during a walkthrough.
2. Choose fixtures rated for outdoor use
Outdoor fixtures carry an IP (Ingress Protection) rating that tells you how well they resist moisture and debris. IP65 handles direct water jets. IP67 survives temporary submersion. Never install an indoor-rated fixture outside, even under a covered porch.
LEDs are the right choice for outdoor residential projects. LEDs save about 75% energy over incandescent bulbs and last 25 times longer, saving homeowners roughly $225 annually on energy bills. That lifespan advantage matters especially for fixtures mounted high or in hard-to-reach locations.
Color temperature consistency is a detail most homeowners overlook. Mixing 3000K warm white and 6000K cool white across the same exterior creates uneven, jarring results. Pick one color temperature for your entire outdoor zone and stick with it. For practical guidance on layering fixture types, the resource on lighting ideas for homes covers ambient, accent, and task layers clearly.
3. Check permits and local code requirements
Many homeowners skip this step and pay for it later. Outdoor electrical work in most Texas municipalities requires a permit when you add new circuits, run new wiring, or install fixtures on a structure. Arlington, Fort Worth, and surrounding DFW cities each have their own inspection requirements.
Call your city’s building department before you start. Ask specifically about low-voltage landscape lighting versus line-voltage fixtures, since the rules differ. HOA guidelines add another layer: some communities restrict fixture styles, brightness levels, or color-changing lights.
Pulling a permit protects you at resale. Unpermitted electrical work can delay or kill a home sale when inspectors flag it during the buyer’s due diligence period.
4. Gather tools and safety equipment
A complete outdoor lighting setup requires more than a screwdriver. Before starting, confirm you have every item on this list:
- Non-contact voltage tester (required, not optional)
- Insulated screwdrivers and wire strippers
- Wire nuts and electrical tape
- Drill with appropriate bits for masonry or wood
- Weatherproof junction boxes rated for outdoor use
- Cable staples and conduit if running new wire
- Ladder rated for your fixture height
- GFCI outlet tester for outdoor receptacles
- Safety glasses and insulated gloves
The non-contact voltage tester is the most critical item. Testers must be verified on a known live circuit before use to confirm they are functioning. A tester with dead batteries gives a false “no voltage” reading, which is how experienced DIYers get shocked.
5. Inspect your electrical panel and circuit capacity
Your outdoor lighting load must fit within your panel’s available capacity. Check the amperage of the circuit you plan to use and calculate the total wattage of all fixtures on that circuit. A 15-amp circuit handles roughly 1,440 watts safely at 80% load capacity.
If you are adding multiple fixtures or a new circuit, have a licensed electrician verify your panel has room. Overloaded circuits trip breakers repeatedly and create fire risk over time. This step is non-negotiable for any project adding more than two or three fixtures.
Pro Tip: Label your breaker panel clearly before starting. Photograph the panel directory so you can restore accurate labels after the project.
6. Turn off power and verify it is off
Flipping the breaker is not enough. The most common beginner mistake is assuming the power is off without verifying it with a tested non-contact voltage tester. Mislabeled breakers are common in older homes, and double-tapped circuits can leave a wire live even after you flip the correct breaker.
Test the tester first on a known live outlet. Then test the wires at your work location. Test all wires in the junction box, not just the ones you expect to be hot. Voltage can come from multiple sources in a shared box.
Post a note on your breaker panel while you work. It prevents another household member from restoring power while your hands are in a junction box.
7. Inspect junction boxes and existing wiring
Every outdoor junction box must be weatherproof and rated for wet or damp locations. Check the existing box for cracks, corrosion, or signs of water intrusion before mounting any new fixture. A compromised box is a code violation and a moisture entry point.
Inspect the wiring inside the box. Look for frayed insulation, discolored wires (a sign of heat damage), or loose connections. If you find aluminum wiring, stop and call a licensed electrician. Aluminum wiring requires special connectors and handling that go beyond standard DIY scope.
Check the box’s weight rating before mounting. Fixtures heavier than 35–50 lbs require fan-rated boxes or structural support anchored to framing. A standard ceiling box rated for 35 lbs will fail under a heavy lantern, and that failure usually happens after the fixture has been swinging in the wind for a season.
8. Run cables correctly and mount fixtures securely
Cable routing for outdoor lighting follows specific code requirements. Use UF-B (underground feeder) cable for any wiring buried in the ground. Bury it at the correct depth: 12 inches minimum under conduit, 24 inches for direct burial without conduit in most jurisdictions.
For surface-mounted wiring on exterior walls, use weatherproof conduit. Secure cables with appropriate staples every 4.5 feet along runs and within 12 inches of each box. Never leave cable unsupported or running loosely across a surface.
Mount fixtures to solid backing. Use masonry anchors for brick or stucco surfaces. For wood-framed walls, drive screws into studs or use a rated backer plate. A fixture that shifts or loosens after installation creates wire stress at the connection points, which leads to arcing over time.
9. Connect wires with correct polarity and grounding
Wire connections follow a consistent color code: black to black (hot), white to white (neutral), and bare copper or green to the ground screw. Never skip the ground connection on an outdoor fixture. Grounding is what routes fault current safely away from the fixture housing and away from anyone who touches it.
Every wire splice must be inside an accessible junction box. Wire nuts placed behind wall finishes or buried in insulation are a code violation and a fire hazard. If your splice does not fit inside the box cleanly, use a larger box rather than leaving connections exposed.
Twist wire nuts firmly and tug each connection to confirm it holds. Fold wires carefully into the box without forcing them. Crushed or pinched wires inside a crowded box are a leading cause of connection failures after installation.
For recessed fixtures in insulated ceilings, use only IC-rated recessed cans. Non-IC fixtures in contact with insulation overheat and create fire risk. Check the fixture label before installation, not after.
10. Test every fixture after restoring power
Restore power at the breaker and test each fixture individually. Watch for these specific issues:
- Flickering on startup or during operation
- Buzzing sounds from the fixture or dimmer
- Breaker that trips immediately or within a few minutes
- Fixtures that do not illuminate at all
- Dimmer controls that cause strobing or uneven output
Unusual buzzing signals electrical hazards and requires immediate investigation by a professional. Do not assume buzzing is normal for a new fixture. It indicates either a wiring fault, an incompatible dimmer, or a defective driver inside the LED fixture.
Mixing LED dimmers with incompatible fixtures is the leading cause of post-installation flickering and buzzing. Verify dimmer-to-fixture compatibility using the manufacturer’s compatibility list before installation, not after you hear the buzz.
Pro Tip: Check your outdoor fixtures during rain within the first week. Water intrusion shows up as flickering or tripped GFCI outlets, and catching it early prevents corrosion damage.
11. Label circuits and document your installation
Circuit labeling is the step homeowners skip most often and regret most later. After testing, label each breaker clearly with the zone it controls. Use a permanent marker and a printed label, not pencil.
Photograph every junction box before closing it. Record fixture model numbers, wattage, and color temperature for each location. This documentation saves hours when you replace a fixture two years later and cannot remember what you originally installed.
For ongoing safety, review your LED lighting safety measures annually. Check for loose fixtures, cracked weatherproof covers, and GFCI outlets that no longer reset properly. Outdoor fixtures take weather abuse year-round, and a quick annual check catches problems before they become hazards.
Key takeaways
A thorough outdoor lighting installation checklist prevents electrical hazards, code violations, and premature fixture failure by covering every phase from planning through final documentation.
| Point | Details |
|---|---|
| Plan before you drill | Mock up fixture locations with tape and space fixtures 4–6 feet apart before any installation begins. |
| Verify power off with a tester | Always test your voltage tester on a live source first, then confirm all wires in the box are dead. |
| Match fixtures to location ratings | Use IP-rated outdoor fixtures and IC-rated recessed cans where insulation contact is possible. |
| Keep all splices in junction boxes | Wire connections outside approved boxes are a code violation and a fire hazard without exception. |
| Document and label everything | Photograph junction boxes and label breakers immediately after testing to support future maintenance. |
What I have learned from years of outdoor lighting projects
Working on outdoor lighting installations across the Dallas-Fort Worth area has taught me one consistent truth: the homeowners who struggle most are the ones who underestimate the planning phase. They buy fixtures first, then figure out the wiring. That sequence creates problems every time.
The checklist format works because it forces you to answer hard questions before you are standing on a ladder with wire in your hands. Do you have the right box for that fixture’s weight? Did you verify the tester works? Is that circuit actually labeled correctly? These are not complicated questions, but they require you to stop and check rather than assume.
I also want to be direct about when to call a professional. If you open a junction box and find wiring you do not recognize, aluminum conductors, or more wires than you expected, stop. The cost of a professional consultation is far lower than the cost of a wiring fault that causes a fire or fails inspection. For complex projects, the guidance on why professional installers matter is worth reading before you decide to go it alone.
The right approach to DIY outdoor lighting is honest self-assessment. A standard fixture swap on an existing circuit is genuinely beginner-friendly. Adding new circuits, running buried cable, or mounting heavy fixtures on masonry is a different level of project entirely.
— Adrian
Permanent outdoor LED lighting in the Dallas-Fort Worth area
Dfwledpro installs permanent outdoor LED lighting systems across 35+ cities in the Dallas-Fort Worth metroplex, including Lancaster, Dallas, Cedar Hill, and Grand Prairie. Every installation follows a professional-grade checklist that covers code compliance, weatherproofing, and circuit verification from start to finish.

If you want outdoor lighting that performs year-round without the maintenance headaches of DIY installations, Dfwledpro’s team handles every step. We are the official authorized JellyFish Lighting dealer for the DFW area, and our work carries the quality standards that come with that designation. Homeowners in Lancaster can review our permanent LED installation services or explore options for Dallas permanent LED lighting to get started with a professional assessment.
FAQ
What does a lighting installation checklist include?
A lighting installation checklist covers space assessment, fixture selection, permit review, tool preparation, power verification, wiring, mounting, and post-installation testing. Each phase addresses a specific safety or performance requirement.
How do I know if my outdoor fixtures need a permit?
Most Texas municipalities require a permit for new circuits or new wiring runs on outdoor lighting projects. Contact your city’s building department directly, since requirements vary by city and project scope.
Why do my new LED lights flicker or buzz?
Flickering and buzzing after installation most often indicate an incompatible dimmer or a loose wire connection. Verify dimmer-to-fixture compatibility using the manufacturer’s list, and check all wire nut connections inside the junction box.
What is an IC-rated fixture and when do I need one?
An IC-rated fixture is approved for direct contact with insulation. Use IC-rated recessed cans any time the fixture will sit inside an insulated ceiling. Non-IC fixtures in contact with insulation overheat and create a fire hazard.
How often should I inspect outdoor lighting after installation?
Check outdoor fixtures annually for loose mounts, cracked weatherproof covers, and GFCI outlets that fail to reset. Fixtures exposed to DFW weather conditions, including heat, humidity, and storm debris, benefit from a quick inspection each spring.