Outdoor Event Lighting Setup Guide for Planners
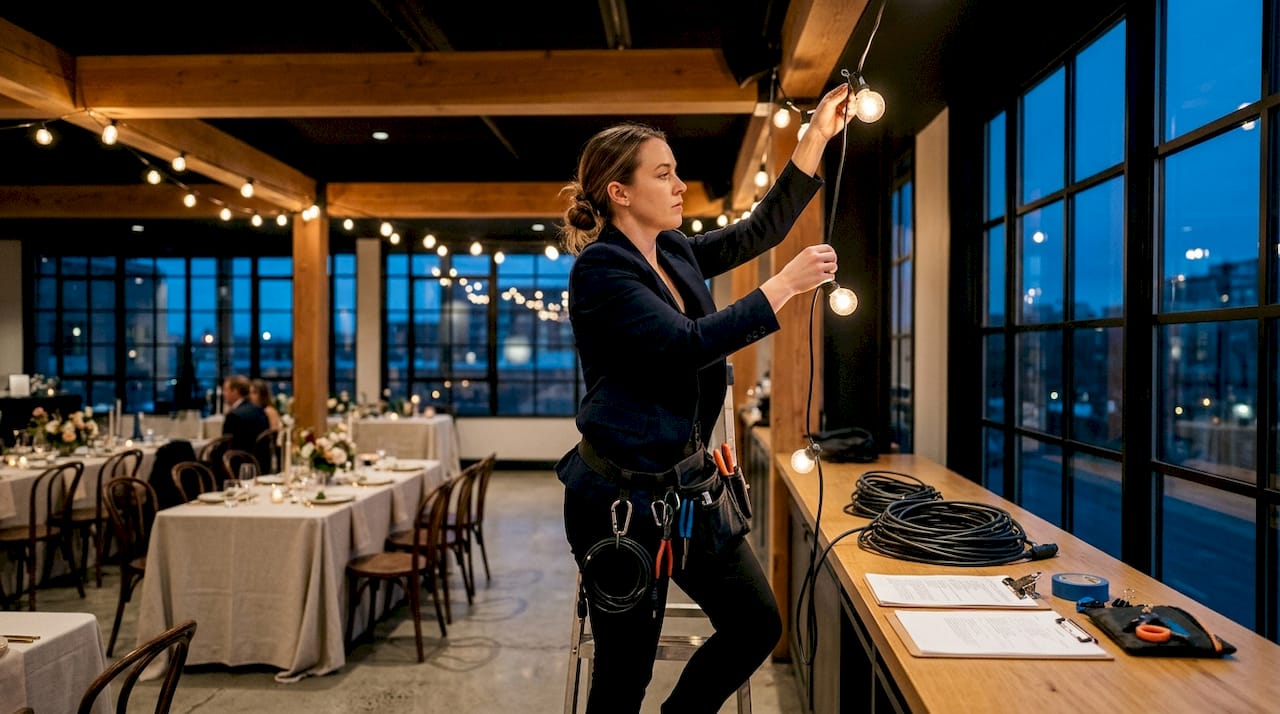
Outdoor event lighting setup is the process of strategically designing and installing lighting systems to create ambiance and ensure safety at outdoor gatherings. Done right, it transforms any venue from a flat, underlit space into an experience guests remember. This guide covers equipment selection, layout planning, power management, and pre-event testing, so you can build a lighting rig that looks great and runs without problems. Whether you are planning a backyard wedding, a corporate reception, or a large festival, the principles here apply directly to your setup.
What equipment and lighting types work best for outdoor events?
The four core fixture categories for outdoor events are festoon strings, beam lights, wash lights, and uplights. Each serves a different purpose. Festoon strings deliver warm ambient coverage across large areas. Beam lights cut sharp columns of light into the sky or across a stage. Wash lights flood surfaces with even, colored light. Uplights accent trees, walls, and architectural features from ground level.
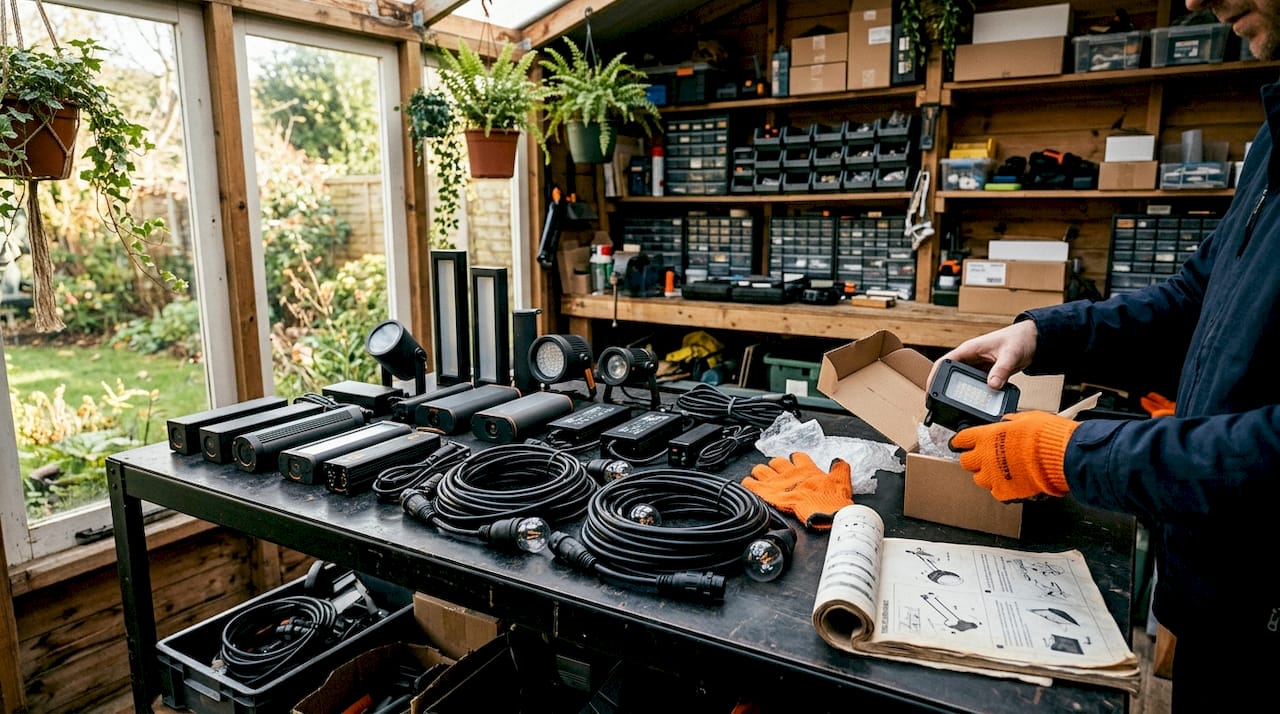
IP ratings determine whether a fixture can survive your venue conditions. IP44 is the minimum for sheltered areas like covered patios or canopied stages. IP65 or higher is required for fixtures fully exposed to rain. Using an IP44 fixture in an open field during a rainstorm is a safety hazard, not just a performance issue.
Lumen output scales with throw distance. A 20-meter throw requires roughly 500–1,000 lumens per fixture. Throws beyond 60 meters demand high-output units in the 800–1,200W range. Beam angle matters equally. A narrow beam concentrates light at distance; a wide beam spreads it across a broader area at the cost of intensity.
For scale reference, medium-scale outdoor festivals typically deploy 10–20 beam lights plus 10–20 wash lights. That combination gives you directional drama and broad coverage without gaps. Smaller private events can scale down to 4–6 beams and 6–8 washes and still achieve a polished result.
Here is a quick comparison of fixture categories by use case:
| Fixture type | Best use | Minimum IP rating |
|---|---|---|
| Festoon strings | Ambient overhead coverage | IP44 (sheltered), IP65 (exposed) |
| Beam lights | Stage drama, sky effects | IP65 |
| Wash lights | Surface color, broad fill | IP65 |
| Uplights | Accent trees, walls, columns | IP65 |
Pro Tip: Rent a small haze machine with water-based fluid to make beam lights visible outdoors. Without haze, beam effects disappear into open air and the visual impact drops significantly.
How should you design your lighting layout for even illumination?
Good layout planning starts with a site walk, not a spreadsheet. Walk the venue at the time of day your event starts. Note where natural light fades first, where guests will gather, and where focal points like a stage, dance floor, or dining area sit. Those observations drive every placement decision.
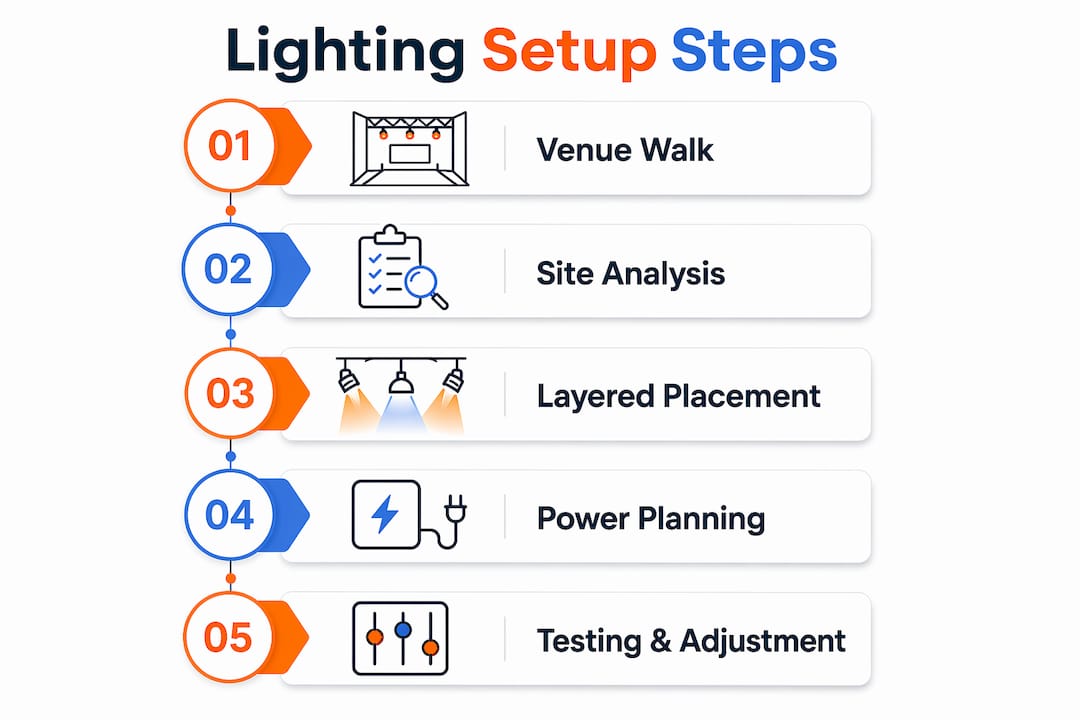
Layering is the core technique for outdoor lighting design. Lighting designer Linnaea Tillett notes that outdoor lighting should enhance drama without overshadowing the event itself, and that successful installations respond to foliage, architecture, and sightlines rather than following a generic recipe. That means mixing overhead, mid-level, and ground-level sources to create depth.
Follow these steps to build your layout plan:
- Map your focal points. Mark the stage, dance floor, dining tables, and entry path on a venue diagram. These areas need the most light.
- Assign fixture types to zones. Use festoon strings overhead for ambient fill. Place wash lights at stage edges. Position uplights at trees and walls around the perimeter.
- Set festoon spacing. Strings spaced 30cm apart create dense, event-quality coverage. Spacing of 1–2 meters produces a lighter, more casual feel. Choose based on the mood you want.
- Install catenary wires for long runs. Festoon cables over 8–10 meters cannot bear their own mechanical load. A supporting catenary wire prevents sagging and cable damage.
- Hide fixtures to control glare. Tucking lights under plants or behind architectural elements produces layered shadows that add sophistication. Direct glare aimed at guests kills ambiance and causes discomfort.
For outdoor space styling that blends lighting with landscaping, think about how light interacts with surfaces. A warm uplight on a textured stone wall creates far more visual interest than a bare floodlight pointed at open grass.
Pro Tip: Photograph your venue layout after dark before the event. You will spot dark zones and hot spots that are invisible in daylight planning.
What are the essential power and safety considerations?
Power planning is where most amateur outdoor setups fail. The fix is straightforward. Add a 20–25% safety margin to your total connected load before sizing your power source. If your fixtures draw 4,000W combined, plan for a 5,000W supply minimum. That buffer prevents nuisance trips and protects equipment from voltage fluctuations.
Circuit separation is equally critical. Isolate lighting circuits from audio and video equipment. Shared circuits cause interference, dimmer noise on audio systems, and breaker trips at the worst possible moment. Run dedicated lines for each system category.
Key safety requirements for outdoor power setups:
- Use weatherproof connectors rated for outdoor use at every junction point.
- Run cables in protective conduit or cable ramps wherever foot traffic crosses.
- Verify that all extension cables and power distribution units carry the correct outdoor rating.
- Position generators and power distribution boxes away from guest areas and covered from rain.
- Label every circuit at the distribution board before the event starts.
Safety note: Always have a licensed electrician verify your power distribution plan for events drawing more than 10,000W or using temporary generator power. Electrical faults at outdoor events carry serious injury risk.
Check your outdoor LED lighting checklist before finalizing your power plan. Catching a missing weatherproof connector in planning costs nothing. Catching it on event day costs everything.
How can you install and test your outdoor lighting setup effectively?
Installation follows a clear sequence. Skipping steps or rushing the rigging phase causes problems that are difficult to fix once guests arrive.
- Rig overhead fixtures first. Mount beam and wash lights on truss, poles, or rigging points before running any cable. Confirm that all mounting hardware is rated for the fixture weight.
- Run catenary wires for festoon spans. Tension the support wire between anchor points before attaching festoon strings. The wire carries the load; the cable carries only electricity.
- Route all cables neatly. Use cable ties and ramps to keep runs organized and safe. Label each cable at both ends.
- Connect to power distribution in zones. Plug each lighting zone into its designated circuit. Do not mix zones on a single circuit.
- Pre-program lighting cues. Load your show file, set scene transitions, and assign any color chases or timed effects before the dry run.
- Conduct a full dry run. Pre-event testing eliminates the vast majority of on-site technical errors. Run every cue, every transition, and every effect at full intensity under real conditions.
Common issues to troubleshoot during your dry run:
| Problem | Likely cause | Fix |
|---|---|---|
| Flickering festoon bulbs | Loose socket or voltage drop | Check connections; shorten cable run or add power feed |
| Uneven wash coverage | Incorrect beam angle or fixture spacing | Adjust tilt and pan; add fill fixture |
| Breaker trips | Overloaded circuit | Redistribute load; verify safety margin |
| Sagging festoon strings | No catenary wire support | Install support wire before re-hanging |
Pro Tip: Bring a spare set of festoon bulbs, spare fuses, and a voltage tester to every event. These three items solve 80% of on-site lighting problems in under five minutes.
For detailed fixture placement guidance that applies to both event and permanent setups, the principles of spacing, angle, and layering remain consistent regardless of venue size.
Key takeaways
A well-executed outdoor event lighting setup requires the right fixtures, proper IP ratings, layered placement, and a full dry run before guests arrive.
| Point | Details |
|---|---|
| Match IP ratings to exposure | Use IP44 for sheltered zones and IP65 or higher for fully exposed outdoor areas. |
| Layer three lighting levels | Combine overhead, mid-level, and ground-level sources to create depth and eliminate flat coverage. |
| Support long festoon runs | Install catenary wires for any festoon span over 8–10 meters to prevent sagging and cable damage. |
| Build in a power safety margin | Size your power supply 20–25% above total connected load to prevent trips and protect equipment. |
| Test everything before the event | A full dry run catches flickering, dark zones, and overloaded circuits before guests arrive. |
What I have learned from setting up outdoor lighting the hard way
The most common mistake I see is treating lighting as the last item on the event checklist. Planners spend months on catering, décor, and entertainment, then allocate two hours to lighting setup the afternoon of the event. That approach guarantees problems.
The second mistake is designing for photographs rather than for the people standing in the space. Bright, direct fixtures look dramatic in photos and feel harsh in person. Soft, layered light from hidden sources creates the atmosphere guests actually enjoy. Hiding a fixture under a shrub or behind a column takes thirty seconds and changes the entire feel of a space.
Pre-event testing is the single highest-return investment in any lighting plan. A full dry run the day before an event catches 90% of technical issues when you have time to fix them. Running your first test at 6 p.m. on event day is a different situation entirely.
My honest advice: treat your exterior lighting approach the same way you treat sound. You would never skip a soundcheck. Do not skip a light check either.
— Adrian
Professional outdoor LED lighting for your venue
Planning a one-time event is one thing. If your property hosts events regularly, or if you want consistent, high-quality lighting year-round without the setup and teardown cycle, permanent LED installation is worth serious consideration.
Dfwledpro installs permanent outdoor LED lighting systems across 35+ cities in the Dallas-Fort Worth area, including Fort Worth, Arlington, Grand Prairie, and Mansfield. Every installation is designed for your specific property, weatherproofed to IP67 standards, and backed by a lifetime warranty. For venues and homeowners who want professional LED installation without the guesswork of temporary rigs, we handle everything from design to final testing. Reach out to Dfwledpro for a free consultation and a custom lighting plan built for your space.
FAQ
What IP rating do outdoor event lights need?
Fixtures in sheltered or covered areas require a minimum IP44 rating. Any fixture fully exposed to rain needs IP65 or higher to resist water damage and operate safely.
How far apart should festoon lights be spaced?
Spacing festoon strings 30cm apart creates dense, event-quality coverage. Spacing of 1–2 meters produces a lighter, more casual look suited to relaxed outdoor gatherings.
How do I prevent my outdoor lighting from tripping breakers?
Add a 20–25% safety margin to your total connected load when sizing your power supply. Keep lighting circuits separate from audio and video equipment to prevent interference and overloads.
Do I need catenary wires for festoon lighting?
Any festoon run longer than 8–10 meters requires a catenary support wire. Festoon cables cannot bear their own mechanical load over long spans and will sag or break without support.
How early should I test my outdoor lighting setup?
Run a full dry run at least one day before the event. Testing the day before gives you time to fix flickering bulbs, dark zones, and power issues without the pressure of guests arriving.