Glare Control Lighting: What Every Homeowner Should Know
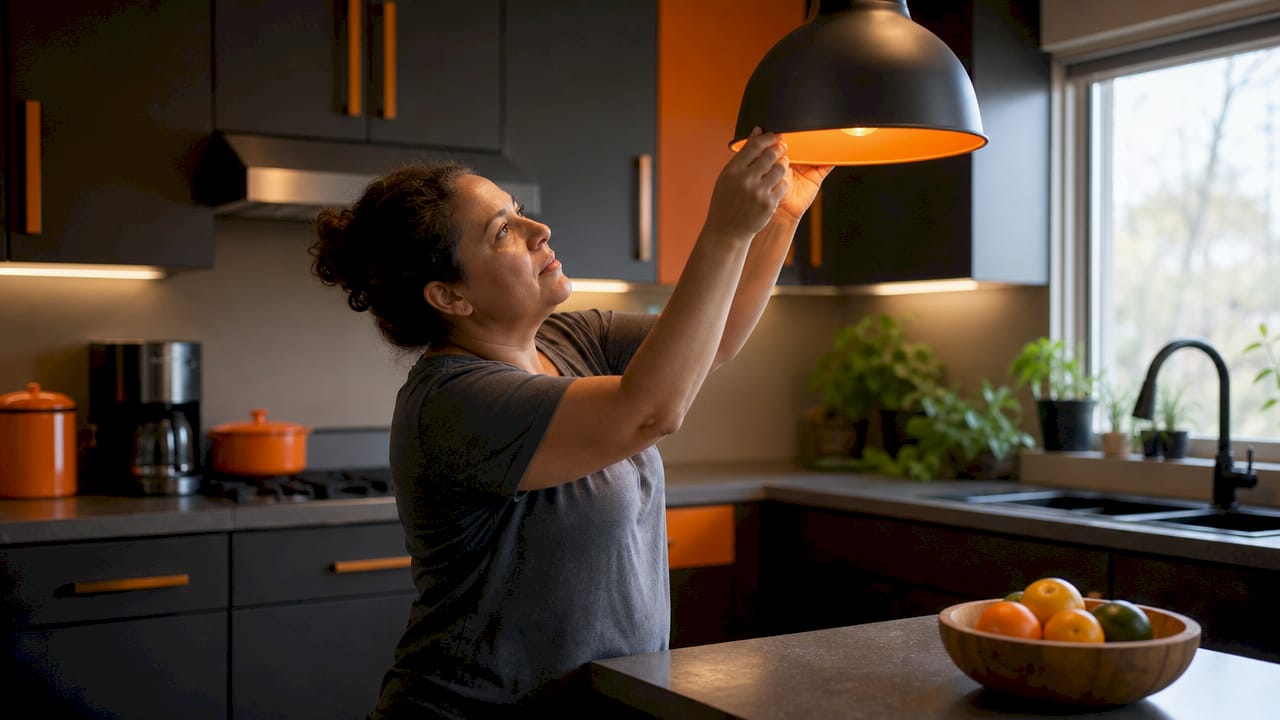
Glare control lighting is the practice of designing and positioning light fixtures to minimize visual discomfort caused by excessive brightness or contrast. The industry standard term for measuring this discomfort is the Unified Glare Rating, or UGR. Over 60% of LED lighting complaints relate to glare specifically. That number tells you glare is not a minor annoyance. It is the most common reason homeowners feel dissatisfied with their lighting. Understanding what is glare control lighting, and how to apply it in your home, is the first step toward a space that actually feels comfortable.
What causes glare and how does glare control lighting address it?
Glare falls into two categories: direct glare and reflected glare. Direct glare comes from an exposed light source you can see directly, like a bare LED bulb or a recessed fixture with no shielding. Reflected glare bounces off shiny surfaces such as glossy countertops, glass tables, or high-sheen paint. Both types cause eye strain and visual fatigue, even when the room feels bright enough overall.
Common causes of glare in homes include:
- Exposed LED chips with no diffuser or lens cover
- Recessed downlights aimed at eye level from typical seating positions
- Wide beam angles that spread intense light across reflective surfaces
- Glossy wall paint or high-gloss cabinetry that bounces light toward your eyes
- Fixtures mounted too low or too close to where you sit or work
Glare control lighting addresses these problems through optical design and smart fixture placement. Deep-recessed optics, micro-prismatic diffusers, and honeycomb louvers all shield the bright LED source from direct view. Honeycomb louvers, for example, create a grid of small cells that block side-angle light while still delivering useful illumination downward. Micro-prismatic diffusers scatter light evenly across a surface, reducing the harsh bright spot you see when looking toward the fixture.
Indirect lighting is one of the most effective glare reduction strategies available to homeowners. Bouncing light off walls or ceilings creates a soft, even wash that eliminates direct exposure to the source entirely. Cove lighting, uplighting, and wall-wash fixtures all use this principle. The result is a room that feels comfortable and well-lit without any single bright point drawing your eye.
Matte surface finishes on walls, ceilings, and floors reduce reflected glare significantly. A glossy white wall can redirect light straight into your eyes even when the fixture itself is perfectly shielded. Switching to a flat or eggshell paint finish is one of the lowest-cost glare control solutions available.
Pro Tip: Before buying new fixtures, sit in your usual chair or at your desk and look toward where the lights will be installed. If you can see the bulb or LED chip directly from that position, you will experience direct glare every time you use that room.
How is glare measured and what are acceptable standards for home lighting?
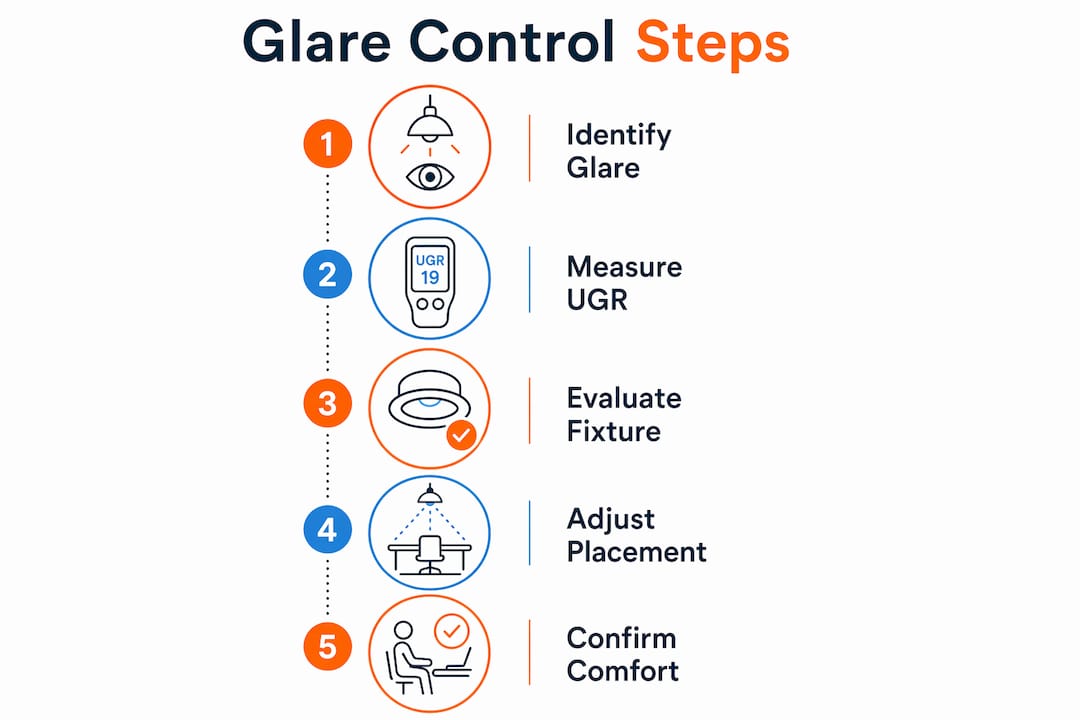
The Unified Glare Rating (UGR) is the internationally recognized system for measuring discomfort glare in interior spaces. It produces a single number that reflects how uncomfortable a lighting installation will feel to a typical observer. Lower numbers mean less glare and more comfort.
| UGR Value | Glare Level | Comfort Implication |
|---|---|---|
| Below 10 | Imperceptible | Ideal for bedrooms and relaxation spaces |
| 10–16 | Slight | Suitable for home offices and reading areas |
| 16–19 | Noticeable | Acceptable for kitchens and general living rooms |
| 19–22 | Uncomfortable | Common in poorly designed residential installs |
| Above 22 | Intolerable | Causes headaches and eye strain with prolonged exposure |
For most home environments, a UGR below 19 is the accepted target. Spaces where you read, work at a computer, or do detailed tasks benefit from a UGR below 16. Honeycomb louvers or recessed optics can reduce UGR by 5 to 7 points compared to an unshielded fixture. That is a meaningful improvement that changes how a room actually feels to live in.
UGR is not determined by the fixture alone. Room dimensions, ceiling height, surface reflectance, and the number of fixtures all factor into the final rating. A fixture rated UGR 16 in a manufacturer’s test room may perform differently in your specific space. This is why glare control requires coordinated system planning rather than simply buying a fixture with a good spec sheet number.
Outdoor lighting uses a related metric called Threshold Increment, or TI, to measure glare from street and pathway lights. For residential outdoor applications, the principle is the same: shield the source, control the beam, and avoid aiming light directly toward where people stand or sit.
Pro Tip: Ask your lighting supplier for the UGR value of any fixture you are considering. Reputable manufacturers publish this number. If a supplier cannot provide it, treat that as a red flag.
Common glare control techniques and fixtures for homes
Glare control is not one technique. It is a combination of fixture design, placement, and room treatment working together. Effective glare fixes combine shielding, positioning, and optical design rather than relying on any single solution.
Fixture types that reduce glare
The right fixture design makes a significant difference before you ever consider placement. Glare-friendly options for residential use include:
- Deep-recessed downlights with a recessed trim that hides the LED source from side angles
- Diffused pendant lights using frosted or opal glass that spreads light evenly without a visible hot spot
- Indirect cove lighting that directs all light upward toward the ceiling before it enters the room
- Wall sconces with upward-facing shades that bounce light off the ceiling for soft ambient fill
- Surface-mounted fixtures with micro-prismatic lenses that scatter light across a wide area without glare
Layering light to eliminate harsh contrast
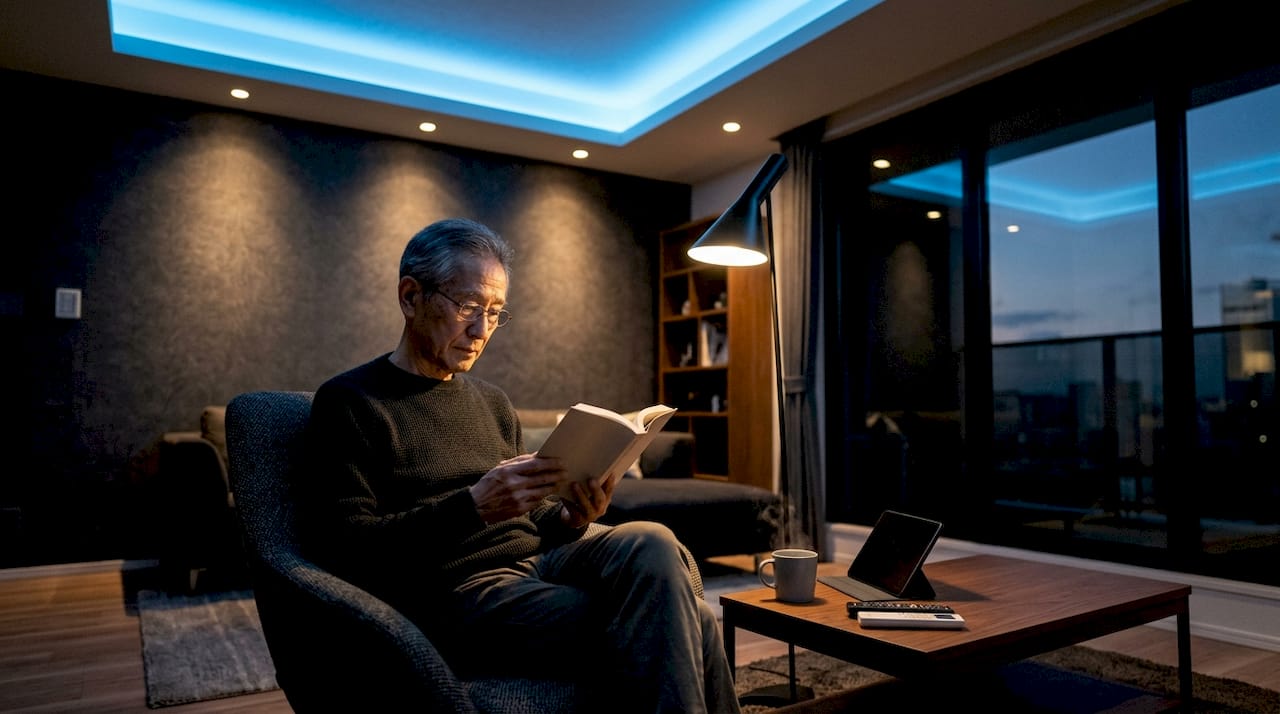
Brightness alone does not equal comfort. A room lit entirely by a single overhead fixture creates extreme contrast between the bright ceiling zone and the darker walls and floor. That contrast is itself a form of glare. Layering ambient lighting, task lighting, and accent lighting distributes brightness more evenly across the room. The result is a space where your eyes do not have to constantly adjust between very bright and very dark zones.
For a living room, this means combining recessed ambient lights with table lamps, floor lamps, and possibly indirect LED lighting along a cove or shelf. Each layer adds fill light that reduces the contrast ratio. The room feels brighter and more comfortable even at lower total wattage.
Why dimming alone is not enough
Dimming controls reduce perceived glare but do not fix the underlying problem. If a fixture exposes the LED chip directly at eye level, dimming it just makes the same uncomfortable bright spot slightly less intense. The fix requires changing the fixture, adding a diffuser, or repositioning the light. Dimming is a useful supplement to good design. It is not a substitute for it.
Pro Tip: Use a lighting selection workflow to evaluate each fixture’s shielding angle before purchasing. A fixture with a shielding angle below 30 degrees will expose the source to anyone seated in the room.
What are the benefits of glare control lighting in your home?
Glare control delivers benefits well beyond basic comfort. The effects of glare on vision accumulate over time, and addressing them improves daily life in measurable ways.
The core benefits include:
- Reduced eye strain and headaches. Eliminating harsh luminance contrast lets your eyes relax instead of constantly compensating for brightness differences.
- Better visibility and fewer accidents. Glare can increase accident risks by 15–20% in certain environments. Removing glare from stairways, kitchens, and bathrooms directly improves safety.
- Improved focus in home offices and study areas. Glare on a computer screen or desk surface forces your brain to work harder to process visual information. Removing it reduces mental fatigue.
- Better sleep quality. Harsh overhead lighting in bedrooms and hallways stimulates alertness. Soft, glare-free lighting in the evening supports your body’s natural wind-down process.
- Improved room aesthetics. Balanced lighting without bright spots or harsh shadows makes finishes, furniture, and art look their best.
- Energy savings through better design. A well-designed glare-controlled system delivers comfort at lower wattage than an over-bright, poorly aimed setup. Adaptive lighting with ambient sensors can cut glare complaints by 55% while maintaining useful light levels.
Glare-free lighting also increases your satisfaction with the space itself. Rooms that feel comfortable to be in get used more. That is a practical return on a lighting upgrade that is easy to overlook.
Key Takeaways
Glare control lighting is a system-level approach combining fixture optics, placement, room finishes, and layered light types to eliminate visual discomfort and improve safety in your home.
| Point | Details |
|---|---|
| UGR is the key metric | Target UGR below 19 for general rooms and below 16 for reading or work areas. |
| Optical design matters most | Deep-recessed optics and honeycomb louvers reduce UGR by 5–7 points versus unshielded fixtures. |
| Dimming is not a fix | Dimming reduces intensity but does not correct exposed LEDs or poor aiming angles. |
| Room surfaces affect glare | Matte paint and indirect lighting reduce reflected glare from walls and ceilings. |
| Layer your light types | Combining ambient, task, and accent lighting eliminates harsh contrast across the room. |
What I’ve learned from watching homeowners get glare wrong
After working with homeowners across the Dallas-Fort Worth area, the pattern I see most often is this: someone installs a set of bright recessed downlights, the room looks great in photos, and then they spend every evening squinting. The fix they try first is always dimming. It helps a little. It never solves it.
The real issue is almost always fixture placement and shielding angle. A downlight aimed directly at a seating area, with no recessed trim to block the side view of the LED, will cause glare at any brightness level. I have seen this in brand-new kitchens, home offices, and living rooms across Arlington, Mansfield, and Burleson. The fixture cost was not the problem. The planning was.
Glare control is a system-level issue that requires thinking about room layout, surface finishes, and observer positions before the first fixture goes in. Retrofitting is expensive and disruptive. Getting it right at the design stage costs nothing extra.
My strongest recommendation is to do a visual mock-up before installation. Tape cardboard to the ceiling where fixtures will go, stand a lamp underneath, and sit in your normal positions. Look toward the light. If you can see the source directly, you will have a glare problem. That five-minute test has saved more than a few homeowners from a costly redo.
One more thing: do not ignore your walls. I have walked into rooms where the fixtures were perfectly shielded and the homeowner still had glare. The culprit was high-gloss white paint bouncing light straight across the room. Switching to a flat or eggshell finish on the ceiling and upper walls solved it completely. Glare control is not just about the light. It is about everything the light touches.
— Adrian
Glare-controlled LED lighting from Dfwledpro
Choosing the right fixtures is only part of the equation. Proper placement, beam angle selection, and coordination with your room’s surfaces determine whether your lighting actually feels comfortable.

Dfwledpro installs permanent LED lighting systems across 35+ cities in the Dallas-Fort Worth metroplex, including Arlington, Fort Worth, Mansfield, and Cedar Hill. Our installations are planned with visual comfort in mind, not just brightness. We help homeowners select fixtures with the right optical design for their specific spaces and position them to minimize glare from every typical viewing angle. If you are ready to upgrade your home’s lighting with comfort and quality built in, contact Dfwledpro for a consultation.
FAQ
What is glare control lighting in simple terms?
Glare control lighting is the practice of designing and placing fixtures to prevent excessive brightness or contrast from causing eye discomfort. It uses optical tools like diffusers, louvers, and recessed optics alongside smart fixture placement.
What UGR value should I target for my home?
A UGR below 19 is the standard target for general living spaces. Rooms used for reading, computer work, or detailed tasks benefit from a UGR below 16.
Does dimming my lights fix glare?
Dimming reduces the intensity of glare but does not eliminate it. If the fixture exposes the LED source at eye level, the underlying problem requires better shielding, a different fixture, or repositioning.
What causes reflected glare in a home?
Reflected glare comes from light bouncing off glossy surfaces such as high-sheen paint, glass tabletops, or polished floors. Switching to matte finishes and using indirect lighting are the most effective fixes.
How does indirect lighting reduce glare?
Indirect lighting directs light toward the ceiling or walls before it enters the room, eliminating direct exposure to the bright source. This creates a soft, even light distribution with no visible hot spots or harsh contrasts.