Best Practices for LED Lighting in Your Home
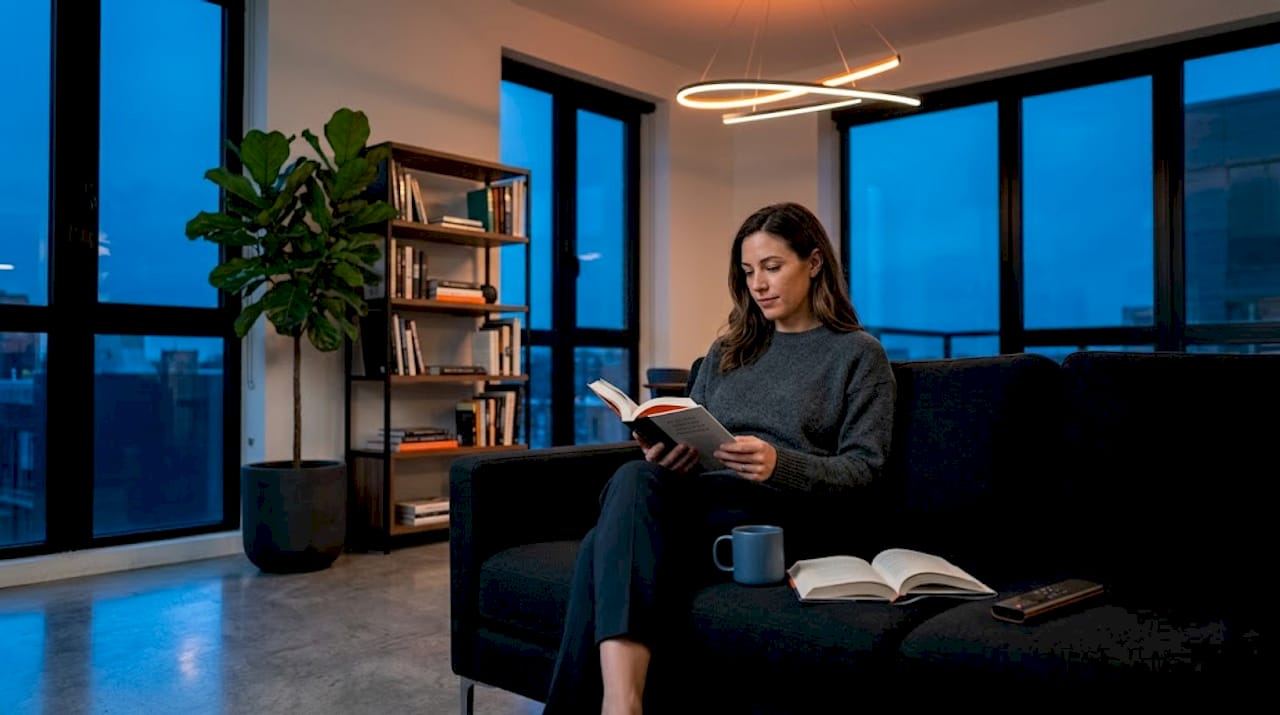
Switching to LED bulbs is one of the smartest moves a homeowner can make, but picking up any LED at the hardware store and screwing it in is not the same as doing it right. The best practices for LED lighting go well beyond the bulb itself. They cover how you choose, install, layer, and maintain your lights to get real energy savings and a home that actually looks good. LEDs can cut energy use by 50% to 80% compared to older technology, but only if you make smart decisions from the start. This guide walks you through exactly that.
Table of Contents
- Key takeaways
- 1. Best practices for LED lighting start with the right bulb selection
- 2. Know your fixture ratings before you install
- 3. Layer your lighting for both aesthetics and efficiency
- 4. Match the LED type to the application
- 5. Follow a solid LED lighting maintenance guide
- 6. Avoid these common LED lighting mistakes
- 7. Use smart controls and zoning to maximize efficiency
- My honest take on getting LED lighting right
- Let Dfwledpro handle your LED upgrade professionally
- FAQ
Key takeaways
| Point | Details |
|---|---|
| Match bulbs to fixtures | Always check IC, enclosed, damp, or wet ratings before installing any LED bulb. |
| Prioritize light quality | High CRI and flicker-free performance matter more than raw brightness for comfort. |
| Layer your lighting | Combining ambient, task, and accent LEDs saves energy and improves how every room feels. |
| Maintain regularly | Clean fixtures every one to three months and inspect wiring yearly to protect lifespan. |
| Avoid dimmer mismatches | Always pair bulbs from the same brand on one dimmer circuit to prevent buzzing and early failure. |
1. Best practices for LED lighting start with the right bulb selection
Before you buy anything, you need to understand what the numbers on the box actually mean. Most homeowners still shop by watts, but watts measure power draw, not brightness. Lumens measure brightness. A 10-watt LED can produce the same 800 lumens as a 60-watt incandescent. Get comfortable reading the lumens number first.
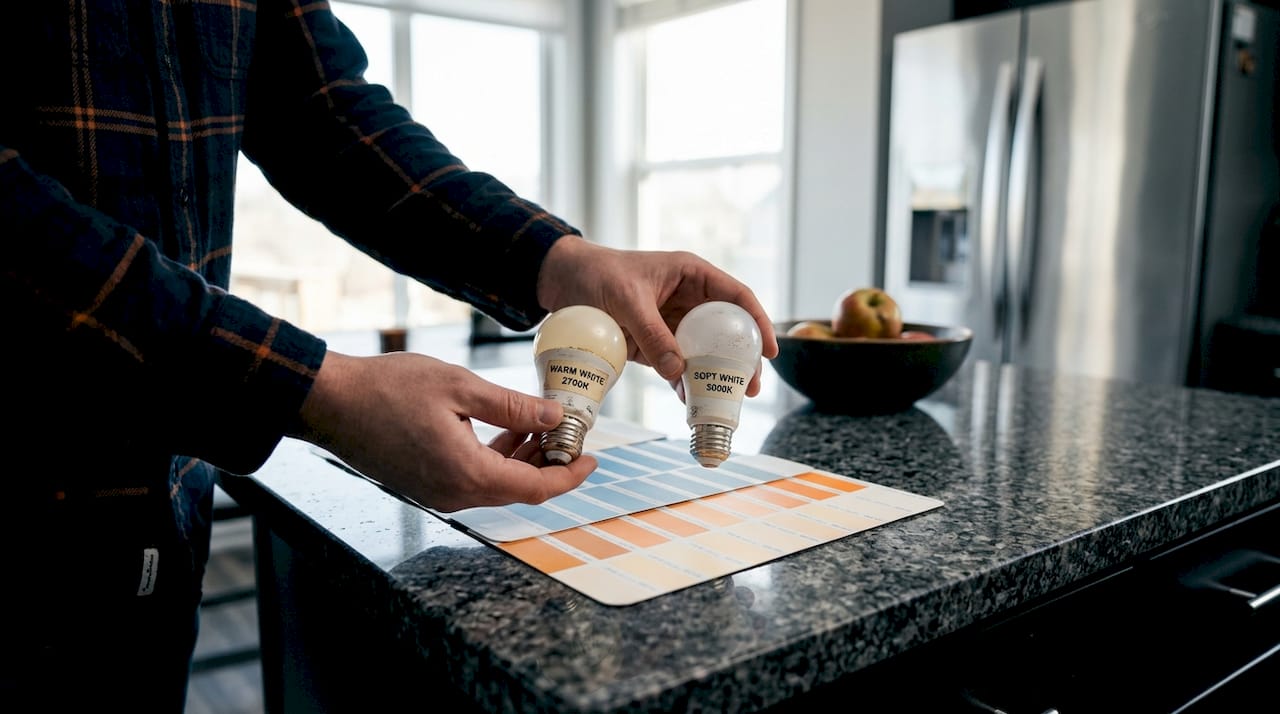
Color temperature is equally important. It is measured in Kelvins (K):
- 2700K to 3000K produces warm white light, which works well in bedrooms and living rooms where you want a relaxed feel
- 3500K to 4000K is a neutral white that suits kitchens and home offices where clarity helps
- 5000K and above is a cool, daylight-style white best used in garages or utility spaces, not bedrooms
Color Rendering Index (CRI) tells you how accurately a bulb shows true colors. A CRI of 90 or above is worth seeking out for kitchens and bathrooms. Flicker-free LEDs with 90+ CRI improve visual comfort and help you see food colors, tile, and skin tones accurately. Low-CRI bulbs make everything look slightly off, which you notice without knowing why.
Finally, check dimmability before you buy. Not every LED works with every dimmer. Check the bulb packaging for dimmer compatibility, and look for the ENERGY STAR label for confidence that efficiency claims have been independently verified.
2. Know your fixture ratings before you install
This is one of the most skipped steps in LED lighting conversion, and it causes real problems. Different fixture locations require different bulb ratings:
- Standard indoor fixtures: A basic LED A19 bulb works fine here
- Enclosed fixtures (globes, lanterns, flush-mount domes): You need bulbs specifically labeled “enclosed fixture rated.” Standard LEDs trap heat inside and burn out fast
- Recessed cans in insulated ceilings: You need IC-rated and enclosed rated bulbs to prevent heat buildup that shortens lifespan and poses a fire risk
- Bathrooms: Use damp-rated bulbs in areas with steam exposure, and wet-rated bulbs for shower enclosures or any outdoor fixture exposed to rain
Skipping these ratings is a common LED lighting mistake that costs you money twice. Once when the bulb fails early, and again when you have to replace it.
3. Layer your lighting for both aesthetics and efficiency
Good lighting design is not about flooding a room with as much light as possible. More light is not always better. Matching light levels to specific tasks with layered lighting reduces energy waste and makes spaces far more comfortable to live in.
Here is how to build the three layers properly:
- Ambient lighting is your base layer. Think ceiling fixtures, recessed downlights, or chandeliers that give a room its overall illumination. Use 2700K to 3000K LEDs here for living spaces.
- Task lighting targets specific work areas. Under-cabinet LEDs in the kitchen, a bedside reading lamp, or a desk light all belong here. Use 3500K to 4000K for clarity. Aim directional beam angles at the work surface, not your eyes.
- Accent lighting adds visual depth. Use narrow-beam LEDs or spotlights to highlight artwork, architectural features, or landscaping. This layer uses very little energy but dramatically changes how a space reads.
For layered lighting that improves aesthetics and efficiency, use occupancy sensors in rooms like bathrooms, laundry areas, and hallways. Timers and smart dimmers let you control each zone independently, so you are never paying to illuminate an empty room at full brightness.
Pro Tip: Install dimmers on ambient lighting circuits in every living space. Dropping from 100% to 70% brightness can extend bulb life noticeably while cutting energy use on that circuit.
4. Match the LED type to the application
Not all LED bulbs look or perform the same way. Choosing the right form factor for the job matters.
| Bulb type | Best use | Notes |
|---|---|---|
| A19 (standard shape) | Living rooms, bedrooms, table lamps | Most versatile, wide availability |
| BR30 (flood bulb) | Recessed cans, 6-inch housings | Wide beam angle, good for ambient layers |
| GU10 (twist-lock base) | Track lighting, directional spots | Precise beam control for accent lighting |
| Filament-style LED | Exposed bulb fixtures, pendants | Warm aesthetic, lower lumen output |
| Smart LED (Wi-Fi or Bluetooth) | Any room with a smart hub | Color tunable, app-controlled, dimmable |
| PAR38 (outdoor rated) | Floodlights, security fixtures | Higher lumens, wet-rated versions available |
Filament-style LEDs look great in a vintage pendant but they produce fewer lumens per watt than standard LEDs. They are a style choice, not an efficiency one. Smart LEDs cost more upfront but allow color temperature tuning throughout the day, which is a real comfort advantage in living rooms and bedrooms.
5. Follow a solid LED lighting maintenance guide
LEDs last a long time. But only if you treat them right. Routine maintenance every one to three months, plus a deeper clean once or twice a year, keeps output optimal and extends fixture life considerably.
Here is what a solid LED lighting maintenance routine looks like:
- Dust fixtures monthly using a dry microfiber cloth. Dust blocks heat dissipation, which shortens driver life.
- Clean lenses and covers with 70% isopropyl alcohol applied to a cloth. Never spray cleaner directly onto LED optics. Direct liquid contact damages the phosphor coating and lens surface.
- Inspect wiring connections once a year. Loose connections cause voltage spikes that kill drivers early. Check for LED safety measures including discoloration around sockets or flickering that starts after a long period of stable performance.
- Keep heat sinks clear. On recessed fixtures, verify the can above the bulb is not packed with insulation that blocks airflow.
- Check for driver failure signs. Flickering that was not present before, buzzing on a dimmer, or a bulb that randomly shuts off and restarts are all signs the driver is failing, not the LED chip itself.
Pro Tip: When you do replace a bulb, date-stamp the new bulb with a permanent marker on the base. This helps you track actual lifespan against rated hours without guessing.
6. Avoid these common LED lighting mistakes
Even experienced homeowners make these errors. Knowing them ahead of time saves money and frustration.
- Using non-enclosed-rated bulbs in enclosed fixtures. Heat builds up with no exit, and the bulb fails months instead of years into its life.
- Ignoring dimmer compatibility. Mixing different LED brands on one dimmer causes buzzing, flickering, and early failure due to incompatible dimming curves. Stick to one brand per circuit.
- Over-lighting rooms. Installing 6 recessed cans where 4 would do wastes energy and creates flat, harsh light with no depth.
- Skipping the CRI check. A 2700K bulb with a CRI of 70 looks muddy compared to one with a CRI of 92. The Kelvin number alone tells you nothing about color accuracy.
- Neglecting outdoor-rated requirements. Standard indoor LEDs installed in a porch fixture fail within months. Always match the wet or damp rating to the exposure level.
- Assuming all dimmable LEDs are equal. Dimmable LEDs vary widely in how smoothly they dim. Some drop straight to off at 20%, while others dim smoothly all the way down. Check reviews before committing to a multi-fixture installation.
7. Use smart controls and zoning to maximize efficiency
The bulb is only half the equation. How you control your lights determines whether you actually capture the energy savings from ENERGY STAR-rated LEDs. Smart controls are one of the most underused tools in residential LED design.
Occupancy sensors in bathrooms, closets, and utility rooms eliminate lights left on for hours by accident. Dimmers on living room and bedroom circuits let you match light levels to the time of day. Zoning your home means your kitchen can run at full brightness while the hallway runs at 30%, all from a single app or smart hub.
For homes with residential lighting controls, the combination of dimming and zoning can meaningfully reduce lighting-related electricity use beyond what switching to LEDs alone achieves. This is the step most homeowners skip entirely, and it is where a lot of the real savings live.
My honest take on getting LED lighting right
I have seen a lot of homeowners make the switch to LEDs with solid intentions and end up disappointed. The bulbs flicker on a new dimmer. The kitchen looks washed out under cool white light. A recessed can burns through its second bulb in six months. Every one of those outcomes was preventable.
What I have learned is this: most people focus almost entirely on the bulb and ignore everything around it. The dimmer compatibility, the fixture rating, the CRI, the maintenance routine. The bulb is the easy part. Getting the system around it right is what separates lighting that works from lighting that genuinely improves how your home feels to live in.
My honest advice is to start with color temperature and CRI before you worry about watts or lumens. A room lit with a 92 CRI bulb at the right Kelvin will feel noticeably more natural and comfortable than a brighter room with a mediocre bulb. Comfort depends more on flicker-free performance and dimming quality than raw brightness, and most homeowners do not find this out until they have already made a purchase they regret.
Also, do not skip maintenance. Cleaning a dusty fixture takes two minutes and protects a driver that cost real money to install. Treat your LEDs like any other home system and they will perform for the long haul.
— Adrian
Let Dfwledpro handle your LED upgrade professionally

At Dfwledpro, we work with homeowners across the Dallas-Fort Worth area every day to design and install LED lighting systems that are matched correctly from day one. That means the right fixture ratings, the right color temperatures per room, and permanent outdoor LED systems built to handle Texas weather without failing at the wrong moment.
Whether you are in Lancaster, Dallas, or Venus, our team handles everything from bulb selection and dimmer pairing to full outdoor permanent lighting installation. We are the authorized JellyFish Lighting dealer for the DFW metroplex, and we bring that expertise directly to your home. Browse our LED tips and guides or reach out to schedule a consultation.
FAQ
What color temperature is best for home LED lighting?
For living spaces like bedrooms and living rooms, 2700K to 3000K provides warm, comfortable light. Use 3500K to 4000K in kitchens and offices where visual clarity matters more.
How often should I clean my LED light fixtures?
Routine dusting every one to three months, plus a deeper clean once or twice a year, keeps heat sinks clear and maintains full light output over the fixture’s lifespan.
Can I use any LED bulb in a recessed can fixture?
No. Recessed cans in insulated ceilings require IC-rated and enclosed-fixture-rated bulbs to prevent heat buildup, avoid early failure, and reduce fire risk.
Why do my LED bulbs flicker or buzz on a dimmer?
Flickering and buzzing typically result from incompatible dimmer and bulb pairing, or from mixing different LED brands on the same dimmer circuit, which creates voltage irregularities.
Do LED lights really save that much energy?
Yes. Switching to LEDs can reduce lighting energy consumption by 50% to 80% compared to incandescent or halogen bulbs, with the investment typically paying back within three to five years.