What Is LED Channeling for Outdoor Home Lighting?
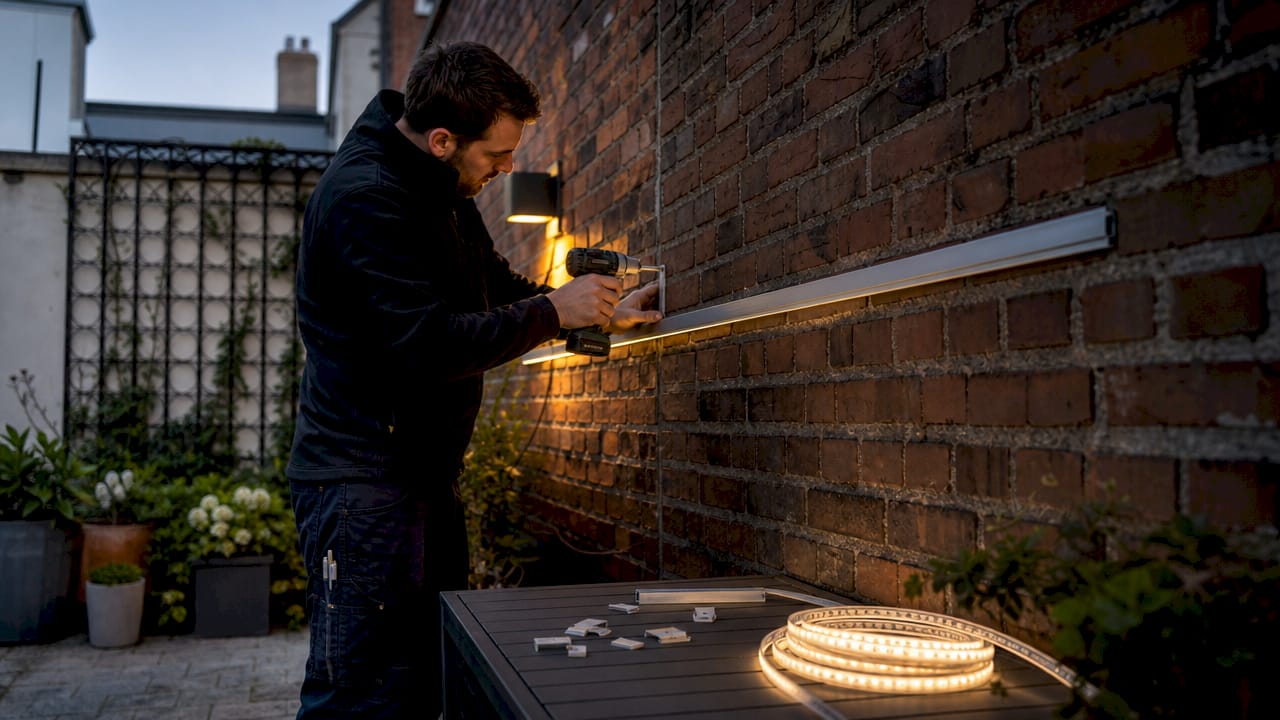
LED channeling is defined as a rigid aluminum housing system that mounts, protects, and enhances LED strip lights by managing heat, diffusing light, and providing structural support. The industry standard term is “LED channel” or “aluminum LED profile,” and you will see both terms used interchangeably by lighting professionals. For homeowners in the Dallas-Fort Worth area exploring permanent outdoor lighting, understanding what LED channeling does separates a durable, professional-grade installation from one that fades, peels, or overheats within a season.
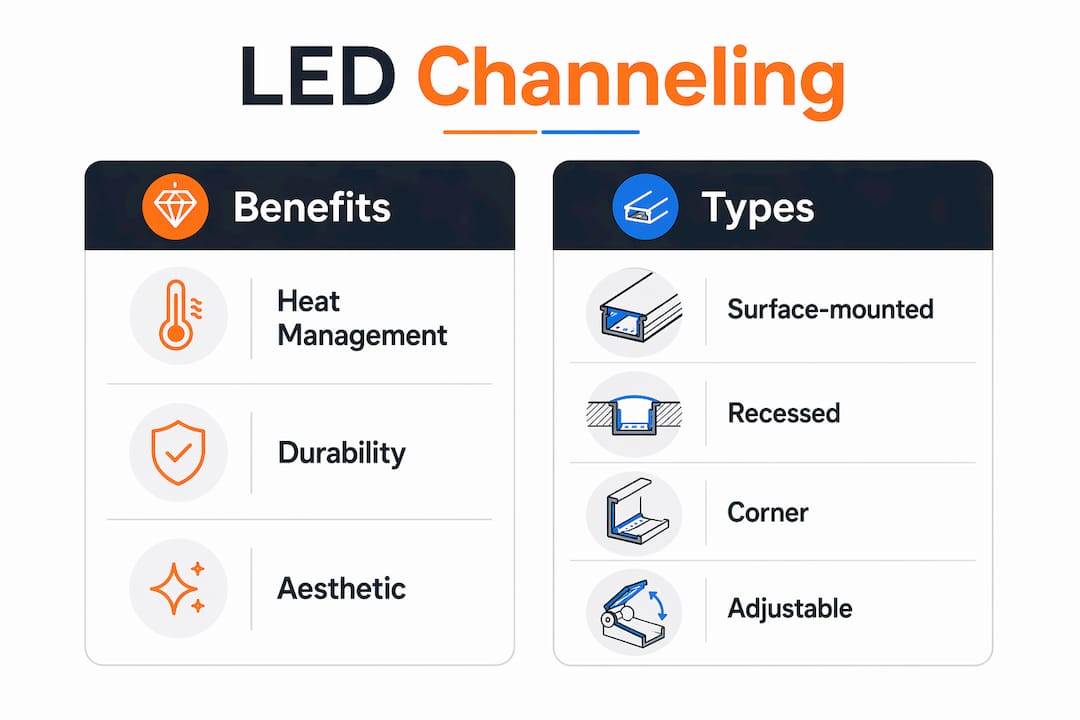
Aluminum channels extend LED lifespan beyond 50,000 hours through thermal management, a number that translates to roughly 17 years of nightly use. That is not a minor performance upgrade. It is the difference between a lighting system you maintain annually and one you install once and enjoy for years. JellyFish Lighting systems, installed by Dfwledpro across 35-plus cities in the DFW metroplex, integrate this same principle of protected, thermally managed LED strips into every permanent outdoor installation.
What is LED channeling made of and how does it work?
LED channeling is built from three core components that work together as a single system. Understanding each part helps you evaluate quality before you buy.
The aluminum body is the structural frame and the heat sink. Aluminum carries a thermal conductivity of ~205 W/m·K, which is dramatically higher than plastic alternatives. When an LED strip generates heat during operation, the aluminum body pulls that heat away from the diodes and disperses it into the surrounding air. Without this function, heat accumulates at the strip and accelerates light decay, the gradual dimming that shortens LED lifespan.
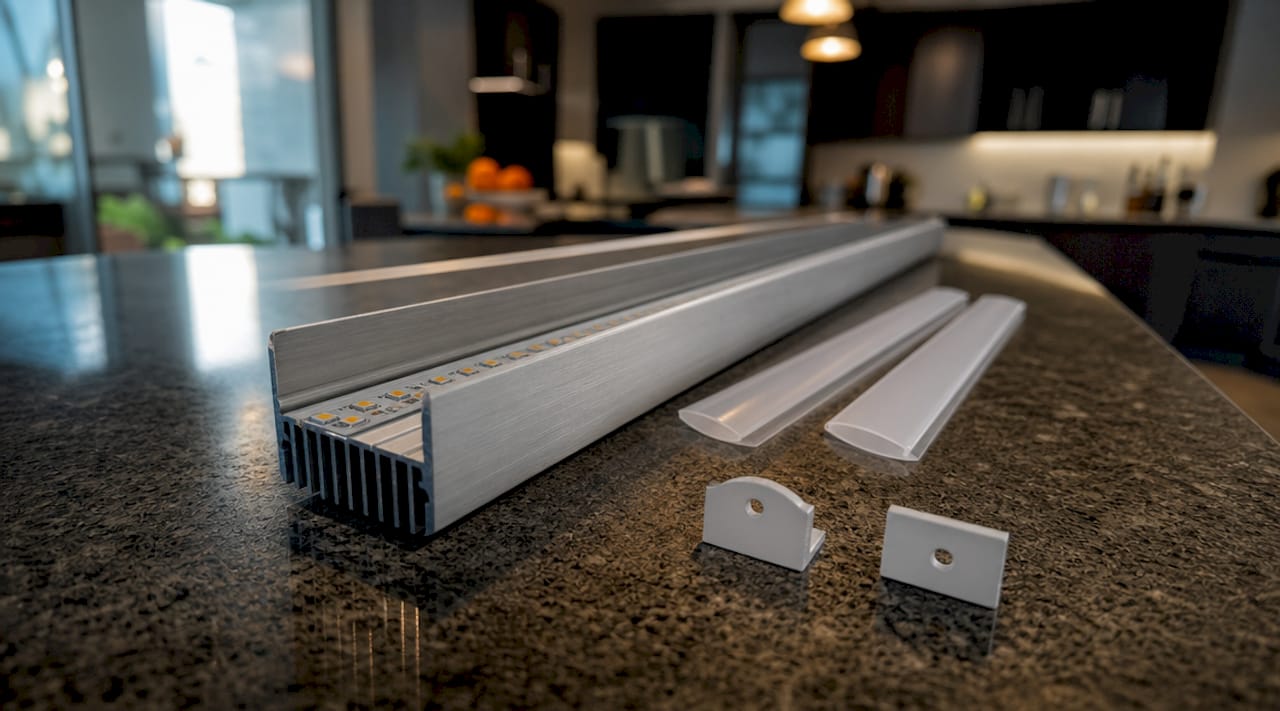
The diffuser cover sits over the top of the channel and softens the output from individual LED diodes. Diffusers eliminate harsh beams by blending point sources into a continuous linear glow, which is the smooth wash of light you see on professionally lit rooflines and pathways. Without a diffuser, you see individual dots of light rather than a clean, even line.
Mounting accessories complete the system. These include:
- End caps that seal channel openings and protect against moisture intrusion
- Mounting clips or screws that anchor the channel to wood, stucco, brick, or composite surfaces
- Corner connectors that allow channels to turn angles without gaps or light bleeding
Channel profiles come in several shapes to match different installation needs. U-shaped channels work for flat surface mounting. V-shaped or corner profiles fit 90-degree angles on fascia boards or fence posts. Recessed profiles sit flush inside routed grooves for a built-in appearance.
Pro Tip: Channel depth should be at least equal to the LED strip’s diode pitch. If the channel is too shallow, you will still see individual dots through the diffuser rather than a clean, dot-free lighting effect.
How does LED channeling benefit outdoor decorative and functional lighting?
The benefits of LED channeling go beyond aesthetics. For outdoor use specifically, the combination of heat management, weather protection, and light quality control makes channels a practical requirement rather than an optional upgrade.
Heat is the primary enemy of LED strip longevity. Aluminum channels serve as heat sinks that pull thermal energy away from the diodes continuously. In a Texas summer, where ambient temperatures regularly exceed 100°F, an unhoused LED strip on a south-facing fascia board can reach temperatures that cut its rated lifespan in half. A properly installed aluminum channel keeps operating temperatures within the manufacturer’s rated range.
The benefits for outdoor installations include:
- Extended lifespan. Thermal management pushes LED performance past the L70 rating threshold, meaning the strip retains at least 70% of its original brightness for the full rated life.
- Weather protection. The aluminum body shields the strip from direct rain, UV exposure, and debris. Paired with IP-rated strips, the channel adds a second layer of physical protection.
- Professional appearance. Channels transform exposed LED tape into architecturally integrated lighting. The difference between a bare strip taped to a soffit and a channeled installation is immediately visible.
- Reduced glare. Diffused output is more comfortable for neighbors and passersby, which matters for front-facing decorative lighting on homes in HOA communities.
- Versatile mounting. Channels attach to virtually any outdoor surface, giving you consistent results whether you are lighting a roofline, a pergola, steps, or a driveway border.
For homeowners considering upgrading outdoor LED lighting, the channel system is what makes the difference between a DIY project that looks temporary and a permanent installation that adds real curb appeal.
What types of LED channels are available for outdoor use?
Selecting the right channel type depends on your mounting surface, the LED strip width you are using, and the visual effect you want to achieve. The table below covers the most common options.
| Channel type | Best use | Key advantage | Limitation |
|---|---|---|---|
| Surface-mounted (U-profile) | Flat surfaces: soffits, fascia, fences | Easy installation, widely available | Sits proud of the surface |
| Recessed (flush-mount) | Decking, steps, routed grooves | Clean, built-in appearance | Requires routing or pre-cut grooves |
| Corner (V-profile) | 90-degree angles, fence posts | Solves light bleeding at corners | Requires precise angle cutting |
| Adjustable angle | Non-standard angles on custom builds | Flexible positioning | More expensive, fewer diffuser options |
| Slim/low-profile | Narrow surfaces, tight spaces | Minimal visual footprint | Limited to narrower LED strips |
Corner LED channels deserve special attention for outdoor projects. Light bleeding at corners is one of the most common problems in DIY outdoor installations. A V-profile channel with a matching diffuser eliminates the gap where two runs of strip meet at an angle, producing a clean, continuous line of light around the full perimeter of a roofline or deck.
For weather resistance, look for channels rated for outdoor use with anodized or powder-coated aluminum finishes. Raw aluminum oxidizes over time in humid or coastal environments. The finish protects the metal and keeps the channel looking clean for years.
Pro Tip: When choosing between a clear and a frosted diffuser, go frosted for any installation where the channel is at eye level or below. Clear diffusers still show individual diode dots at close range, while frosted covers produce a uniform linear glow regardless of viewing angle.
How to install LED channeling outdoors: step-by-step
A clean outdoor installation follows a specific sequence. Skipping steps, particularly surface prep and layout planning, is the most common reason DIY channel installations look unprofessional or fail prematurely.
- Plan and map your layout. Use painter’s tape or chalk lines to mark the channel placement before drilling or adhering anything. This reveals spacing issues and corner alignment problems before they are permanent.
- Measure and cut channels. Use a miter saw or fine-tooth hacksaw to cut aluminum channels to length. Cut ends should be deburred with a file to prevent sharp edges from damaging the LED strip or wiring.
- Clean the mounting surface. Wipe the surface with isopropyl alcohol and allow it to dry fully. Dust, oils, and moisture all reduce adhesive bond strength.
- Secure the channel base. For outdoor use, screws or mounting clips are more reliable than adhesive alone. Mounting clips and screws tailored to your surface type provide maximum durability against wind, thermal expansion, and vibration.
- Apply the LED strip. Peel the adhesive backing and press the strip firmly into the channel base. Avoid direct skin contact with the adhesive side. Oils from your fingers degrade the adhesive and cause the strip to peel away from the channel over time.
- Snap on the diffuser cover. Press the diffuser into the channel tracks until it clicks into place along the full length. Check for gaps, particularly at cut ends and corners.
- Wire and test. Connect power, test the full run before sealing end caps, and confirm there are no dark spots or flickering sections.
A few additional points worth noting for outdoor-specific installs:
- Allow for thermal expansion gaps at channel joints in runs longer than 6 feet. Aluminum expands in heat and contracts in cold. A small gap at joints prevents buckling.
- Use weatherproof wire connectors at all junction points.
- For corner installations, measure and dry-fit corner profiles before applying any strips. Precision here prevents visible light bleeding at the transition point.
Key takeaways
LED channeling is the aluminum profile system that makes outdoor LED strip lighting durable, professional-looking, and long-lasting by solving the three core problems of heat, glare, and weather exposure simultaneously.
| Point | Details |
|---|---|
| Core function | Aluminum channels manage heat, diffuse light, and protect LED strips from outdoor elements. |
| Lifespan impact | Proper thermal management extends LED performance past 50,000 hours at rated brightness. |
| Channel selection | Match profile type (surface, recessed, corner) to your mounting surface and visual goal. |
| Installation priority | Clean surfaces, mechanical fasteners, and avoiding skin contact on adhesive are non-negotiable for outdoor durability. |
| Professional finish | Frosted diffusers and corner profiles are what separate a polished installation from a DIY appearance. |
Why I always recommend channels before anything else
When homeowners ask me what single upgrade makes the biggest difference in an outdoor LED project, the answer is always the channel. Not the strip brand. Not the controller. The channel.
Here is what I have seen repeatedly: a homeowner installs a quality LED strip directly on a fascia board, skips the channel to save money, and calls us six months later because the strip is dimming unevenly or peeling away. The strip itself is fine. The heat and adhesive failure are the problem. An aluminum channel would have prevented both.
The other mistake I see is choosing the wrong profile for a corner run. Corner and angled installations require more planning than straight runs. Homeowners who eyeball corner cuts end up with visible gaps and light bleed that undermines the whole look. A proper V-profile channel with a matched diffuser, cut at the correct angle, produces a seamless transition that looks like it was designed into the house.
One more thing: do not underestimate the diffuser choice. I have seen installations where the homeowner used a clear diffuser on a roofline channel at eye level from the street. Every individual diode is visible. It looks like a string of dots, not a lighting system. A frosted diffuser costs the same and produces a result that looks genuinely architectural.
The channel is not a finishing detail. It is the foundation of the installation. Get it right first, and everything else follows.
— Adrian
Get professional LED channeling installed in your area
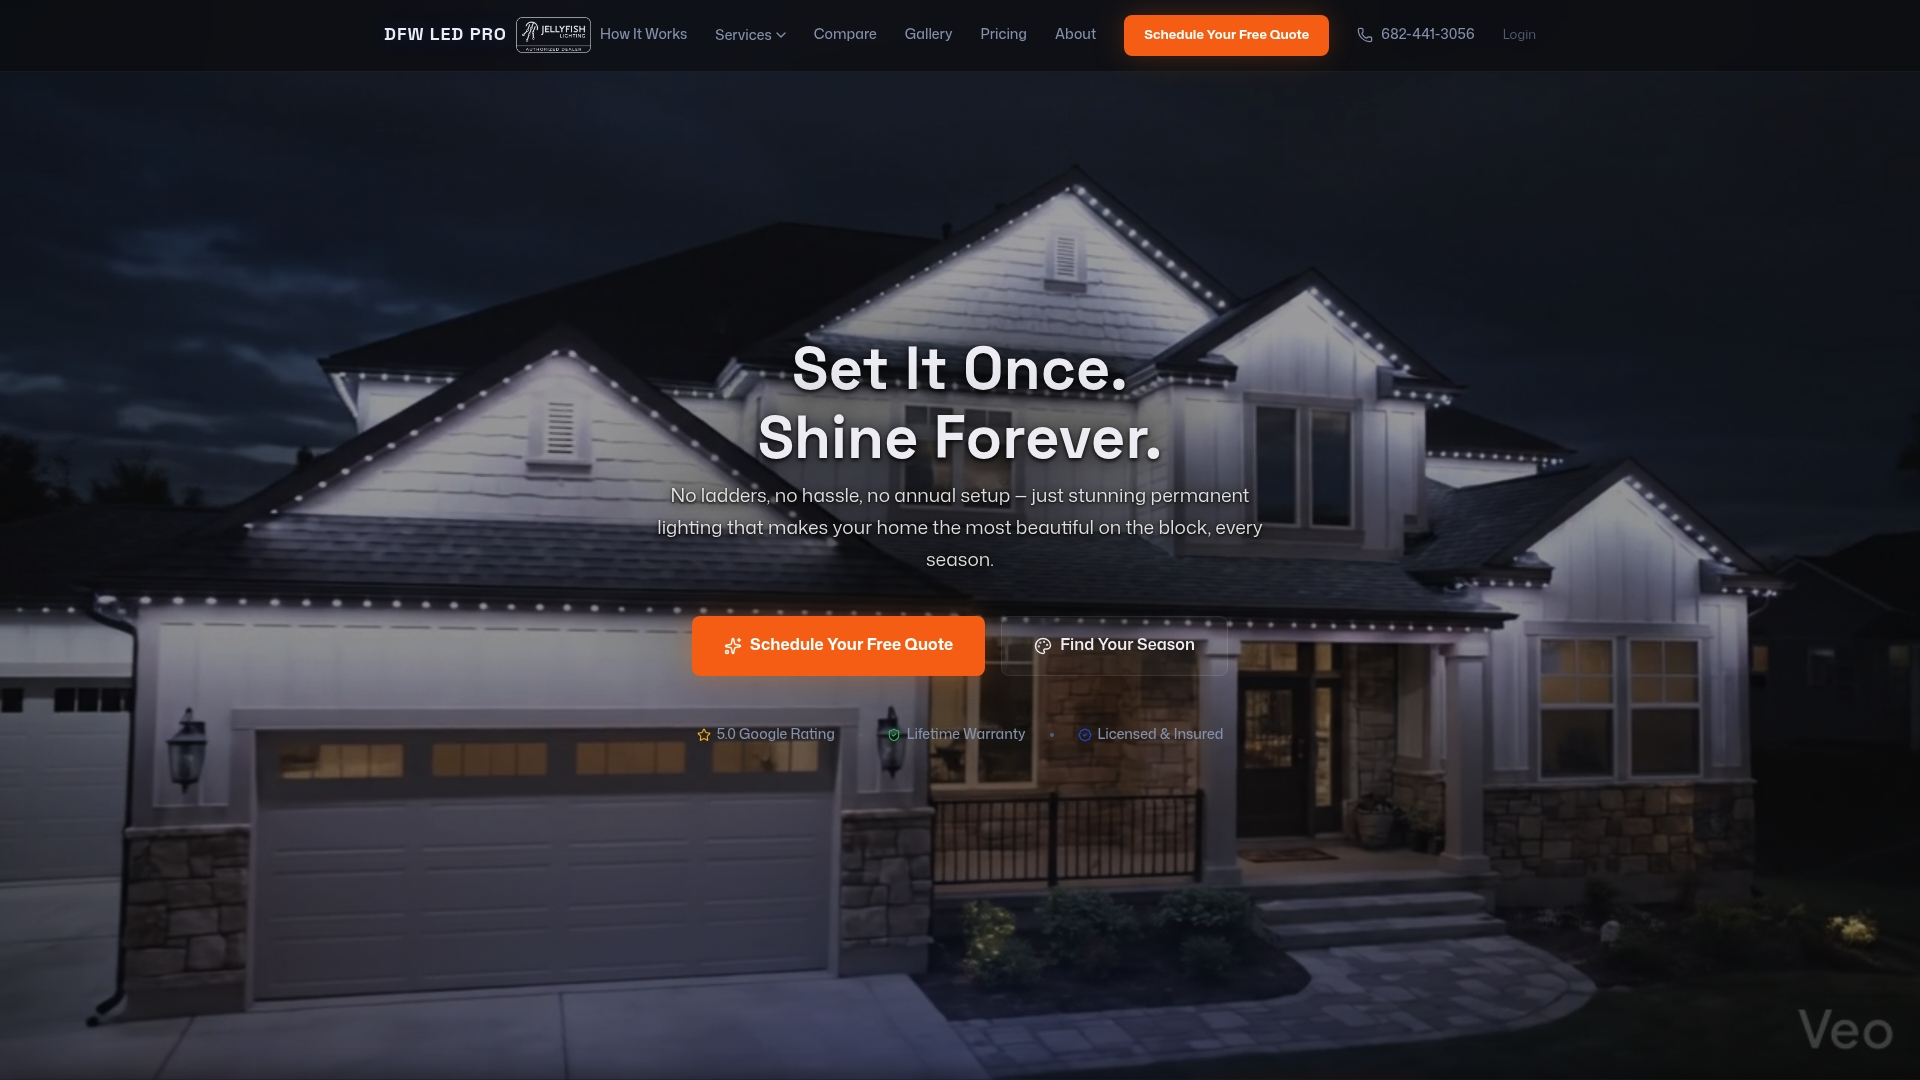
Dfwledpro installs permanent outdoor LED lighting systems across 35-plus cities in the Dallas-Fort Worth metroplex, including Lancaster, Cedar Hill, Midlothian, and surrounding communities. Every installation uses properly channeled, thermally managed LED systems designed to perform through Texas summers and last for years without maintenance headaches. If you want the clean, architectural look that comes from a properly specified and installed channel system, our team handles every step from layout planning to final wiring. Explore permanent LED installation in Lancaster or Dallas permanent LED lighting to get started with a free consultation.
FAQ
What is LED channeling in simple terms?
LED channeling is an aluminum housing that holds LED strip lights, manages heat, and softens the light output through a diffuser cover. It protects the strip from weather and gives the installation a clean, professional appearance.
Do I need LED channels for outdoor lighting?
Outdoor use makes LED channels close to mandatory. Heat buildup, UV exposure, and moisture all shorten unprotected LED strip life. Aluminum channels address all three by dissipating heat and providing a physical barrier against the elements.
What are the main types of LED channels?
The main types are surface-mounted U-profiles, recessed flush-mount profiles, corner V-profiles, and adjustable-angle profiles. Each suits a different mounting surface and visual outcome, with corner profiles specifically designed to eliminate light bleeding at 90-degree transitions.
How long do LED strips last inside aluminum channels?
With proper thermal management through aluminum channels, LED strips can exceed 50,000 hours at their L70 brightness rating. That equates to roughly 17 years of use at eight hours per night.
Can I install LED channeling myself or should I hire a professional?
Straight runs on accessible surfaces are manageable for a careful DIYer. Complex layouts with multiple corners, long runs, or integration into a permanent smart lighting system benefit significantly from professional installation to avoid light bleeding, wiring errors, and premature adhesive failure.