Upgrading to LED Lights: A Homeowner’s Savings Guide

LED lighting is defined as a solid-state technology that converts electricity directly into light with minimal heat loss, making it the most energy-efficient residential lighting option available today. This upgrading to LED lights guide covers everything you need to make a confident switch: the real cost savings, how to read a bulb label, installation steps, and how to fix the problems most homeowners run into. Whether you are replacing a single kitchen bulb or planning a whole-home conversion, the right information saves you money and frustration. ENERGY STAR certified LEDs set the quality benchmark, and understanding lumens versus watts is the single most important skill you will use throughout this process.
What are the benefits of upgrading to LED lighting?
Residential LEDs use at least 75% less energy and last 25 to 50 times longer than incandescent bulbs. That is not a marginal improvement. It means a bulb you install today could still be running when your child graduates high school.
The numbers get more concrete when you look at a single fixture. Replacing a 60-watt incandescent with an 8 to 10 watt LED delivers the same 800 lumens of brightness and saves roughly $125 in electricity over its lifetime. Multiply that across every fixture in a typical home and the savings become a meaningful line item on your annual budget.
Beyond energy savings, LEDs offer several advantages that incandescent and halogen bulbs simply cannot match:
- Lifespan: LEDs last 15,000 to 50,000 hours compared to 1,000 hours for a standard incandescent. Fewer replacements mean less time on a ladder and less waste in landfills.
- Heat output: Incandescent bulbs can reach 200°F and pose a real fire risk in enclosed fixtures. LEDs typically stay under 100°F, which opens up more fixture options and reduces cooling load in summer.
- Light quality: LEDs are available across a full spectrum of color temperatures, from warm amber tones to crisp daylight white, giving you precise control over how each room feels.
- Environmental impact: Fewer replacements and lower energy draw reduce both manufacturing waste and carbon emissions over time.
For homeowners comparing LED lights vs incandescent options, the case is straightforward. The upfront cost of an LED bulb is higher, but the lifetime cost is dramatically lower. That gap has also narrowed significantly as LED prices have dropped over the past decade.
How to choose the right LED lights for your home
Choosing LED bulbs correctly starts with one shift in thinking: stop reading the watts label and start reading the lumens label. Watts measure energy consumption. Lumens measure actual brightness. A 10-watt LED that produces 800 lumens replaces a 60-watt incandescent that also produces 800 lumens. The wattage is irrelevant to how bright the room will be.

Understanding color temperature (Kelvin)
Color temperature, measured in Kelvin, determines whether your light looks warm or cool. Cold white light at 4000K and above improves alertness and visual contrast, making it the right choice for kitchens, home offices, and garages. Warm white at 2700K supports relaxation and is better suited for bedrooms, living rooms, and dining areas. Getting this wrong is one of the most common mistakes homeowners make. A 5000K “daylight” bulb in a bedroom will feel clinical and disrupt your sleep.
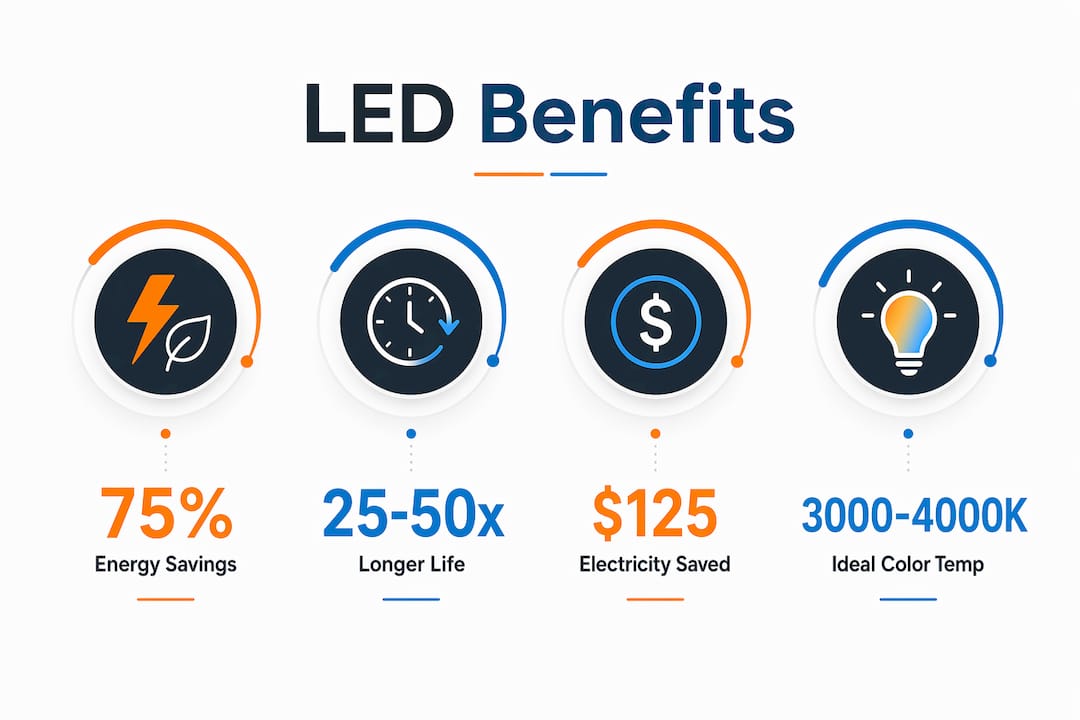
For kitchen lighting specifically, a range of 3000K to 4000K balances task visibility with a welcoming atmosphere. Bathrooms benefit from 3000K to 3500K for accurate color rendering when applying makeup or grooming.
Key selection criteria
When you are shopping for LED bulbs, check for these features before you buy:
- ENERGY STAR certification: This label confirms the bulb meets strict efficiency and performance standards set by the U.S. Environmental Protection Agency. ENERGY STAR certified LEDs deliver equivalent brightness using 75 to 90% less energy than incandescent bulbs.
- Dimmability: Not all LED bulbs are dimmable. If your fixture has a dimmer switch, confirm the bulb is labeled as dimmable before purchasing.
- Bulb shape and base: A19 is the standard household shape. BR30 fits recessed cans. GU10 is common in track lighting. Matching the base type (E26, GU10, GU24) to your fixture prevents compatibility issues.
- CRI (Color Rendering Index): A CRI of 90 or above means colors in the room look accurate and natural. This matters most in kitchens, bathrooms, and art spaces.
Pro Tip: Buy one bulb in your chosen color temperature and live with it for a few days before purchasing the rest. What looks right in a store under fluorescent lighting may feel completely different in your home.
What are the steps for installing LED bulbs safely?
Most LED upgrades are straightforward. For standard screw-in replacements, the process takes under a minute per bulb. For recessed lighting, enclosed fixtures, or smart lighting systems, there are additional considerations that affect both safety and performance.
Basic bulb replacement
- Turn off the light switch and allow the existing bulb to cool completely.
- Remove the old bulb by unscrewing it counterclockwise or pulling it straight out if it is a pin-base type.
- Check the fixture’s maximum wattage rating on the label inside the socket. Your LED will draw far less than this limit, so compatibility is rarely an issue.
- Screw in the new LED bulb and restore power.
- Test the bulb at full brightness and, if applicable, through the full dimming range.
Recessed lighting and enclosed fixtures
Recessed lighting requires more care. Measuring fixture depth and trim clearance is critical to confirm proper fit and heat dissipation. An LED retrofit kit that is too large for the housing will trap heat and shorten the bulb’s life significantly. Look for bulbs or retrofit kits labeled “IC-rated” if the fixture is in contact with ceiling insulation.
Enclosed fixtures present a similar challenge. Not all LED bulbs are rated for enclosed spaces. Check the packaging for an “enclosed fixture compatible” designation before installing.
Safety note: Professional installation is recommended for complex LED retrofits, recessed lighting systems, and any smart lighting setup that involves rewiring. Incorrect installation causes overheating and reduces product lifespan. If you are unsure about the wiring in an older home, call a licensed electrician.
Dimmer switch compatibility
Old dimmer switches are one of the most overlooked problems in an LED upgrade. LED-compatible dimmer switches are required because traditional dimmers cannot properly regulate the low wattage that LEDs draw. The result is flickering, buzzing, or a bulb that simply will not dim smoothly. Replace any existing rotary or slider dimmers with trailing-edge (ELV) rated dimmers designed specifically for LED loads.
Pro Tip: Brands like Lutron and Leviton publish compatibility lists on their websites. Cross-reference your specific LED bulb model with the dimmer model before buying to avoid returns.
How do you troubleshoot common LED upgrade problems?
Even a well-planned upgrade can produce unexpected results. Here are the most common issues and their direct fixes:
- Flickering: The most frequent cause is an incompatible dimmer switch. Replace it with a trailing-edge ELV dimmer rated for LED. If the fixture has no dimmer, flickering can indicate a loose connection or a bulb that is not fully seated.
- Buzzing: Again, usually a dimmer compatibility issue. A buzzing sound at low dim levels is a clear sign the dimmer is not designed for LED wattage.
- Color mismatch between bulbs: Mixing old and new LED bulbs with the same Kelvin rating can still produce subtle color differences due to manufacturing variation between brands. Use the same brand and product series within a single room to maintain visual consistency.
- Bulb running hot or failing early: Check that the bulb is rated for the fixture type. An LED in an enclosed fixture without the proper rating will overheat and fail well before its rated lifespan.
- Smart bulb connectivity issues: Smart LED bulbs from brands like Philips Hue or LIFX require a 2.4GHz Wi-Fi signal or a dedicated hub. Confirm your router and smart home platform are compatible before purchasing.
LED upgrades can also influence sleep quality through their effect on circadian rhythms. If you notice disrupted sleep after switching to LEDs in your bedroom, the bulb’s color temperature is likely too cool. Swap to a 2700K warm white and the problem typically resolves within a few nights.
What do LED upgrades actually cost, and how do you maximize savings?
The upfront cost of an ENERGY STAR certified LED bulb ranges from $3 to $15 depending on type and features. That is more than a $1 incandescent, but the comparison stops being relevant once you factor in lifespan and energy draw. A single LED bulb that lasts 25,000 hours replaces roughly 25 incandescent bulbs over the same period.
| Factor | Incandescent | LED |
|---|---|---|
| Wattage (800 lumens) | 60W | 8 to 10W |
| Average lifespan | 1,000 hours | 15,000 to 50,000 hours |
| Estimated lifetime energy cost | ~$180 | ~$30 to $50 |
| Replacement frequency | Every 1 to 2 years | Every 10 to 25 years |
The fastest return on investment comes from upgrading high-use rooms first. Kitchens, living rooms, and bedrooms are lit for the most hours per day, so the energy savings accumulate faster there. Start with those rooms, get comfortable with your color temperature preferences, and then work through the rest of the home.
Pro Tip: Check your local utility provider’s website for LED rebate programs. Many Texas utilities, including Oncor and TXU Energy, offer rebates on ENERGY STAR certified bulbs that reduce your out-of-pocket cost at the point of purchase.
Many homeowners also qualify for energy-efficient home upgrades that stack savings across multiple systems. Pairing an LED lighting upgrade with an efficient HVAC system compounds the reduction in your monthly utility bill.
Key takeaways
Upgrading to LED lighting delivers immediate energy savings, longer bulb life, and better light quality when you select the right products and install them correctly.
| Point | Details |
|---|---|
| Energy savings are substantial | LEDs use at least 75% less energy than incandescent bulbs, saving roughly $125 per bulb over its lifetime. |
| Lumens and Kelvin matter most | Buy based on brightness (lumens) and color temperature (Kelvin), not wattage. |
| Dimmer compatibility is critical | Replace old dimmer switches with trailing-edge ELV dimmers to prevent flickering and buzzing. |
| Upgrade high-use rooms first | Kitchens, living rooms, and bedrooms deliver the fastest return on your LED investment. |
| Professional help has real value | Complex retrofits, recessed lighting, and smart systems benefit from licensed installation to avoid overheating and wiring errors. |
Why color temperature is the decision most homeowners get wrong
I have seen homeowners do everything right: buy ENERGY STAR bulbs, replace their dimmers, match their fixture ratings, and still end up unhappy with the result. Nine times out of ten, the issue is color temperature. They grabbed whatever was on the shelf, installed 5000K daylight bulbs throughout the house, and then wondered why their living room felt like a hospital waiting area.
The research on circadian rhythm and light is clear: the color of your light affects your mood, alertness, and sleep. This is not a minor aesthetic preference. It is a functional decision. My recommendation is to treat each room as a separate lighting zone with its own Kelvin target. Use 2700K in bedrooms and living spaces, 3000K to 3500K in bathrooms, and 4000K in the kitchen and home office.
The other thing I would push back on is the idea that you should do a whole-home conversion all at once. Start with one room, live with it for two weeks, and adjust before you commit to 40 bulbs. Consistency within a room matters more than speed. Buying the same brand and series for every fixture in a given space, as covered in our LED best practices guide, prevents the subtle color drift that makes a room look unfinished even when every bulb has the same Kelvin rating on the box.
The benefits of LED lighting go well beyond the utility bill. Done right, a thoughtful LED upgrade makes your home more comfortable, safer, and genuinely better to live in.
— Adrian
Ready to take your LED upgrade further with Dfwledpro?
Swapping bulbs is a great start. Permanent LED lighting installations are where the real transformation happens, both in curb appeal and long-term performance.
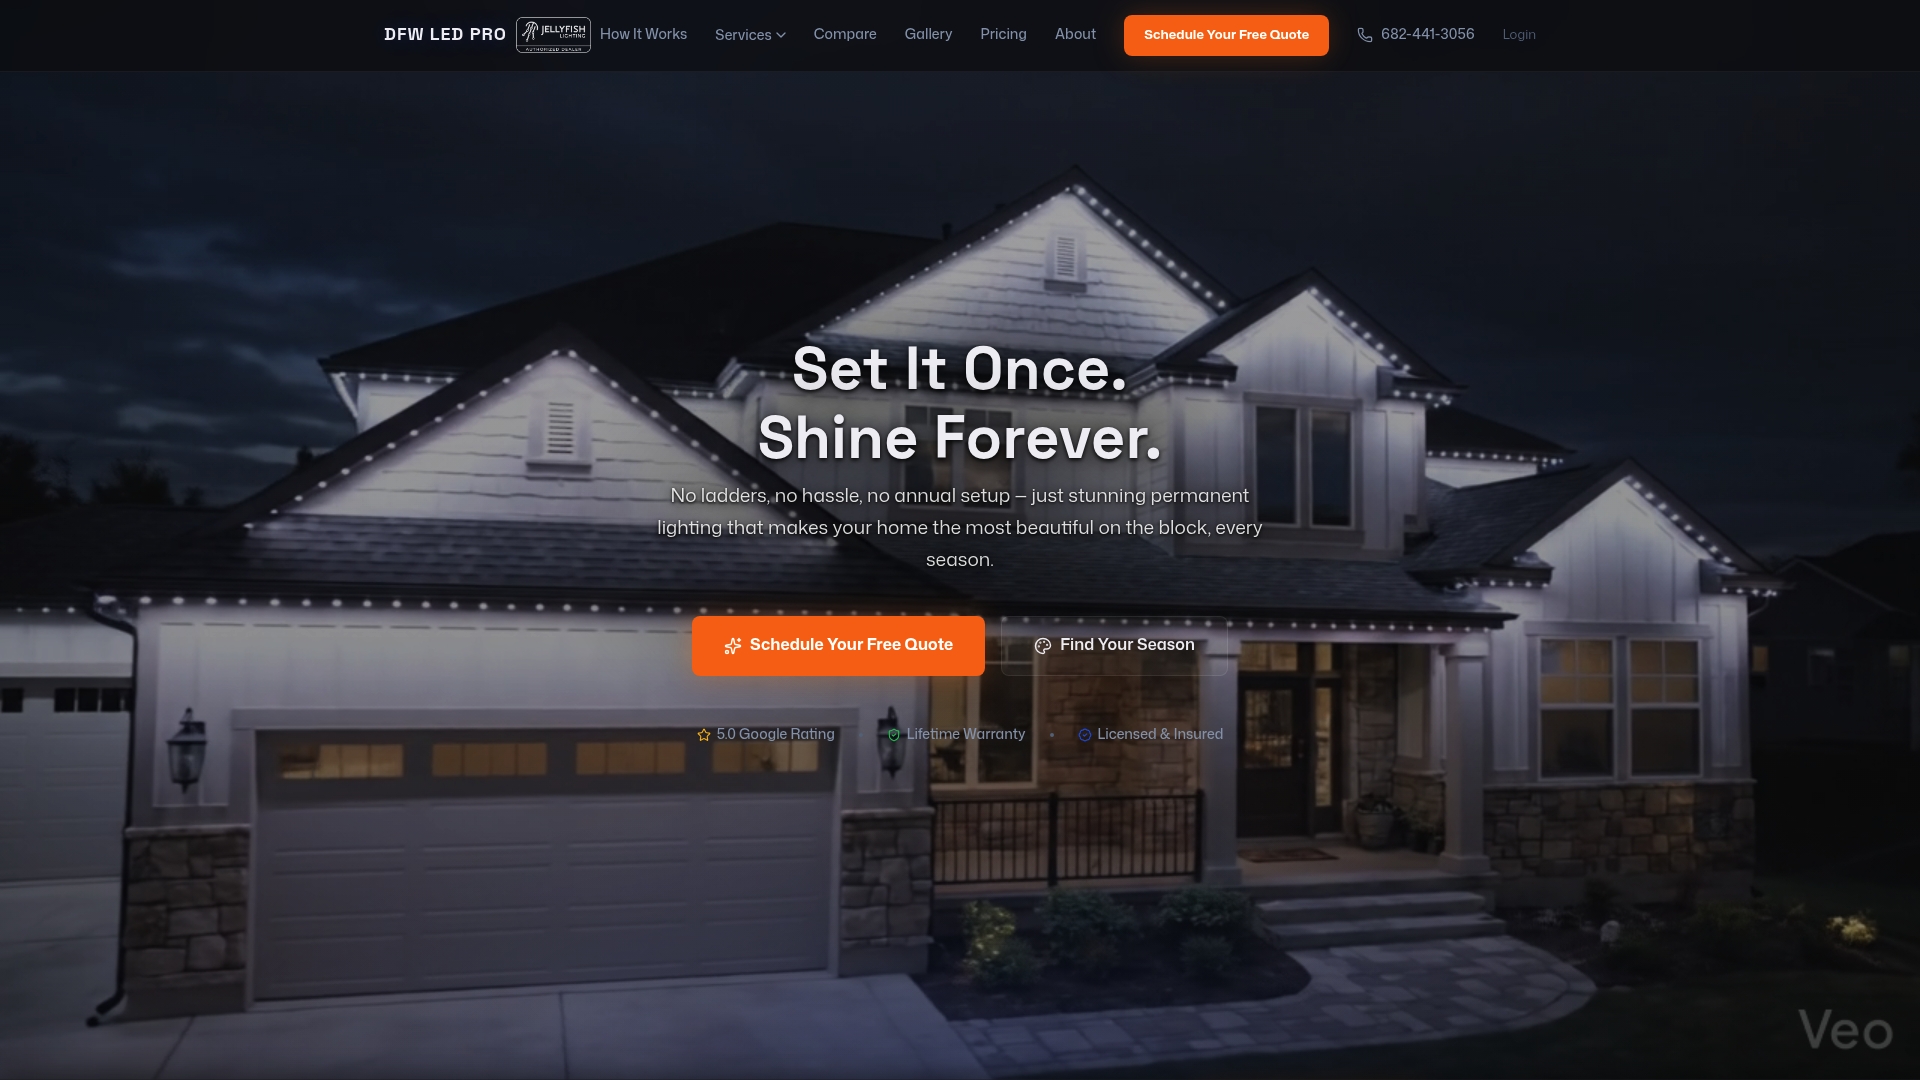
Dfwledpro is the official authorized JellyFish Lighting dealer for the Dallas-Fort Worth metroplex, serving 35+ cities including Arlington, Fort Worth, Mansfield, and Grand Prairie. Our team handles everything from fixture selection to final wiring, so you get a clean, code-compliant installation without the guesswork. If you are in the area and want professional-grade results, explore our Lancaster LED installation services or our Dallas residential LED options to see what a permanent system looks like in practice.
FAQ
How much can I save by switching to LED bulbs?
Replacing a 60-watt incandescent with an equivalent LED saves roughly $125 in electricity over the bulb’s lifetime. Across a full home, total savings typically run into the hundreds of dollars annually.
Do I need to replace my dimmer switch when upgrading to LED?
Yes. Traditional dimmers cannot regulate the low wattage that LED bulbs draw, which causes flickering and buzzing. Replace them with trailing-edge ELV dimmers rated specifically for LED loads.
What color temperature should I use in each room?
Use 2700K warm white in bedrooms and living rooms for relaxation, 3000K to 3500K in bathrooms, and 4000K in kitchens and home offices where alertness and visual contrast are priorities.
Can I install LED bulbs in any existing fixture?
Most standard fixtures accept LED screw-in replacements without modification. Enclosed fixtures and recessed cans require bulbs specifically rated for those applications to prevent overheating and early failure.
Is professional installation worth it for LED upgrades?
For simple bulb swaps, no. For recessed lighting retrofits, smart lighting systems, or any work involving rewiring, professional installation prevents overheating and extends the lifespan of your new fixtures significantly.