Permanent Holiday Lights Process: A South DFW Guide
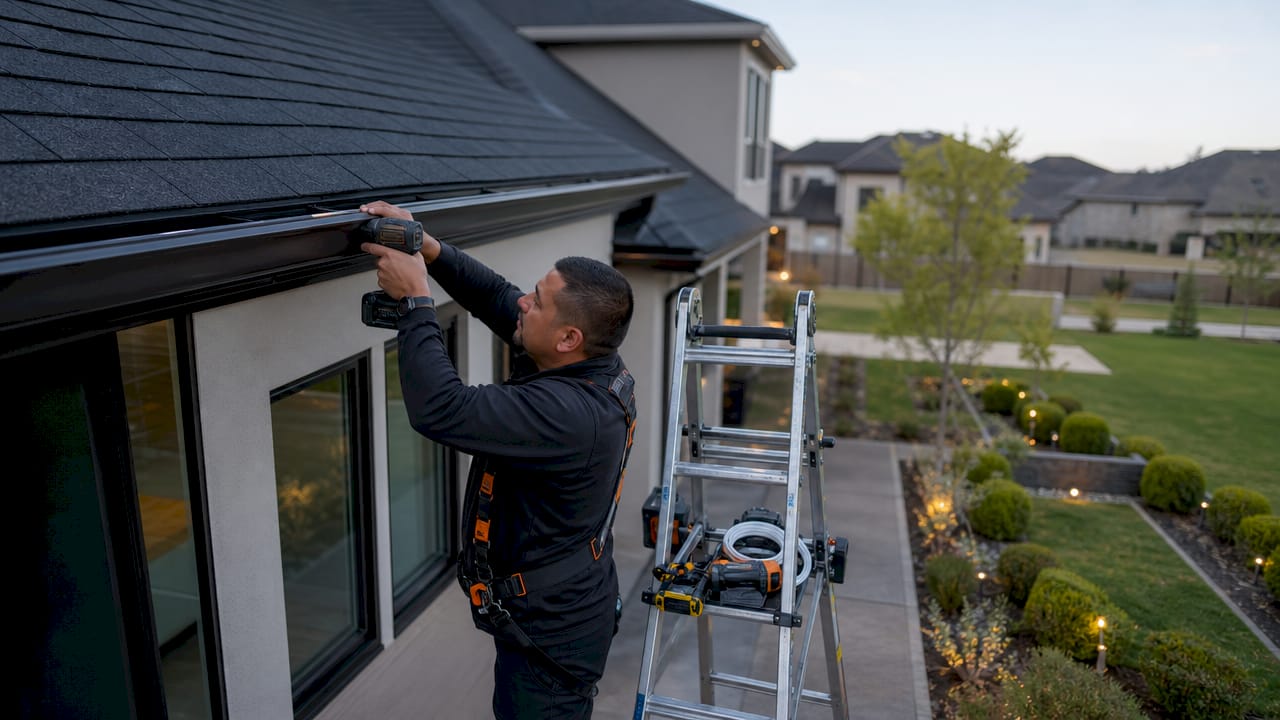
Permanent holiday lights are fixed LED lighting systems integrated into your home’s exterior, installed once and controlled year-round via a smartphone app. The permanent holiday lights process covers six distinct stages: measurement, surface preparation, channel mounting, LED wiring, controller setup, and app programming. Dfwledpro installs these systems across 35+ South DFW cities, including Arlington, Mansfield, Burleson, and Midlothian, using professional-grade standards for node spacing, power supply sizing, and weatherproof connections. The result is outdoor lighting for holidays and everyday use that never requires climbing a ladder in december again.
What prerequisites and tools do you need before installing permanent holiday lights?
Preparation determines whether your installation lasts one season or a lifetime. Skipping this stage is the single most common reason DIY systems sag, peel, or fail within the first year.
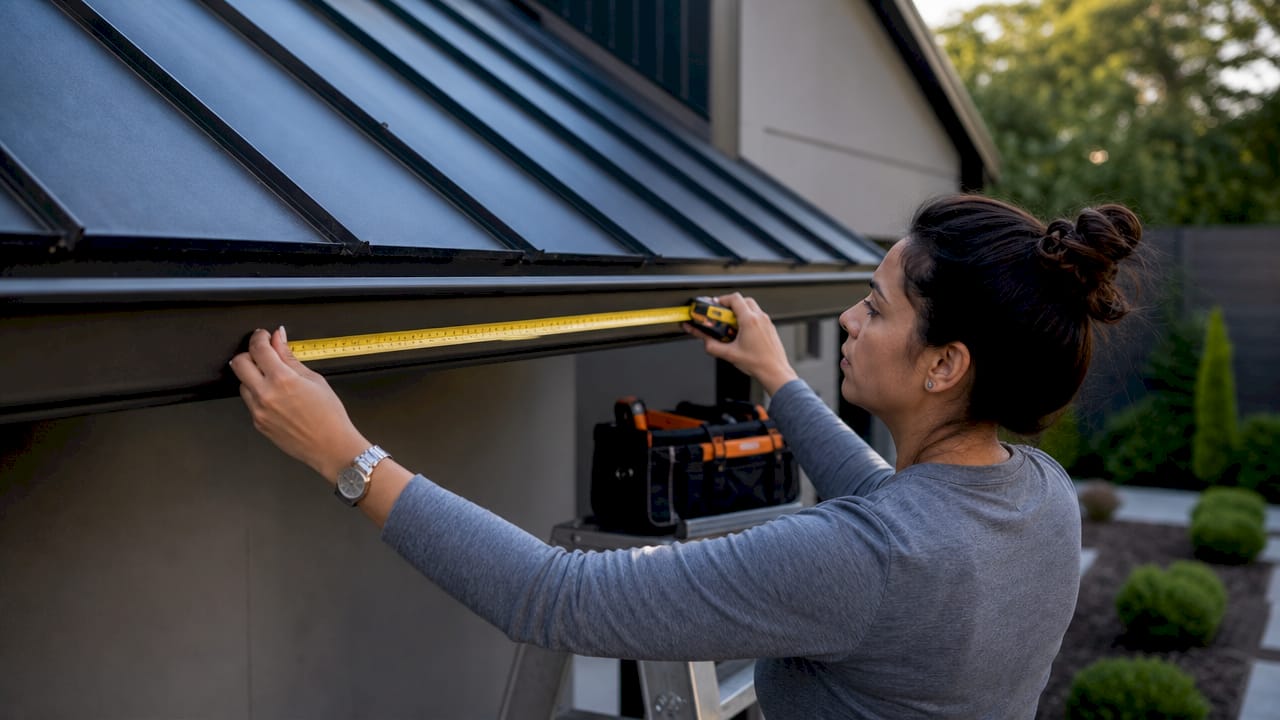
Start by measuring every roofline, gable, and exterior feature you plan to light. Measure twice and record the total linear footage. Most homes in the South DFW area have rooflines in the 150–200 foot range, which directly affects how many LED strips, power supplies, and controllers you need. Underestimating footage leads to mid-run splices and inconsistent brightness.
Next, locate your power source. You need a dedicated GFCI-protected outlet within reach of your planned controller location. A garage wall or a protected exterior soffit works well. Avoid running extension cords as a permanent solution. They degrade under Texas heat and create a fire risk.
Surface cleaning is non-negotiable. Isopropyl alcohol prep removes oils, dust, and residue from fascia boards before you mount aluminum channels. Skipping this step causes adhesion failure, especially during the high humidity months of june through september in North Texas.
Tools and materials checklist:
| Item | Purpose |
|---|---|
| Aluminum mounting channels | Low-profile track for LED strips |
| LED strip lights (12V or 24V) | Primary light source |
| Smart controller and power supply | System brain and power management |
| Stainless steel mounting screws | Secure channel attachment |
| Multimeter | Voltage testing at each run |
| Isopropyl alcohol and clean cloths | Surface preparation |
| Chalk line and level | Straight, aligned mounting |
| Ladder and safety harness | Safe roofline access |
| Weatherproof wire connectors | Moisture-proof wiring joints |
Pro Tip: Buy 10–15% more LED strip than your measured footage. Cutting errors and damaged sections during installation are common, and running out mid-job means waiting on shipping.
Step-by-step guide to the permanent holiday lights installation process
The holiday lighting setup workflow follows a logical sequence. Rushing any stage creates problems that are expensive to fix after the channels are mounted.
-
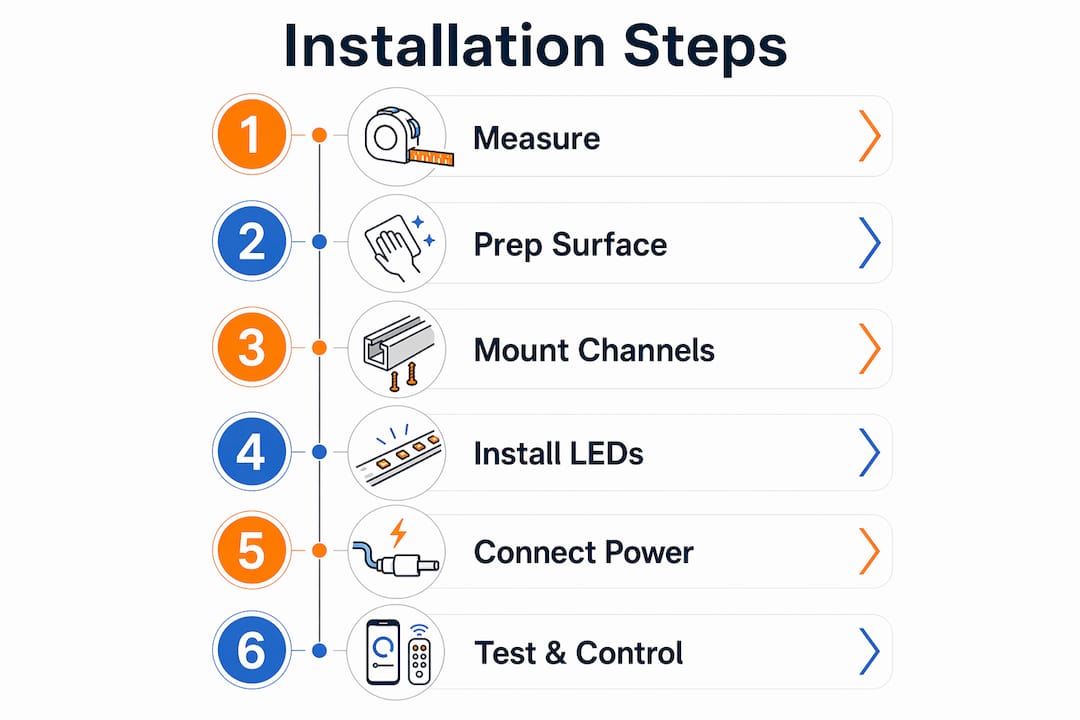
Consultation and site assessment. Walk the full exterior and confirm roofline measurements match your earlier calculations. Identify where the controller and power supply will mount. Verify the GFCI outlet location and confirm it is on a dedicated circuit. Note any architectural features like dormers, columns, or garage peaks that need custom channel cuts.
-
Custom channel cutting and surface prep. Cut aluminum channels to fit each roofline segment. Clean every mounting surface with isopropyl alcohol and let it dry fully before applying any hardware. Straight chalk lines keep your channels aligned. Crooked channels are visible from the street and cannot be corrected without removing everything.
-
Mounting the aluminum channels. Attach channels using stainless steel screws every 12–16 inches. Stainless steel resists rust in humid Texas conditions. Do not overtighten screws. Over-tightening warps the channel and creates gaps where water can pool. Color-matched aluminum channels blend with your fascia during the day, keeping the system visually discreet when lights are off.
-
Seating and wiring the LED strips. Press LED strips firmly into the channels. Connect strips using weatherproof wire connectors at every junction. Loose connections are the leading cause of flickering and dead sections. Route all wiring through conduit or along the soffit to protect it from UV exposure and physical damage.
-
Mounting the controller and power supply. Install the smart controller and power supply in a dry, ventilated location, typically a garage or a protected exterior wall. A dedicated GFCI outlet is required at this location for safety and code compliance. Keep the controller away from direct sunlight and moisture.
-
Programming, app setup, and testing. Download the system app and connect the controller to your home Wi-Fi. Set up zones for different sections of your roofline. Test every zone for color accuracy, brightness consistency, and connectivity. Walk the full exterior at night to spot dim sections or color shifts before finalizing the installation.
Pro Tip: The industry standard for node spacing is 9 inches for optimal brightness and uniformity. Wider spacing saves money upfront but creates visible gaps in the light pattern, especially on long roofline runs.
Professional installation for an average South DFW home takes one to two days, depending on roofline complexity, number of zones, and architectural features. A single-story ranch-style home typically finishes in one day. A two-story home with dormers, a covered porch, and a detached garage realistically takes two full days.
How do you operate and maintain permanent holiday lights?
The smart controller is what separates a permanent system from a simple string of lights. App-based control gives you scheduling, multi-zone management, and integration with platforms like Alexa and Google Home. You can set the lights to turn on at sunset automatically, run a patriotic red, white, and blue display for the fourth of july, then switch to warm white for everyday security lighting, all from your phone.
Maintenance is straightforward but requires a regular schedule. South DFW homeowners deal with pollen in spring, heat in summer, and occasional ice in winter. Each season creates different stress on the system.
Seasonal maintenance checklist:
- Spring: Clear pollen and debris from channels. Check all wiring connections for looseness after winter temperature swings.
- Summer: Inspect mounting screws for any signs of backing out due to thermal expansion. Verify the controller location stays cool and ventilated.
- Fall: Test all zones before the holiday season. Replace any damaged LED sections before november.
- Winter: After any ice event, inspect channels for physical damage. Ice can crack brittle plastic connectors.
Voltage monitoring is the most overlooked maintenance task. Power injection points must be placed at correct intervals to keep voltage within 5% of the nominal 12V or 24V rating. Voltage drop beyond that threshold causes dim nodes and color shifts at the far end of long runs. Use a multimeter at the furthest LED in each run at least once per year.
Pro Tip: Match your aluminum channel color to your home’s fascia and soffit. Color-matched hardware makes the system nearly invisible during daylight hours. Most homeowners are surprised how little the tracks show once properly color-matched.
For anything beyond basic cleaning and visual inspection, schedule a professional service visit. Dfwledpro offers ongoing support for systems we install across the South DFW area, covering everything from controller resets to LED section replacements.
What are the most common challenges when installing permanent holiday lights?
Even experienced DIYers run into problems. Knowing what to watch for saves time and prevents costly rework.
- Voltage drop on long runs. This is the most common system failure. Nodes at the far end of a run appear dim or shift color. The fix is adding power injection points at regular intervals and sizing your power supply with at least 30% headroom above the calculated load.
- Poor surface preparation. Channels mounted on dirty or oily fascia will sag or peel within months. Texas heat accelerates adhesive failure. Always use isopropyl alcohol and let the surface dry completely before mounting.
- Controller placement errors. Mounting the controller in direct sun or an unventilated space causes overheating and connectivity drops. A shaded garage wall is the safest location.
- Missing GFCI protection. Running a permanent system without a dedicated GFCI outlet violates electrical safety standards and creates a shock hazard in wet conditions.
- Skipping section tests before final mounting. Test each LED section before securing channels permanently. Defective strips are far easier to replace before the screws go in.
“The difference between a professional install and a DIY attempt often comes down to alignment and power planning. Straight lines and correct voltage management are what make a system look and perform like it belongs on the home.”
Working safely at height is a separate concern. Use a rated ladder with a standoff bracket to keep it away from the fascia. A safety harness is worth the investment for any roofline work above one story. Never work on a wet roof or during high winds, which are common in North Texas during spring storm season.
Key takeaways
The permanent holiday lights process requires careful measurement, proper surface prep, correct power sizing, and smart controller setup to deliver reliable, year-round performance.
| Point | Details |
|---|---|
| Measure before you buy | Record total linear footage accurately to size LED strips, power supplies, and controllers correctly. |
| Surface prep is critical | Clean all mounting surfaces with isopropyl alcohol to prevent sagging and adhesion failure in Texas heat. |
| Node spacing affects quality | The industry standard of 9-inch node spacing delivers the most uniform brightness across roofline runs. |
| Power injection prevents failures | Keep voltage within 5% of nominal rating by adding injection points on runs longer than the power supply can support. |
| Smart control adds year-round value | App-based scheduling and multi-zone control turn a holiday system into a permanent security and curb appeal asset. |
Why permanent lighting is worth every step of the process
I have seen hundreds of South DFW homes go through this process, and the homeowners who are most satisfied share one thing in common: they treated the installation as a permanent home improvement, not a decoration project. That mindset changes every decision, from choosing color-matched channels to investing in a properly sized power supply.
The convenience factor alone justifies the upfront effort. No more hauling boxes out of the attic in november, no more tangled strands, and no more paying a crew to hang and remove temporary lights every year. The security benefits of year-round lighting on entries and dark corners are real and ongoing, not just seasonal. A well-lit home exterior is a visible deterrent, and that value does not turn off on january 2nd.
What surprises most homeowners is how much the system changes their relationship with their home’s exterior. You start using the lights for birthdays, game days, and neighborhood events, not just Christmas. The smart app makes it genuinely easy to switch scenes in seconds. That ongoing use is what makes the cost of permanent holiday lights feel justified over time.
My honest advice: if you are on the fence about DIY versus professional installation, consider the power planning and alignment requirements carefully. Getting those two things wrong is expensive to fix after the fact. A professional install from Dfwledpro means those details are handled correctly the first time, with a warranty backing the work.
— Adrian
Dfwledpro brings professional-grade installation to South DFW homeowners
Dfwledpro is the official authorized JellyFish Lighting dealer for the Dallas-Fort Worth metroplex, serving 35+ cities including Arlington, Burleson, Cedar Hill, Midlothian, and Crowley. We handle every stage of the installation process, from roofline measurement and custom channel cutting to controller programming and app setup.
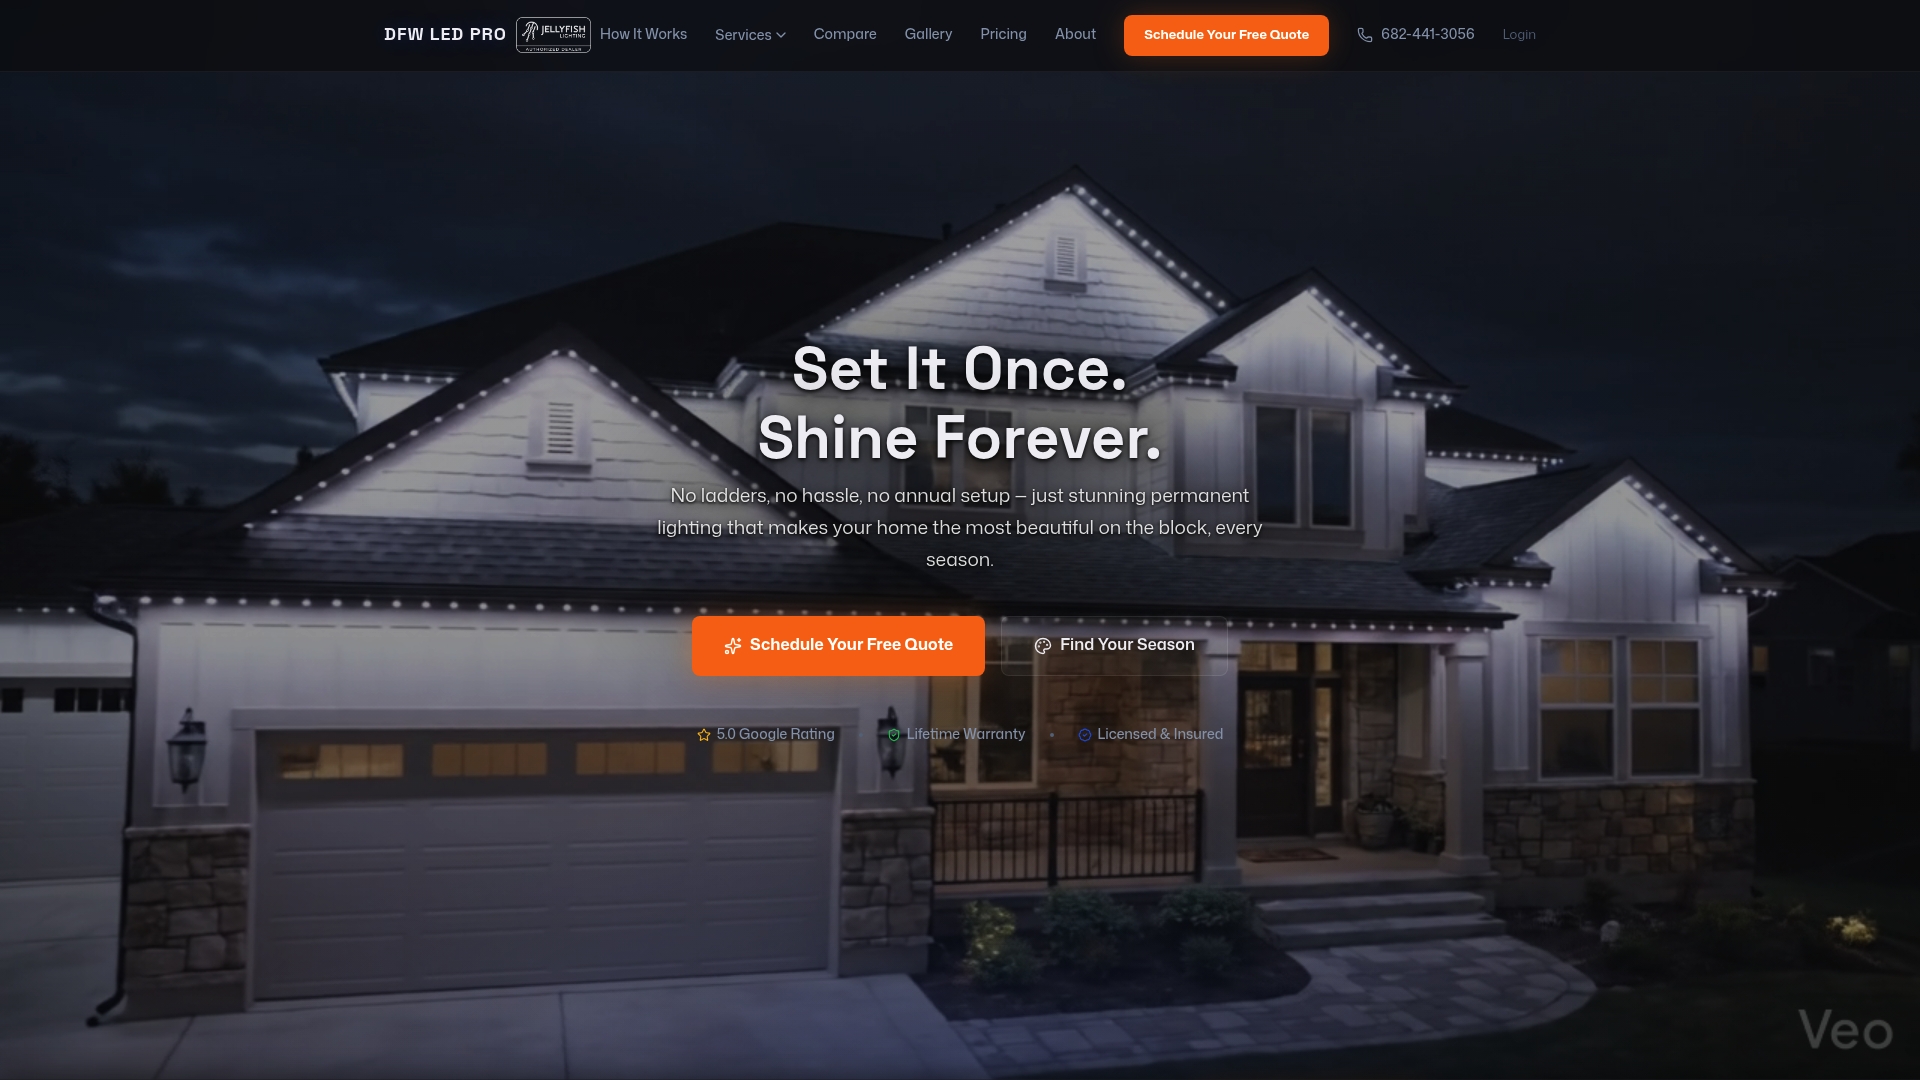
Our team accounts for South Texas climate conditions in every install, including thermal expansion, humidity-resistant hardware, and proper GFCI placement. Every system includes smart controller setup and direct customer support. If you are ready to move past temporary lights for good, visit our permanent LED lights Dallas TX service page to schedule a consultation with our local installation team.
FAQ
What is the permanent holiday lights process from start to finish?
The process covers six stages: site measurement, surface preparation with isopropyl alcohol, aluminum channel mounting, LED strip wiring, smart controller setup, and app programming. Professional installation on an average home takes one to two days.
How much does it cost to install permanent holiday lights?
Pricing varies based on roofline footage, number of zones, and system complexity. Dfwledpro provides custom quotes based on your home’s specific measurements and layout. Contact us directly for an accurate estimate.
What node spacing is standard for permanent holiday lighting?
The industry standard is 9-inch node spacing, which delivers the most uniform brightness and color consistency across roofline runs. Wider spacing reduces cost but creates visible gaps in the light pattern.
Do permanent holiday lights work with smart home systems?
Yes. Smart controllers compatible with Alexa and Google Home are standard on professional-grade systems. App-based scheduling, multi-zone control, and scene creation are all included features.
How do you prevent voltage drop in a permanent lighting system?
Add power injection points at regular intervals along long LED runs and size your power supply with at least 30% headroom above the calculated load. Use a multimeter to verify voltage stays within 5% of the nominal 12V or 24V rating at the furthest LED in each run.